hexo主题配置
1.hexo+Github主题配置参见教程
2.个性化个人页面
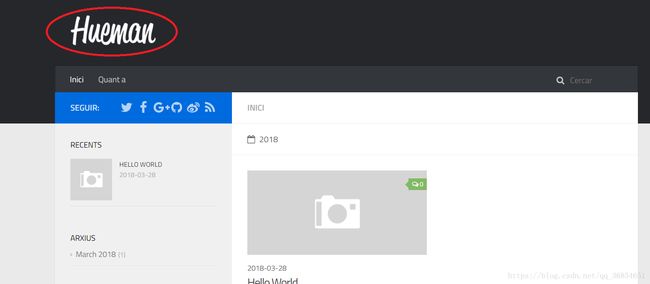
git clone 主题后效果如图: 
另附该主题的说明
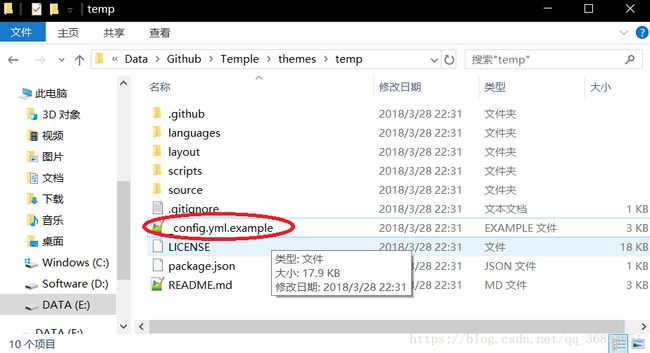
ps:下载好主题后记得把主题文件夹下的config文件去掉后面的example
默认为德语,修改为英文的需要将hexo文件夹根目录(不是主题目录)的config文件修改
# Site
title: Hexo
subtitle:
description:
keywords:
author: John Doe
language: en
timezone:
改为中文即为:
language: zh-CN接下来就是配置config文件:
1.首先添加menu
menu:
    Home: /
    Categories:
    About: /about/index.html
如果想增加导航页,可以增加条目:
menu:
    Home: /
    Categories:
    One:
    Two:
    ...
    About: /about/index.html
2.接下来修改个人Logo:
customize:
    logo:
        width: 165
        height: 60
        url: images/logo-header.png
宽和高都是以像素为单位的,只有数字,没有单位。
图片是存放在themes\temp\source\css\images中,只需要将自己想要的图
存在该文件夹下,并修改config文件
url: images/example.png接下来的配置,推荐默认,颜色可按个人喜好修改:
theme_color: '#006bde'
highlight: androidstudio
sidebar: left # sidebar position, options: left, right
thumbnail: true # enable posts thumbnail, options: true, false
3.添加网站的缩略图,步骤如下:
- 制作一张32*32的ico缩略图,推荐比特虫
- 将制作好的图片放入之前的图片地址themes\temp\source\css\images
- 修改congfig
favicon: css/images/favicon.ico4.添加社交链接:
twitter: /
facebook: /
google-plus: /
github: https://github.com/ppoffice/hexo-theme-hueman
weibo: /
rss: /
可根据自己需要添加
但问题是,这些提供的链接大都是国外的网站,没有梯子的童鞋非常难办。但改为国内的一些网站链接后,会出现无图标的情况
这是因为该主题图标使用了fontawesome,而在fontawesome中并没有提供国内一些网站的图标
可以寻找与你的社交网站图标类似的图标作为代替
在\source\libs\font-awesome\css中有两个文件font-awesome.css和font-awesome.min.css
用文本编译器打开后是下面的画风:
.fa-commenting:before {
  content: "\f27a";
}
.fa-commenting-o:before {
  content: "\f27b";
}
.fa-houzz:before {
  content: "\f27c";
其中,fa后面的就是图标的名称,我们可以在这里
找到图标对应的名称
之后修改对应的css文件和min.css文件
.fa-commenting:before {
  content: "\f27a";
}
.fa-commenting-o:before {
  content: "\f27b";
}
.fa-example:before {
  content: "\f27c";
修改后保存就可以了
5.配置搜索栏
在git中运行
hexo-generator-json-content评论我没配置
分享推荐选择jiathis
链接自行添加就好
最后配置完所有项目,在git中输入
npm install hexo-deployer-git --savehexo clean && hexo g && hexo d好啦,以上就是本次教程。个性化主题是一个看起来
比较麻烦的过程,但操作完成后是非常有成就感的


