绘制点和圆
void cvCircle( CvArr* img, CvPoint center, int radius, CvScalar color,
int thickness=1, int line_type=8, int shift=0 );- img:图像。
- center:圆心坐标。
- radius:圆形的半径。
- color:线条的颜色。
- thickness:如果是正数,表示组成圆的线条的粗细程度。否则,表示圆是否被填充。
- line_type:线条的类型。见 cvLine 的描述
- shift:圆心坐标点和半径值的小数点位数。
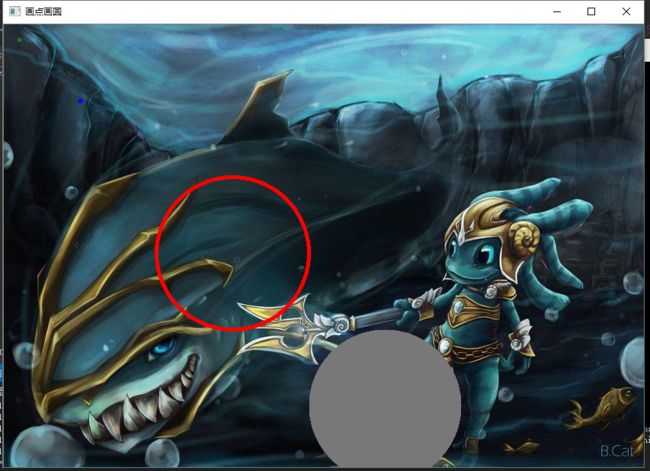
画圆画点都是使用circle()函数来画,点就是圆,我们平常所说的圆只不过是半径大一点而已。
#include "opencv2/highgui/highgui.hpp"
#include "opencv2/imgproc/imgproc.hpp"
#include
#include

using namespace std;
using namespace cv;

//画圆画点都是使用circle()函数来画,点就是圆,我们平常所说的圆只不过是半径大一点而已。
int main()
{
    Mat img = imread("lol16.jpg");

    //画空心点
    Point p(20, 20);//初始化点坐标为(20,20)
    circle(img, p, 2, Scalar(0, 255, 0)); //第三个参数表示点的半径,第四个参数选择颜色。这样子我们就画出了绿色的空心点

    //这种初始化点的方式也可以
    Point p2;
    p2.x = 100;
    p2.y = 100;
    //画实心点
    circle(img, p2, 3,Scalar(255,0,0),-1); //第五个参数我设为-1,表明这是个实点。

    //画空心圆
    Point p3(300, 300);
    circle(img,p3,100,Scalar(0,0,255),3);//第五个参数我们调高点,让线更粗

    //画实心圆
    Point p4;
    p4.x = 600;
    p4.y = 600;
    circle(img, p4, 100, Scalar(120, 120, 120), - 1);

    imshow("画点画圆", img);

    waitKey();
    return 0;
}
绘制椭圆
void ellipse(Mat& img, Point center,Size axes, double angle, double startAngle, double endAngle, const Scalar& color,int thickness=1, int lineType=8, int shift=0)
- img:图像。
- center:椭圆圆心坐标。
- axes:轴的长度。
- angle:偏转的角度。
- start_angle:圆弧起始角的角度。
- end_angle:圆弧终结角的角度。
- color:线条的颜色。
- thickness:线条的粗细程度。
- line_type:线条的类型,见CVLINE的描述。
- shift:圆心坐标点和数轴的精度。
#include "opencv2/highgui/highgui.hpp"
#include "opencv2/imgproc/imgproc.hpp"
#include
#include

using namespace std;
using namespace cv;

int main()
{
    Mat img = imread("lol16.jpg");
    int thickness = 3;
    int lineType = 8;
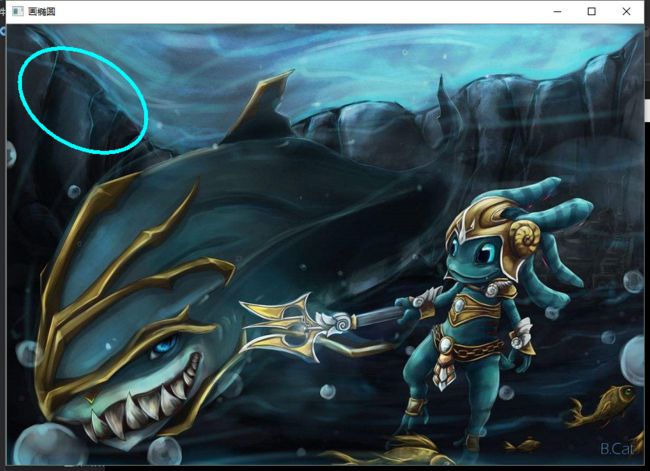
    double angle = 30;  //椭圆旋转角度
    //第三个参数Size中的两个参数分别是横轴长、纵轴长。
    //同理,thickness若是小于0,表示实心
    ellipse(img,Point(100, 100),Size(90, 60),angle,0,360,Scalar(255, 255, 0),thickness,lineType);

    imshow("画椭圆", img);

    waitKey();
    return 0;
}
绘制矩形
void rectangle(Mat& img,Rect rec, const Scalar&color, intthickness=1, intlineType=8,intshift=0 )
- img:图像。
- rec:表征矩形的位置和长宽。
- color:线条颜色 (RGB) 或亮度(灰度图像 )(grayscale image)。
- thickness:组成矩形的线条的粗细程度。取负值时(如CV_FILLED)函数绘制填充了色彩的矩形。
- line_type:线条的类型。见cvLine的描述
- shift:坐标点的小数点位数。
#include "opencv2/highgui/highgui.hpp"
#include "opencv2/imgproc/imgproc.hpp"
#include
#include

using namespace std;
using namespace cv;

int main()
{
    Mat img = imread("lol16.jpg");
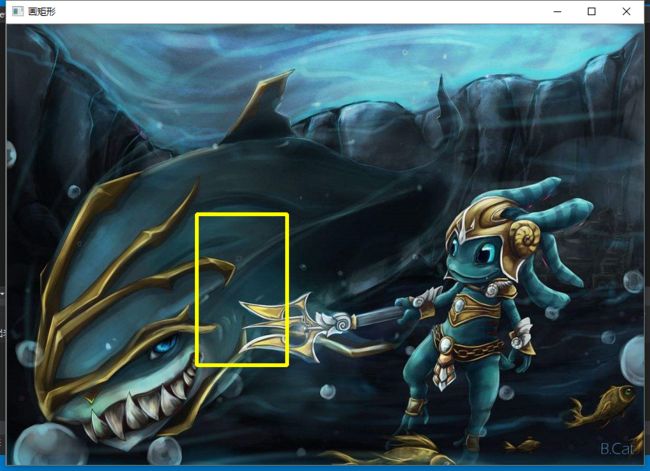
    Rect r(250, 250, 120, 200);
    rectangle(img, r, Scalar(0, 255, 255), 3);

    imshow("画矩形", img);

    waitKey();
    return 0;
}
绘制直线
void line(InputOutputArray img, Point pt1, Point pt2, const Scalar& color,
                     int thickness = 1, int lineType = LINE_8, int shift = 0);
- img:图像.
- pt1:线条起点.
- pt2:线条终点.
- color:线条颜色.
- thickness:线条宽度.
- lineType:线型
#include "opencv2/highgui/highgui.hpp"
#include "opencv2/imgproc/imgproc.hpp"
#include
#include

using namespace std;
using namespace cv;

int main()
{
    Mat img = imread("lol16.jpg");
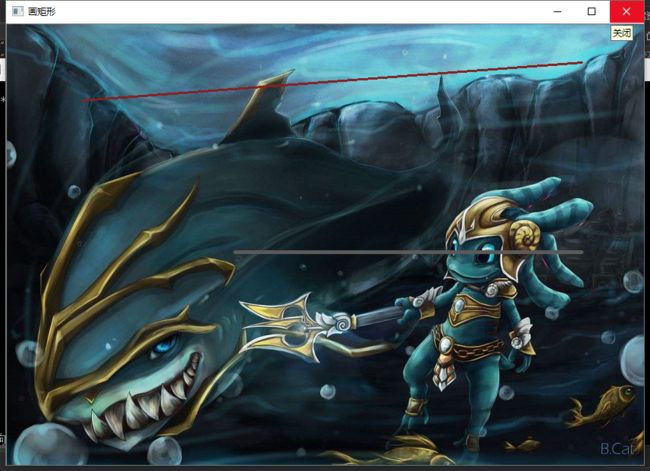
    Point p1(100, 100);
    Point p2(758, 50);
    line(img, p1, p2, Scalar(33, 33, 133), 2);

    //画第二条线
    line(img, Point(300, 300), Point(758, 300), Scalar(89, 90, 90), 3);

    imshow("画矩形", img);

    waitKey();
    return 0;
}
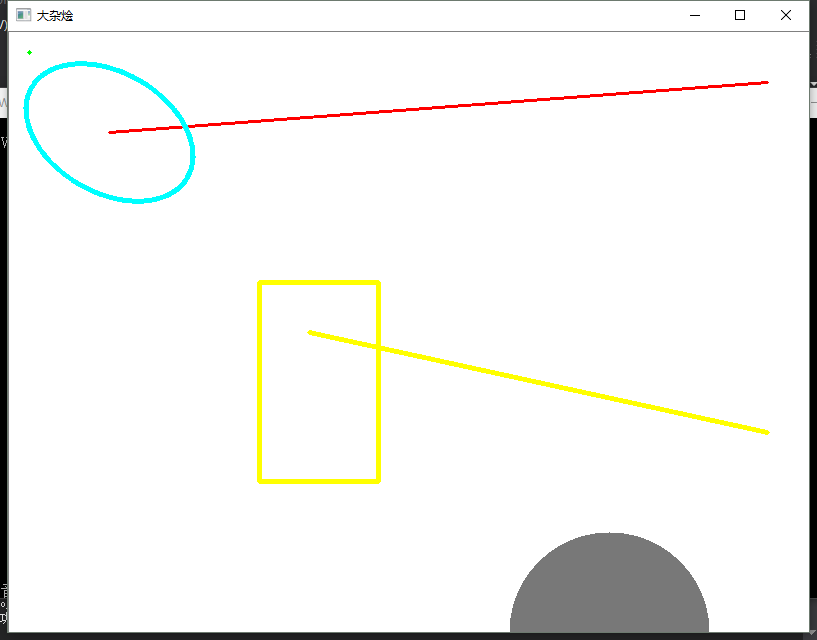
最后来个综合的图形展示。
#include "opencv2/highgui/highgui.hpp"
#include "opencv2/imgproc/imgproc.hpp"
#include
#include

using namespace std;
using namespace cv;

int main()
{
    Mat img = Mat::zeros(Size(800,600), CV_8UC3);
    img.setTo(255);
    Point p1(100, 100);
    Point p2(758, 50);
    line(img, p1, p2, Scalar(0, 0, 255), 2);
    line(img, Point(300, 300), Point(758, 400), Scalar(0, 255, 255), 3);

    Point p(20, 20);//初始化点坐标为(20,20)
    circle(img, p, 2, Scalar(0, 255, 0),-1);

    Point p4;
    p4.x = 600;
    p4.y = 600;
    circle(img, p4, 100, Scalar(120, 120, 120), -1);

    int thickness = 3;
    int lineType = 8;
    double angle = 30;  //椭圆旋转角度
    ellipse(img, Point(100, 100), Size(90, 60), angle, 0, 360, Scalar(255, 255, 0), thickness, lineType);


    Rect r(250, 250, 120, 200);
    rectangle(img, r, Scalar(0, 255, 255), 3);
    imshow("大杂烩", img);

    waitKey();
    return 0;
} 