复现旧版STGCN GPU版 (win10+openpose1.5.0)
参考:
下载stgcn先放着:
gitbub上fork后导入到gitee快些: https://gitee.com/chenhongqiong/st-gcn.git
也可以直接下载zip文件后解压
一、准备
官方要求:
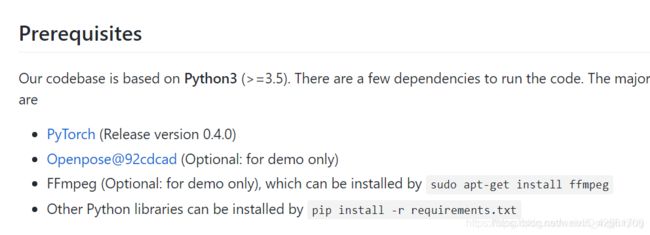
1. openpose1.5.0 pythonAPI:https://blog.csdn.net/weixin_42661709/article/details/105056237
openpose安装好了后,把生成的build/bin文件夹下的所有库复制到build/x64/release/下,
将models文件夹复制到build中
为ST-GCN使用准备
2.打开Aaconda(没有的话自己下载个anaconda3)
3. Aaconda里安装pytorch1.2.0:
一步一步执行下面步骤:
conda create --name pytorch1.2.0 python=3.5.2
activate pytorch1.2.0
pip install D:\torch-1.2.0-cp35-cp35m-win_amd64.whl -i https://pypi.tuna.tsinghua.edu.cn/simple
pip install D:\torchvision-0.4.0-cp35-cp35m-win_amd64.whl -i https://pypi.tuna.tsinghua.edu.cn/simple
(这俩文件得自己去pytoch官网下载)
测试:

错误:
ImportError: cannot import name 'PILLOW_VERSION’由https://www.cnblogs.com/jiangnanyanyuchen/p/12165419.html得知原因解决如下:
卸载原来的pillow: pip uninstall pillow
重新安装5.2.0版本的: pip install pillow==5.2.0 -i https://pypi.tuna.tsinghua.edu.cn/simple
4. 其它依赖:
conda install ffmpeg
(这里必须用conda 安装,因为pip install ffmpeg注意官方这种下载方式只能下载1.4版本的ffmpeg最后会出错!!!)
进入st-gcn目录下:
pip install -r requirements.txt -i https://pypi.tuna.tsinghua.edu.cn/simple
(有的之前已经安装了)
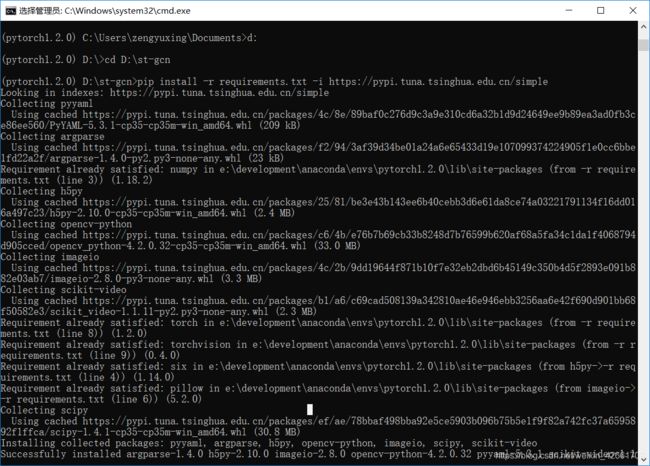
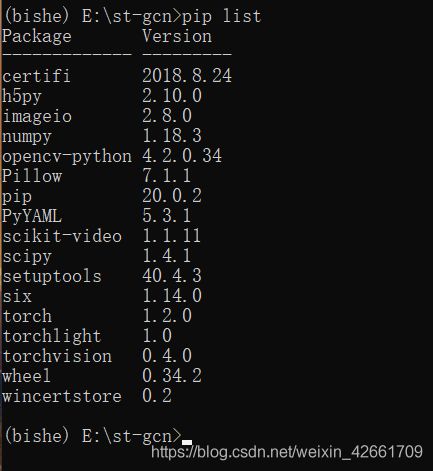
最后pip list为:
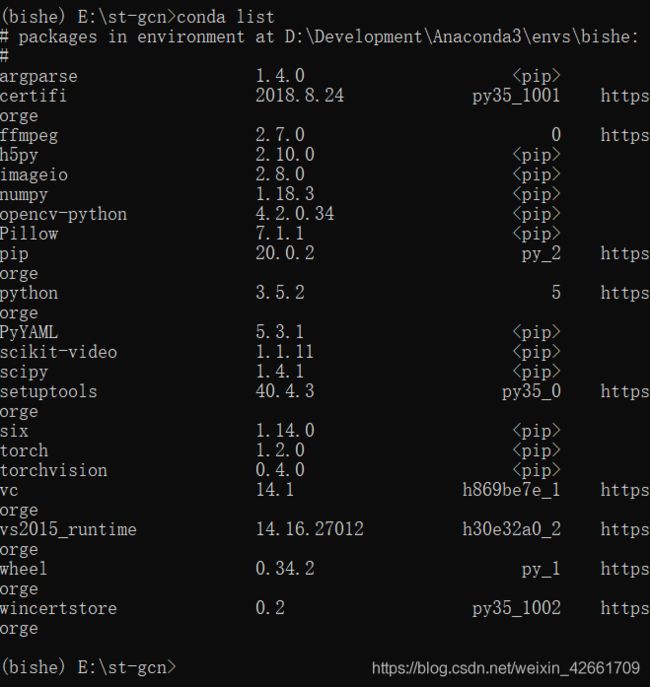
conda list :
二、安装
1.安装:
cd st-gcn
cd torchlight
python setup.py install
cd …
2.模型
只能百度云下载
我的这篇文章里有模型链接:https://blog.csdn.net/weixin_42661709/article/details/105060886
1). st_gcn.kinetics.pt等文件 放到 st-gcn/models中
2). pose_iter_440000.caffemodel(安装的openpose中的models/pose/coco下有)放到st-gcn/models/pose/coco中
三、测试
安装完以后注意在windows命令行下,demo运行命令不同,
将D:\st-gcn\processor\demo_old.py中的
openpose = '{}/examples/openpose/openpose.bin'.format(self.arg.openpose)此行改为
openpose = '{}/OpenPoseDemo.exe'.format(self.arg.openpose)还有parser.add_argument(’–openpose’改为下(此处该不该都可以,改了命令行就可以不输入路径直接默认值)
注意openpose要为纯英文不要带数字。(因为我的openpose-1.5.0就报错导致找不到API,我把名字改了就不报错了)
parser.add_argument('--openpose',
            default='E:/projects/openpose/build/x64/Release',
            help='Path to openpose')
命令行启动demo例(注意斜杠):
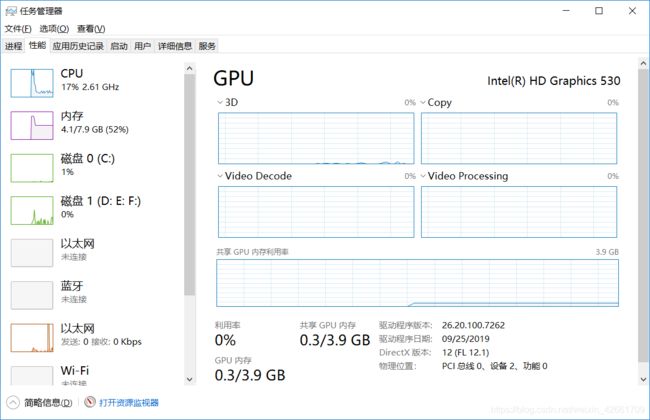
python main.py demo_old --openpose E:/projects/openpose/build/x64/Release --video E:/projects/st-gcn/resource/media/clean_and_jerk.mp4我的这个显卡跑了近两分钟。配置更差的跑得慢的,可以先放个图片改后缀为.mp4放到st-gcn/resource/media/下面先试试看。
不报错就算安装成功了。