centos下使用yum 安装elasticsearch并配置到magento上使用
一、安装jdk8以上版本
yum install java -y
java -version 查看java版本
官网 https://www.elastic.co/guide/en/elasticsearch/reference/7.9/install-elasticsearch.html
rpm安装
https://www.elastic.co/guide/en/elasticsearch/reference/7.9/rpm.html#rpm-running-init
targz安装
https://www.elastic.co/guide/en/elasticsearch/reference/7.9/targz.html
二、yum安装elasticsearch
下载并安装GPG key
rpm --import https://artifacts.elastic.co/GPG-KEY-elasticsearch
添加yum仓库
vim /etc/yum.repos.d/elasticsearch.repo
加入下面的代码
从官网复制的
[elasticsearch-7.x]
name=Elasticsearch repository for 7.x packages
baseurl=https://artifacts.elastic.co/packages/7.x/yum
gpgcheck=1
gpgkey=https://artifacts.elastic.co/GPG-KEY-elasticsearch
enabled=1
autorefresh=1
type=rpm-md
安装elasticsearch
yum install elasticsearch -y
三、配置 elasticsearch
# 配置文件都在 /etc/elasticsearch/ 目录下
vim /etc/elasticsearch/elasticsearch.yml
# 集群名称
cluster.name: my-application
# 节点名称
node.name: node-1
# 数据文件与日志文件存放目录
path.data: /var/lib/elasticsearch
path.logs: /var/log/elasticsearch
# 网络设置
network.host: 0.0.0.0
http.port: 9200
# 集群设置
cluster.initial_master_nodes: ["node-1"]
四、启动 elasticsearch
# 启动
systemctl start elasticsearch.service
# 开机自启
systemctl enable elasticsearch.service
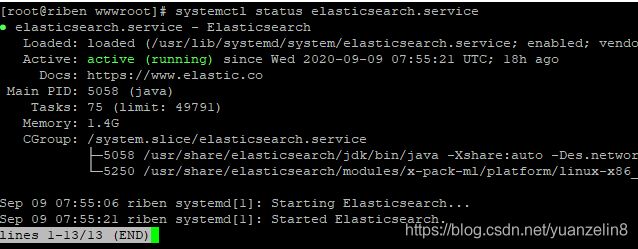
# 查看状态
systemctl status elasticsearch.service
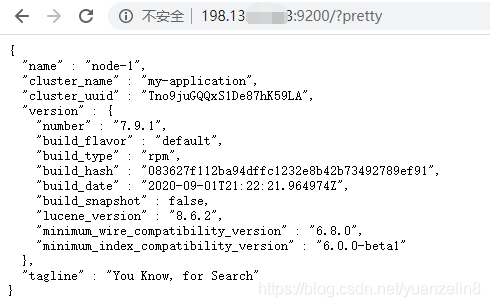
测试
curl -X GET localhost:9200
如何开放端口可以用浏览器访问 ip + 9200/?pretty 查看状态
五、安装 kibana,elasticsearch 的可视化界面(这步可以省略不安装)
kibana功能介绍 https://www.elastic.co/cn/elastic-stack
# 下载并安装公共签名密钥
rpm --import https://artifacts.elastic.co/GPG-KEY-elasticsearch
# 添加源
vim /etc/yum.repos.d/kibana.repo
[kibana-7.x]
name=Kibana repository for 7.x packages
baseurl=https://artifacts.elastic.co/packages/7.x/yum
gpgcheck=1
gpgkey=https://artifacts.elastic.co/GPG-KEY-elasticsearch
enabled=1
autorefresh=1
type=rpm-md
# 安装
yum install -y kibana
# 配置
vim /etc/kibana/kibana.yml
server.host: "0.0.0.0"
# 不要用 127.0.0.1,可能会提示 Kibana server is not ready yet
elasticsearch.hosts: ["http://198.13.x.x:9200"]
i18n.locale: "zh-CN"
# 刷新服务配置
systemctl daemon-reload
# 开机自启
systemctl enable kibana.service
# 启动
systemctl start kibana.service
# 查看状态
systemctl status kibana.service
复制代码
默认端口为 5601
访问地址http://198.13.x.x:5601
https://www.elastic.co/guide/en/elasticsearch/reference/current/rpm.html
https://www.elastic.co/guide/en/kibana/current/rpm.html
六、apache配置elasticsearch
说明文档https://devdocs.magento.com/guides/v2.4/install-gde/prereq/es-config-apache.html
1.apache配置代理
LoadModule proxy_http_module modules/mod_proxy_http.so
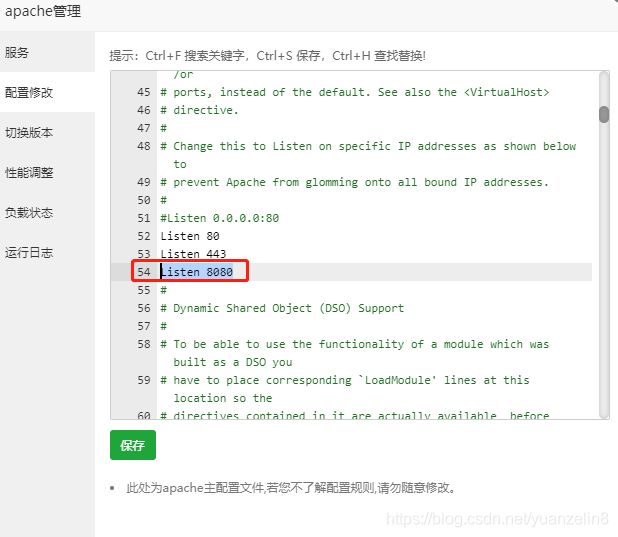
2.apache添加监听端口8080
3.配置8080
ProxyPass "/" "http://localhost:9200/"
ProxyPassReverse "/" "http://localhost:9200/"
4.重新启动Apache:
service apache2 restart
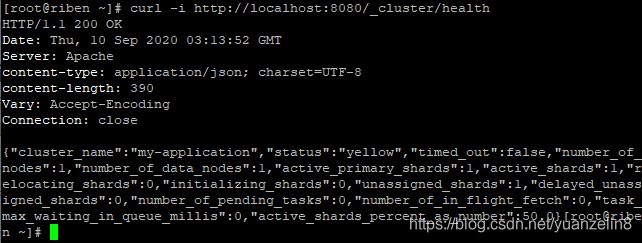
5.验证 curl -i http://localhost:
curl -i http://localhost:8080/_cluster/health
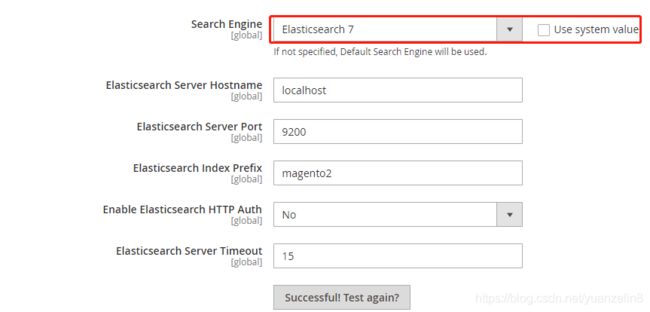
七、magento后台配置Elasticsearch
更新缓存
