Dubbo学习笔记:注册到zookeeper并实现远程调用
我们选择zookeeper作为注册中心。
一、首先要下载zookeeper,把程序解压,进入conf,把zoo_sample.cfg修改为zoo.cfg。进入bin文件夹,在这里打开命令行,输入zkserver.cmd,这样就启动了zookeeper。
可以看出,zookeeper注册中心监听的是2181端口。
二、创建服务提供者工程。
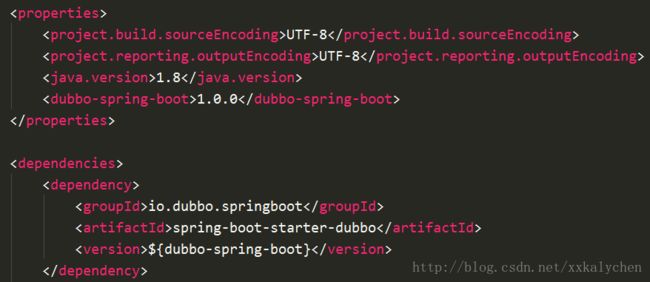
1. 创建一个springboot项目,在pom中添加以下内容:
2. 修改application.yml文件为以下内容
spring:
  dubbo:
    application:
      name: dubbo-provider
    registry:
      address: zookeeper://localhost:2181
    protocol:
      name: dubbo
      port: 20880
scan: com.chris.dubbo3.创建一个实体类UserModel
public class UserModel implements Serializable{
    private int id;
    private String name;
    private int age;
    private String address;

    public UserModel() {
    }

    public UserModel(int id, String name, int age, String address) {
        this.id = id;
        this.name = name;
        this.age = age;
        this.address = address;
    }

    public int getId() {
        return id;
    }

    public void setId(int id) {
        this.id = id;
    }

    public String getName() {
        return name;
    }

    public void setName(String name) {
        this.name = name;
    }

    public int getAge() {
        return age;
    }

    public void setAge(int age) {
        this.age = age;
    }

    public String getAddress() {
        return address;
    }

    public void setAddress(String address) {
        this.address = address;
}4. 在dubbo下写一个接口文件
public interface UserService {
    UserModel getUser(int id);
}@Service(version = "1.0.0")
public class UserServiceImpl implements UserService {
@Override
public UserModel getUser(int id) {
switch (id) {
case 1:
return new UserModel(id, "Kaly Chen", 36, "中国汉中");
case 2:
return new UserModel(id, "Devin Chen", 37, "中国西安");
case 3:
return new UserModel(id, "Chris Chen", 38, "中国上海");
default:
return new UserModel(id, "Fabio Chen", 39, "中国");
}
}
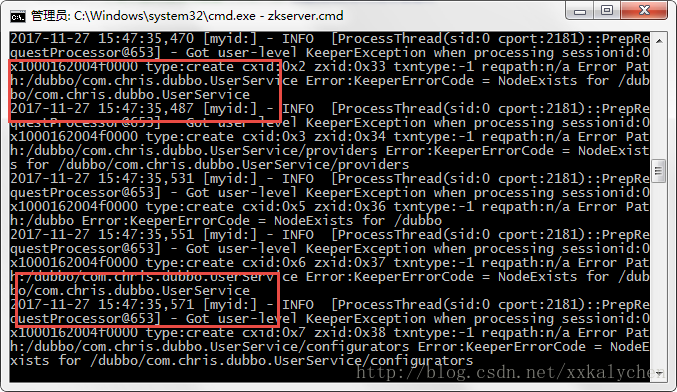
}import com.alibaba.dubbo.config.annotation.Service;好了,可以运行了,在zookeeper中可以看到程序已经注册,并且注册了服务提供者。


三、创建服务消费者项目
1. 创建一个springboot项目,其创建过程和服务提供者一样。
2. yml文件内容是这样:
server:
  port: 8081
spring:
  dubbo:
    application:
      name: dubbo-consumer
    registry:
      address: zookeeper://localhost:2181
    scan: com.chris.dubbo
由于8080端口已经被服务提供者占用,我们将消费者端口改为其他值。
3. UserModel和UserService可以复制过来。另外建立一个服务类,内容是这样:
@Service
@Component
public class UserServiceImpl {
    @Reference(version = "1.0.0")
    private UserService userService;

    public UserModel getUser(int id) {
        return userService.getUser(id);
    }
}
这里的注解是SpringBoot包下面的@Service.
4. 建立controller,实现对service的调用
@RestController
public class UserController {
    @Autowired
    UserServiceImpl userService;

    @RequestMapping("/getUser")
    public UserModel getUSer(int id) {
        return userService.getUser(id);
    }
}
好了,也跑起来。看看已经在zookeeper中进行了注册。
尝试在浏览器中输入http://192.168.2.19:8081/getUser?id=4
结果:


