SpringMVC实现多文件上传+bootstrap fileinput的使用
最近时间空余,总结了一些关于bootstrap fileinput组件的一些常见用法,特此分享到脚本之家平台,供大家参考,同时也方便以后的查找。本文写的不好还请见谅。
一、效果展示
1、原始的input type='file',简直不忍直视。
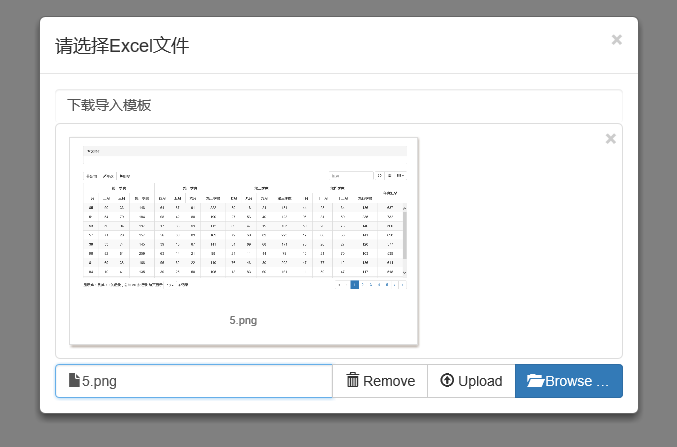
2、不做任何装饰的bootstrap fileinput:(bootstrap fileinput初级进化)
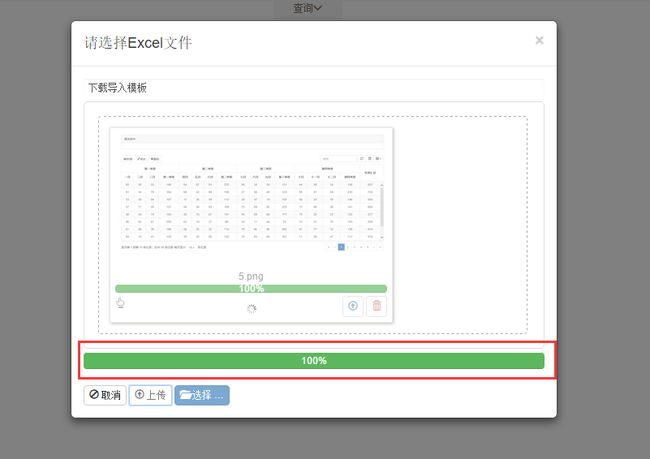
3、bootstrap fileinput高级进化:中文化、可拖拽上传、文件扩展名校验(如果不是需要的文件,不让上传)
拖拽上传
上传中
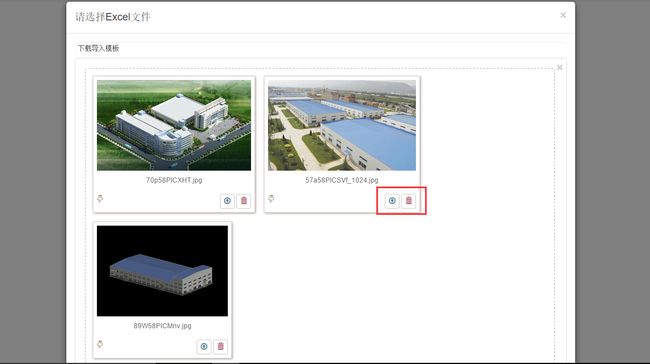
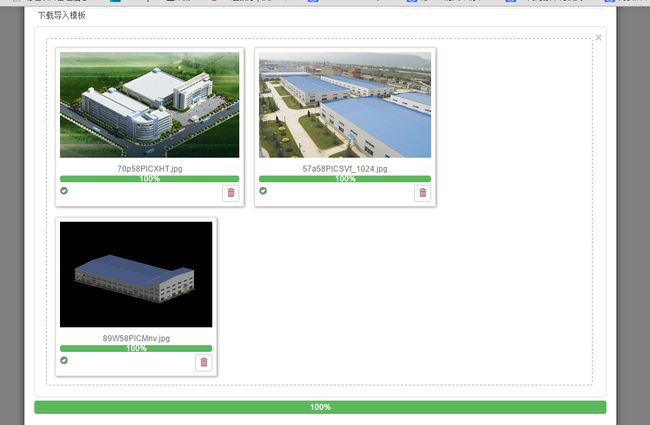
4、bootstrap fileinput究极进化:允许同时多线程上传多个文件。
上传中
上传完成后
二、代码示例
怎么样?效果如何?不要急,我们一步一步来实现以上的效果。
1、cshtml页面
首先引入需要的js和css文件。
|
1
2
3
4
5
6
7
8
|
//bootstrap fileinput
bundles.Add(
new
ScriptBundle(
"~/Content/bootstrap-fileinput/js"
).Include(
"~/Content/bootstrap-fileinput/js/fileinput.min.js"
,
"~/Content/bootstrap-fileinput/js/fileinput_locale_zh.js"
));
bundles.Add(
new
StyleBundle(
"~/Content/bootstrap-fileinput/css"
).Include(
"~/Content/bootstrap-fileinput/css/fileinput.min.css"
));
@Scripts.Render(
"~/Content/bootstrap-fileinput/js"
)
@Styles.Render(
"~/Content/bootstrap-fileinput/css"
)
|
然后定义input type='file'标签
|
1
2
3
4
5
6
7
8
9
10
11
12
13
14
15
|
|
重点看这一句:
|
1
|
|
multiple表示允许同时上传多个文件,class=“file-loading”表示标签的样式。
2、js初始化
|
1
2
3
4
5
6
7
8
9
10
11
12
13
14
15
16
17
18
19
20
21
22
23
24
25
26
27
28
29
30
31
32
33
34
35
36
37
38
39
40
41
42
43
44
45
46
47
48
|
$(
function
() {
//0.初始化fileinput
var
oFileInput =
new
FileInput();
oFileInput.Init(
"txt_file"
,
"/api/OrderApi/ImportOrder"
);
});
//初始化fileinput
var
FileInput =
function
() {
var
oFile =
new
Object();
//初始化fileinput控件(第一次初始化)
oFile.Init =
function
(ctrlName, uploadUrl) {
var
control = $(
'#'
+ ctrlName);
//初始化上传控件的样式
control.fileinput({
language:
'zh'
,
//设置语言
uploadUrl: uploadUrl,
//上传的地址
allowedFileExtensions: [
'jpg'
,
'gif'
,
'png'
],
//接收的文件后缀
showUpload:
true
,
//是否显示上传按钮
showCaption:
false
,
//是否显示标题
browseClass:
"btn btn-primary"
,
//按钮样式
//dropZoneEnabled: false,//是否显示拖拽区域
//minImageWidth: 50, //图片的最小宽度
//minImageHeight: 50,//图片的最小高度
//maxImageWidth: 1000,//图片的最大宽度
//maxImageHeight: 1000,//图片的最大高度
//maxFileSize: 0,//单位为kb,如果为0表示不限制文件大小
//minFileCount: 0,
maxFileCount: 10,
//表示允许同时上传的最大文件个数
enctype:
'multipart/form-data'
,
validateInitialCount:
true
,
previewFileIcon:
""
,
msgFilesTooMany:
"选择上传的文件数量({n}) 超过允许的最大数值{m}!"
,
});
//导入文件上传完成之后的事件
$(
"#txt_file"
).on(
"fileuploaded"
,
function
(event, data, previewId, index) {
$(
"#myModal"
).modal(
"hide"
);
var
data = data.response.lstOrderImport;
if
(data == undefined) {
toastr.error(
'文件格式类型不正确'
);
return
;
}
//1.初始化表格
var
oTable =
new
TableInit();
oTable.Init(data);
$(
"#div_startimport"
).show();
});
}
return
oFile;
};
|
说明:
(1)fileinput()方法里面传入的是一个json数据,它里面有很多属性,每个属性代表着初始化上传控件的时候的特性,如果这些属性都不设置,则表示使用默认的设置。如果园友们想看看它里面有哪些属性,可以打开fileinput.js的源码,在它的最后如图:
这些属性如果不特意设置,就会使用默认值。
(2)$("#txt_file").on("fileuploaded", function (event, data, previewId, index) {}这个方法注册上传完成后的回调事件。也就是后天处理上传的文件之后进入这个方法里面处理。
3、后台C#对应的方法
还记得在js里面初始化控件方法fileinput()里面有一个参数url吗,这个url对应的值就指示C#后天对应的处理方法。还是贴出后台的处理方法。
|
1
2
3
4
5
6
7
8
9
10
11
12
13
14
15
16
17
18
19
20
21
22
23
24
25
26
27
28
29
30
31
32
|
[ActionName(
"ImportOrder"
)]
public object ImportOrder()
{
var
oFile = HttpContext.Current.Request.Files[
"txt_file"
];
var
lstOrderImport =
new
List
#region 0.数据准备
var
lstExistOrder = orderManager.Find();
var
lstOrderNo = lstExistOrder.Select(x => x.ORDER_NO).ToList();
var
lstTmModel = modelManager.Find();
var
lstTmMaterial = materialManager.Find();
//var iMax_Import_Index = lstExistOrder.Max(x => x.IMPORT_INDEX);
//iMax_Import_Index = iMax_Import_Index == null ? 0 : iMax_Import_Index.Value;
#endregion
#region 1.通过Stream得到Workbook对象
IWorkbook workbook =
null
;
if
(oFile.FileName.EndsWith(
".xls"
))
{
workbook =
new
HSSFWorkbook(oFile.InputStream);
}
else
if
(oFile.FileName.EndsWith(
".xlsx"
))
{
workbook =
new
XSSFWorkbook(oFile.InputStream);
}
if
(workbook ==
null
)
{
return
new
{ };
}
//...............处理excel的逻辑
//orderManager.Add(lstOrder);
lstOrderImport = lstOrderImport.OrderBy(x => x.IMPORT_STATU).ToList();
return
new
{ lstOrderImport = lstOrderImport };
}
|
由于博主的项目是上传excel,所以这里用是用的NPOI的逻辑,如果是上传图片等文件,可以使用GDI去处理图片。
4、同时上传多个文件
同时上传多个文件的时候,前台会发送多个异步的请求到后台,也就是说,当同时上传三个文件的时候,后台的ImportOrder方法会进入三次。这样就能使用多线程同时去处理三个文件。
三、总结
关于bootstrap fileinput的基础使用大概就介绍完了,其实就是一个上传的组件,也不存在什么高级用法。重点是把界面做得更加友好,更好的增加用户体验。
关于Bootstrap Fileinput文件上传组件用法详解就给大家介绍这么多,希望对大家有所帮助!
您可能感兴趣的文章:
- BootStrap Fileinput初始化时的一些参数
- bootstrapfileinput实现文件自动上传
- bootstrap fileinput完整实例分享
- JS文件上传神器bootstrap fileinput详解
- Bootstrap中的fileinput 多图片上传及编辑功能
- Bootstrap的fileinput插件实现多文件上传的方法


