iOS导入cocos2d游戏
一、xcode中在自己项目中引入cocos2dx,需要导入cocos2d_libs静态库。首先需要到官网下载cocos2d引擎,cocos2d引擎下载链接点击进入官网
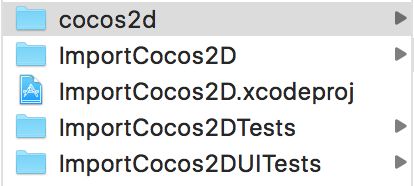
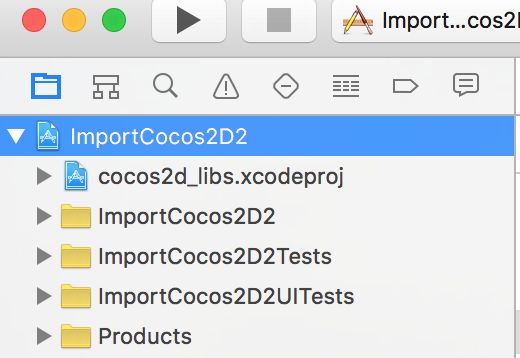
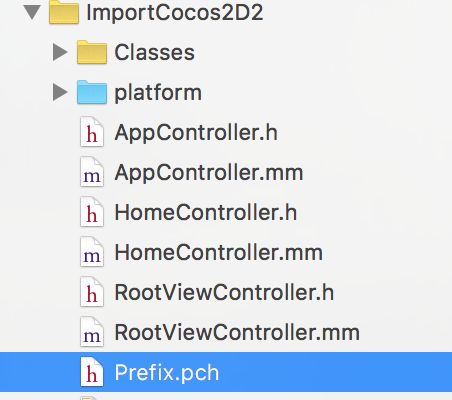
二、将cocos2d引擎拷贝到工程目录,在工程中add Files..添加到工程中。
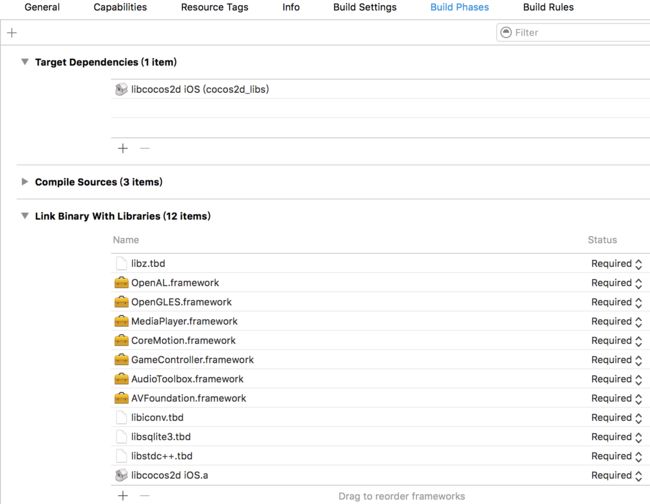
三、添加依赖库
四、对工程进行配置
1、Build Settings中配置
设置Valid Architectures
2、Build Options ->Enable Bitcode 设置为NO
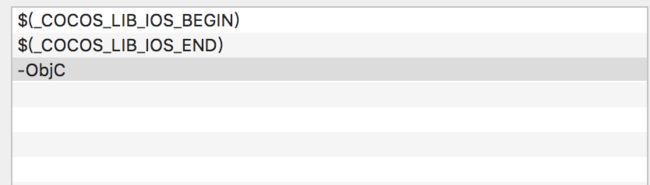
3、设置Other Linker Flages 如下

$(_COCOS_LIB_IOS_BEGIN)
$(_COCOS_LIB_IOS_END)
-ObjC
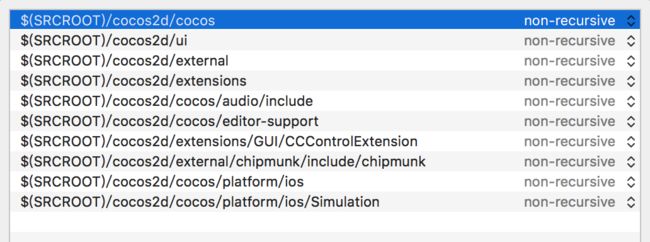
4、project中设置Header Search Paths,相对路径,cocos2d文件夹放在ImportCocos2D2.xcodeproj的同级目录,所以是这个路径。$(SRCROOT)是.xcodeproj所在位置
$(SRCROOT)/cocos2d/cocos
$(SRCROOT)/cocos2d/ui
$(SRCROOT)/cocos2d/external
$(SRCROOT)/cocos2d/extensions
$(SRCROOT)/cocos2d/cocos/audio/include
$(SRCROOT)/cocos2d/cocos/editor-support
$(SRCROOT)/cocos2d/extensions/GUI/CCControlExtension
$(SRCROOT)/cocos2d/external/chipmunk/include/chipmunk
$(SRCROOT)/cocos2d/cocos/platform/ios
$(SRCROOT)/cocos2d/cocos/platform/ios/Simulation
5、设置Other C flages
-DNS_BLOCK_ASSERTIONS=1
6、
7、Apple LLVC 7.0 – PreProcessing
debug :
USE_FILE32API
CC_TARGET_OS_IPHONE
COCOS2D_DEBUG=1
CC_ENABLE_CHIPMUNK_INTEGRATION=1Release
USE_FILE32API
CC_TARGET_OS_IPHONE
CC_ENABLE_CHIPMUNK_INTEGRATION=18、Apple LLVM 7.0 Warnings –All languages
9、设置pch路径


五、利用cocos2d引擎创建coco2d游戏工程
没有配置过cocos2d,需要运行cocos2d目录下的setup.py,根据提示进行配置,如果只是在iOS项目使用,可以直接回车。还要运行在安卓等其他设备上需要进行对应的配置。
$ cd cocos2d-x
$ ./setup.py

//创建新项目
$ cocos new -p com.test.mygames -l cpp -d ~/mygame myGames
六、加载cocos2d游戏文件,需要修改delegate名称,修改main中代理名称
//main函数内容
#import
#import "AppController.h"

int main(int argc, char * argv[]) {
    @autoreleasepool {
        return UIApplicationMain(argc, argv, nil, NSStringFromClass([AppController class]));
    }
}
在AppController中设置主控制器,在RootViewController中加载游戏场景。
//设置主控制器
- (BOOL)application:(UIApplication *)application didFinishLaunchingWithOptions:(NSDictionary *)launchOptions {

    [self setSupportPortrait:true];
    window = [[UIWindow alloc] initWithFrame: [[UIScreen mainScreen] bounds]];

    [[UIApplication sharedApplication] setIdleTimerDisabled:YES];

    HomeController *HomeVC = [[HomeController alloc]init];
    // Set RootViewController to window
    if ( [[UIDevice currentDevice].systemVersion floatValue] < 6.0)
    {
        window.rootViewController = HomeVC;
    }
    else
    {
        [window setRootViewController:HomeVC];
    }
    [window makeKeyAndVisible];
   return YES;
}
在HomeViewController中初始化游戏引擎方法如下:
-(BOOL)initCocos2dxEngine
{
    self.navigationController.navigationBarHidden = YES;

    rapidjson::Document doc;
    doc.SetObject();
    rapidjson::Document::AllocatorType& allocator = doc.GetAllocator();
    rapidjson::Value object(rapidjson::kObjectType);
    object.AddMember("game_id", _gameID, allocator);
    rapidjson::StringBuffer buffer;
    rapidjson::Writer::StringBuffer> write(buffer);
    object.Accept(write);
    std::string gameConfig = buffer.GetString();
    _sharedApplication = new AppDelegate();
    _sharedApplication->setGameConfig(gameConfig);
    cocos2d::Application *app = cocos2d::Application::getInstance();
    app->initGLContextAttrs();
    cocos2d::GLViewImpl::convertAttrs();

    // Init the CCEAGLView
    CGRect rc = [self.view bounds];
    CGRect rc1;
    rc1.origin.x = 0;
    rc1.origin.y = 0;
    rc1.size.width = rc.size.height;
    rc1.size.height = rc.size.width;

    CCEAGLView *eaglView = [CCEAGLView viewWithFrame: rc1
                             pixelFormat: (__bridge NSString*)cocos2d::GLViewImpl::_pixelFormat
                             depthFormat: cocos2d::GLViewImpl::_depthFormat
                      preserveBackbuffer: NO
                              sharegroup: nil
                           multiSampling: NO
                         numberOfSamples: 0 ];

    // Enable or disable multiple touches
    [eaglView setMultipleTouchEnabled:NO];
    [self.view addSubview:eaglView];
    cocos2d::GLView *glview = cocos2d::GLViewImpl::createWithEAGLView((__bridge void*)eaglView);
    cocos2d::Director::getInstance()->setOpenGLView(glview);

    app->run();

    return YES;
}
//pch内容
#ifdef __OBJC__
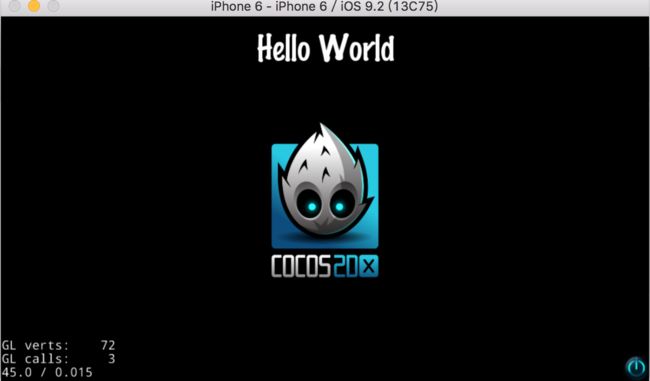
#import 运行效果: