cas5.3.2单点登录-Cas Server开启Oauth2.0协议(二十)
原文地址,转载请注明出处: https://blog.csdn.net/qq_34021712/article/details/82290876 ©王赛超
学习Cas这么久了,一直在按照CAS自身的协议接入,Cas的强大在于有官方的插件,可以支持其他的协议,当然了,现在流行的Oauth2.0协议肯定是支持了,下面开始集成Oauth。
参考博客
https://apereo.github.io/cas/5.3.x/installation/OAuth-OpenId-Authentication.html
https://apereo.github.io/cas/5.3.x/installation/Configuration-Properties.html#oauth2
集成过程
1.pom添加依赖
<dependency>
    <groupId>org.apereo.casgroupId>
    <artifactId>cas-server-support-oauth-webflowartifactId>
    <version>${cas.version}version>
dependency>
2.application.properties添加以下属性
cas.authn.oauth.refreshToken.timeToKillInSeconds=2592000
cas.authn.oauth.code.timeToKillInSeconds=30
cas.authn.oauth.code.numberOfUses=1
cas.authn.oauth.accessToken.releaseProtocolAttributes=true
cas.authn.oauth.accessToken.timeToKillInSeconds=7200
cas.authn.oauth.accessToken.maxTimeToLiveInSeconds=28800
cas.authn.oauth.grants.resourceOwner.requireServiceHeader=true
cas.authn.oauth.userProfileViewType=NESTED
3.增加接入servcie的注册文件:OAUTH-1002. json,内容如下:
{
  "@class" : "org.apereo.cas.support.oauth.services.OAuthRegisteredService",
  "clientId": "20180901",
  "clientSecret": "123456",
  "serviceId" : "^(https|http|imaps)://.*",
  "name" : "OAuthService",
  "id" : 1002
}
端点介绍
启用OAuth支持后,将提供以下端点:
| 端点 | 描述 | 方法类型 |
|---|---|---|
| /oauth2.0/authorize | 获取authCode或者token | GET |
| /oauth2.0/accessToken,/oauth2.0/token | 获取accessToken | POST |
| /oauth2.0/profile | 通过access_token参数获取用户信息 | GET |
/oauth2.0/authorize方法介绍
| 端点 | 请求参数 | 响应内容 |
|---|---|---|
| /oauth2.0/authorize | response_type=code&client_id=ID&redirect_uri=CALLBACK | 会重定向到redirect_uri这个地址并携带authCode参数 |
| /oauth2.0/authorize | response_type=token&client_id=ID&redirect_uri=CALLBACK | 会重定向到redirect_uri这个地址并携带token参数 |
response_type参数有两种:一种是code,另一种是token
code模式:response_type=code也就是授权码模式。返回authCode。
token模式:另一种是 是获取token,该token类似于accessToken,可以根据这个token获取用户信息。H5页面或者app等应用可以使用token模式。
/oauth2.0/accessToken方法介绍
| 端点 | 请求参数 | 响应内容 |
|---|---|---|
| /oauth2.0/accessToken | grant_type=authorization_code&client_id=ID&client_secret=SECRET &code=CODE&redirect_uri=CALLBACK |
传统模式根据authCode获取accesstoken |
| /oauth2.0/accessToken | grant_type=password&client_id=ID&client_secret=SECRET &username=USERNAME&password=PASSWORD |
返回accessToken |
| /oauth2.0/accessToken | grant_type=client_credentials&client_id=client&client_secret=secret | 返回accessToken |
| /oauth2.0/accessToken | grant_type=refresh_token&client_id=ID&client_secret=SECRET &refresh_token=REFRESH_TOKEN |
刷新之后返回新的accessToken |
grant_type参数有以下几种类型:
authorization_code:
grant_type=authorization_code使用最多的一种,根据code 获取accessToken。常用于第三方登录,用户输入账号密码,同意并授权,第三方不知道用户的账号和密码,获取code之后,再根据code获取accessToken,使用accessToken获取用户同意获取的信息。
password:
grant_type=password 允许Oauth客户端直接发送用户的账号和密码到Oauth服务端,常用于web服务,和受信任的客户端(一般是内部服务)。
client_credentials:
grant_type=client_credentials采用Client Credentials方式,即应用公钥、密钥方式获取Access Token,适用于任何类型应用,但通过它所获取的Access Token只能用于访问与用户无关的Open API,并且需要开发者提前向开放平台申请,成功对接后方能使用。认证服务器不提供像用户数据这样的重要资源,仅仅是有限的只读资源或者一些开放的 API。比如获取App首页最新闻列表,由于这个数据与用户无关,所以不涉及用户登录与授权,但又不想任何人都可以调用这个WebAPI,这样场景就适用。
refresh_token:
grant_type=refresh_token 上一次的令牌过期时,根据上一次请求返回的refresh_token来刷新accessToken.
该怎么选择类型呢?参考文档https://alexbilbie.com/guide-to-oauth-2-grants/
测试
1.首先Oauth客户端使用Get请求访问以下地址,获取AuthCode
https://server.cas.com:8443/cas/oauth2.0/authorize?response_type=code&client_id=20180901&redirect_uri=http://www.baidu.com
参数说明:
response_type=code,授权码模式
client_id=20180901,这个参数的值是servcie注册的定义的,每个接入系统都分配一个值。
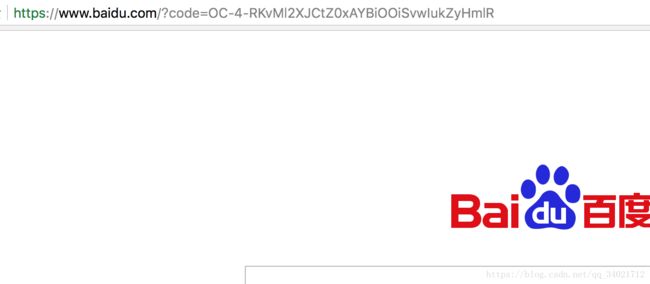
redirect_uri=http://www.baidu.com:这个是认证通过后跳转的地址。认证成功之后会跳转到百度,并且连接后面会带着code参数。

2.根据authCode获取accessToken
https://server.cas.com:8443/cas/oauth2.0/accessToken?grant_type=authorization_code&client_id=20180901&client_secret=123456&code=OC-4-RKvMl2XJCtZ0xAYBiOOiSvwIukZyHmlR&redirect_uri=http://www.baidu.com

3.根据accessToken获取用户信息
https://server.cas.com:8443/cas/oauth2.0/profile?access_token=AT-1-GCE68lY8e2bDjyPAlcXu4FKggRa-3RrX
默认只返回了用户名,想要更多返回参数,参考上篇博客。

上面只是进行code授权码的演示,其他模式请自行测试,测试中出现了不少问题,如下:
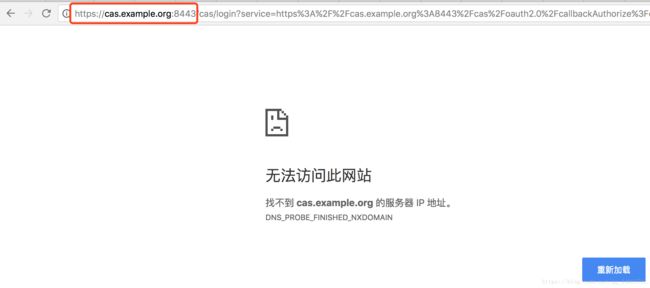
1.访问服务的时候,自动跳转到https://cas.example.org:8443服务器

解决方案:在application.properties中添加如下配置:
#需要配置 server name的信息,不然就会跑到 https://cas.example.org:8443
cas.server.name=https://server.cas.com:${server.port}/cas
cas.server.prefix=${cas.server.name}
2.出现如下异常的原因有很多,比如client_id不存在,或者 authCode已失效,都会报这个异常

cas使用oauth依赖的包很多,而且想要改成分布式的使用redis来存储code 和accessToken 改起来很麻烦,报错什么的都很烂,最后选择自己写了一个Oauth授权,返回码什么都很清晰,可以跟现在的cas集成,就像之前配置验证码似的写一个Controller对外提供服务,这里就不详细介绍了,具体参考前面的博客,可以自己写Oauth。