Android Material Design 系列之 TextInputLayout 使用详解
前言
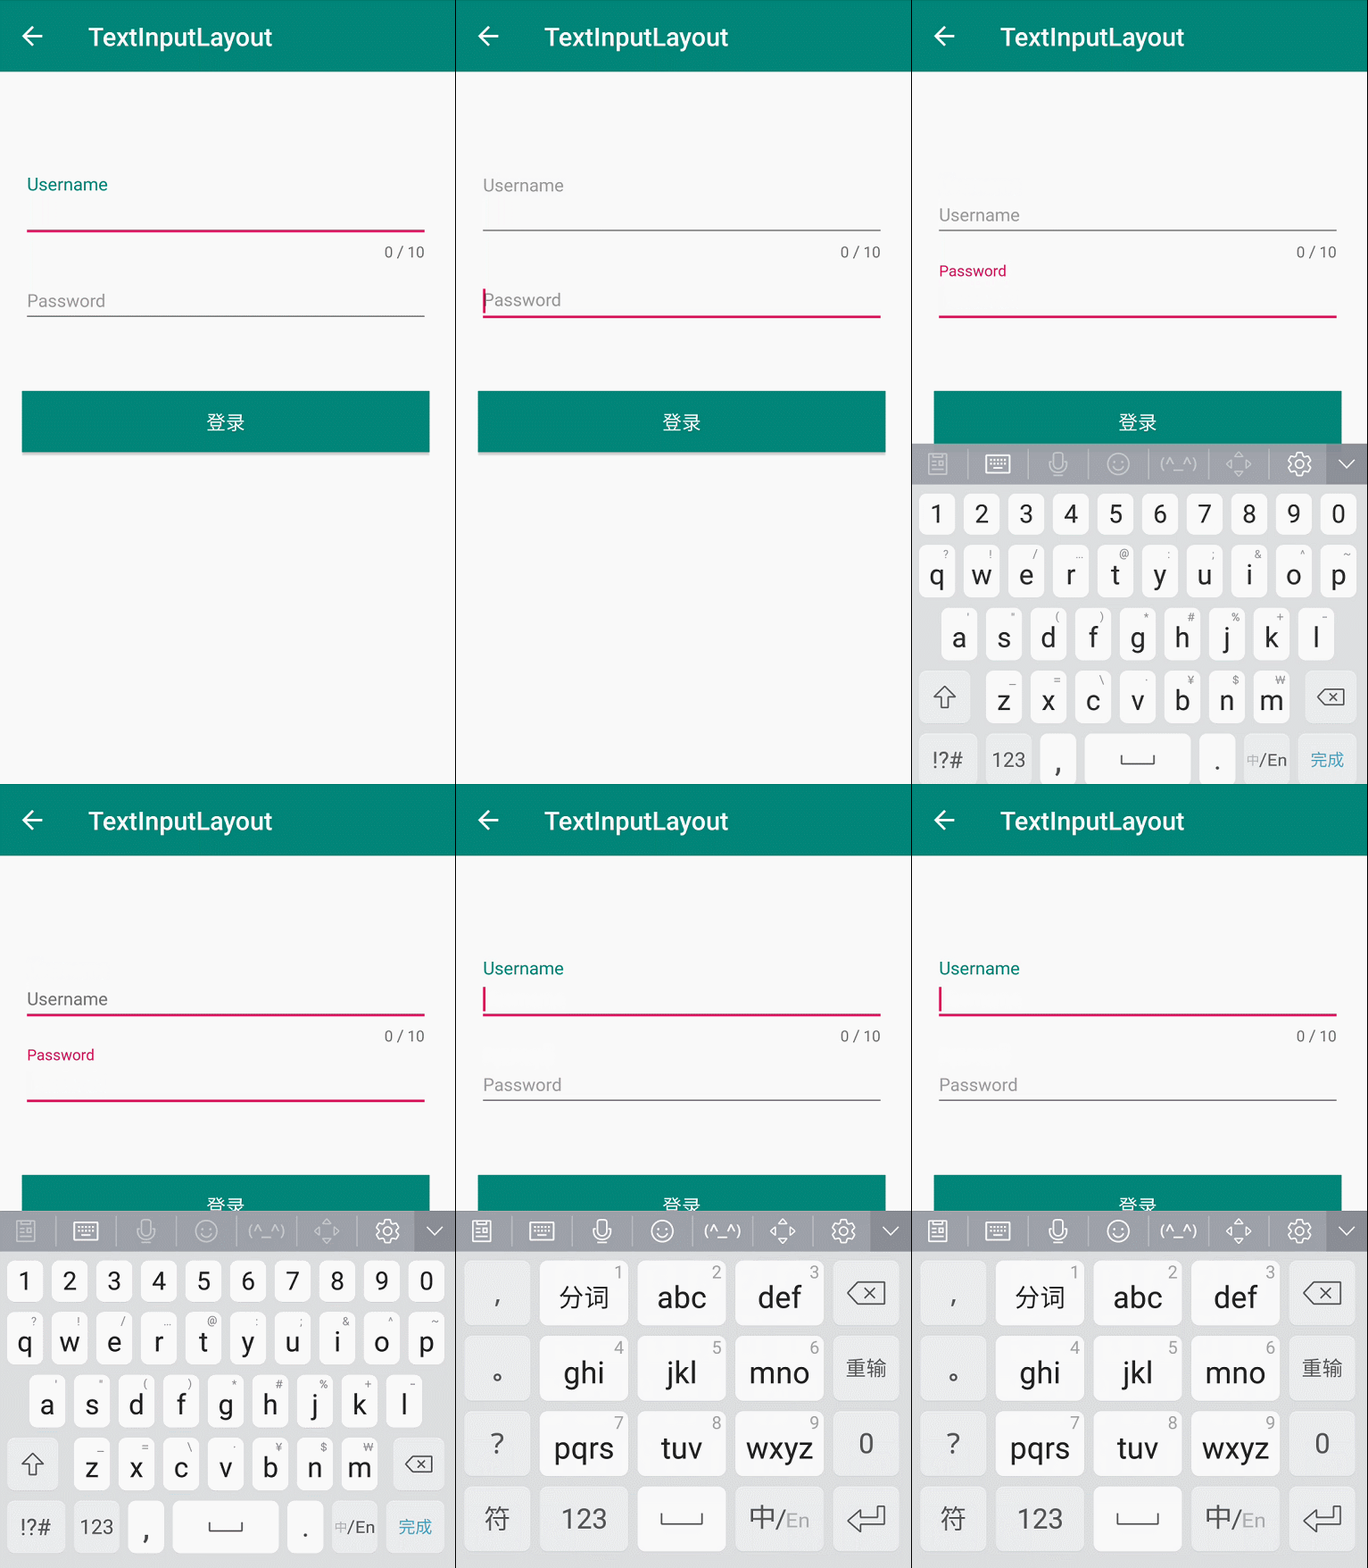
本文是 Material Design 系列第四篇:TextInputLayout 主要是作为 EditText 的容器,从而为 EditText 生成一个浮动的 Label,当用户点击 EditText 的时候,EditText 中的 hint 字符串会自动移到 EditText 的左上角。
TextInputLayout 的简单使用,是 Google 推出的整个 Material Design 库的一个缩影:Google 将 UI 视觉效果设计得华丽且流畅,同时代码封装更为优雅,开发者只需要在 layout.xml 中写好布局文件,就可以轻松在手机屏幕上展现出魔法般的动画效果,实在是妙不可言。
一、TextInputLayout 相关 API
TextInputLayout 控件 API 官网列举了很多,这里只是整理出开发中常用属性,每个方法对应相关 XML 属性感兴趣的可以查查官网文档。
| 方法 | 介绍 |
|---|---|
| setCounterEnabled(boolean enabled) | 在此布局中是否启用了字符计数器功能。 |
| setCounterMaxLength(int maxLength) | 设置要在字符计数器上显示的最大长度。 |
| setBoxBackgroundColorResource(int boxBackgroundColorId) | 设置用于填充框的背景色的资源。 |
| setBoxStrokeColor(int boxStrokeColor) | 设置轮廓框的笔触颜色。 |
| setCounterOverflowTextAppearance(int counterOverflowTextAppearance) | 使用指定的 TextAppearance 资源设置溢出字符计数器的文本颜色和大小。 |
| setCounterOverflowTextColor(ColorStateList counterOverflowTextColor) | 使用 ColorStateList 设置溢出字符计数器的文本颜色。(此文本颜色优先于 counterOverflowTextAppearance 中设置的文本颜色) |
| setCounterTextAppearance(int counterTextAppearance) | 使用指定的 TextAppearance 资源设置字符计数器的文本颜色和大小。 |
| setCounterTextColor(ColorStateList counterTextColor) | 使用 ColorStateList 设置字符计数器的文本颜色。(此文本颜色优先于 counterTextAppearance 中设置的文本颜色) |
| setErrorEnabled(boolean enabled) | 在此布局中是否启用了错误功能。 |
| setErrorTextAppearance(int errorTextAppearance) | 设置来自指定 TextAppearance 资源的错误消息的文本颜色和大小。 |
| setErrorTextColor(ColorStateList errorTextColor) | 设置错误消息在所有状态下使用的文本颜色。 |
| setHelperText(CharSequence helperText) | 设置将在下方显示的帮助消息 EditText。 |
| setHelperTextColor(ColorStateList helperTextColor) | 设置辅助状态在所有状态下使用的文本颜色。 |
| setHelperTextEnabled(boolean enabled) | 在此布局中是否启用了辅助文本功能。 |
| setHelperTextTextAppearance(int helperTextTextAppearance) | 设置指定 TextAppearance 资源中的辅助文本的文本颜色和大小。 |
| setHint(CharSequence hint) | 设置要在浮动标签中显示的提示(如果启用)。 |
| setHintAnimationEnabled(boolean enabled) | 是否获取焦点的时候,hint 文本上移到左上角开启动画。 |
| setHintEnabled(boolean enabled) | 设置是否在此布局中启用浮动标签功能。 |
| setHintTextAppearance(int resId) | 从指定的 TextAppearance 资源设置折叠的提示文本的颜色,大小,样式。 |
| setHintTextColor(ColorStateList hintTextColor) | 从指定的 ColorStateList 资源设置折叠的提示文本颜色。 |
| setPasswordVisibilityToggleEnabled(boolean enabled) | 启用或禁用密码可见性切换功能。 |
二、TextInputLayout 使用详解
1、基本使用
- 布局文件中只需要在 EditText 外层包裹一层 TextInputLayout 布局即可
<com.google.android.material.textfield.TextInputLayout
    android:id="@+id/userInputLayout"
    android:layout_width="match_parent"
    android:layout_height="wrap_content"
    android:hint="Username">

    <EditText
        android:layout_width="match_parent"
        android:layout_height="wrap_content"
        android:textSize="14dp" />

com.google.android.material.textfield.TextInputLayout>
2、开启错误提示
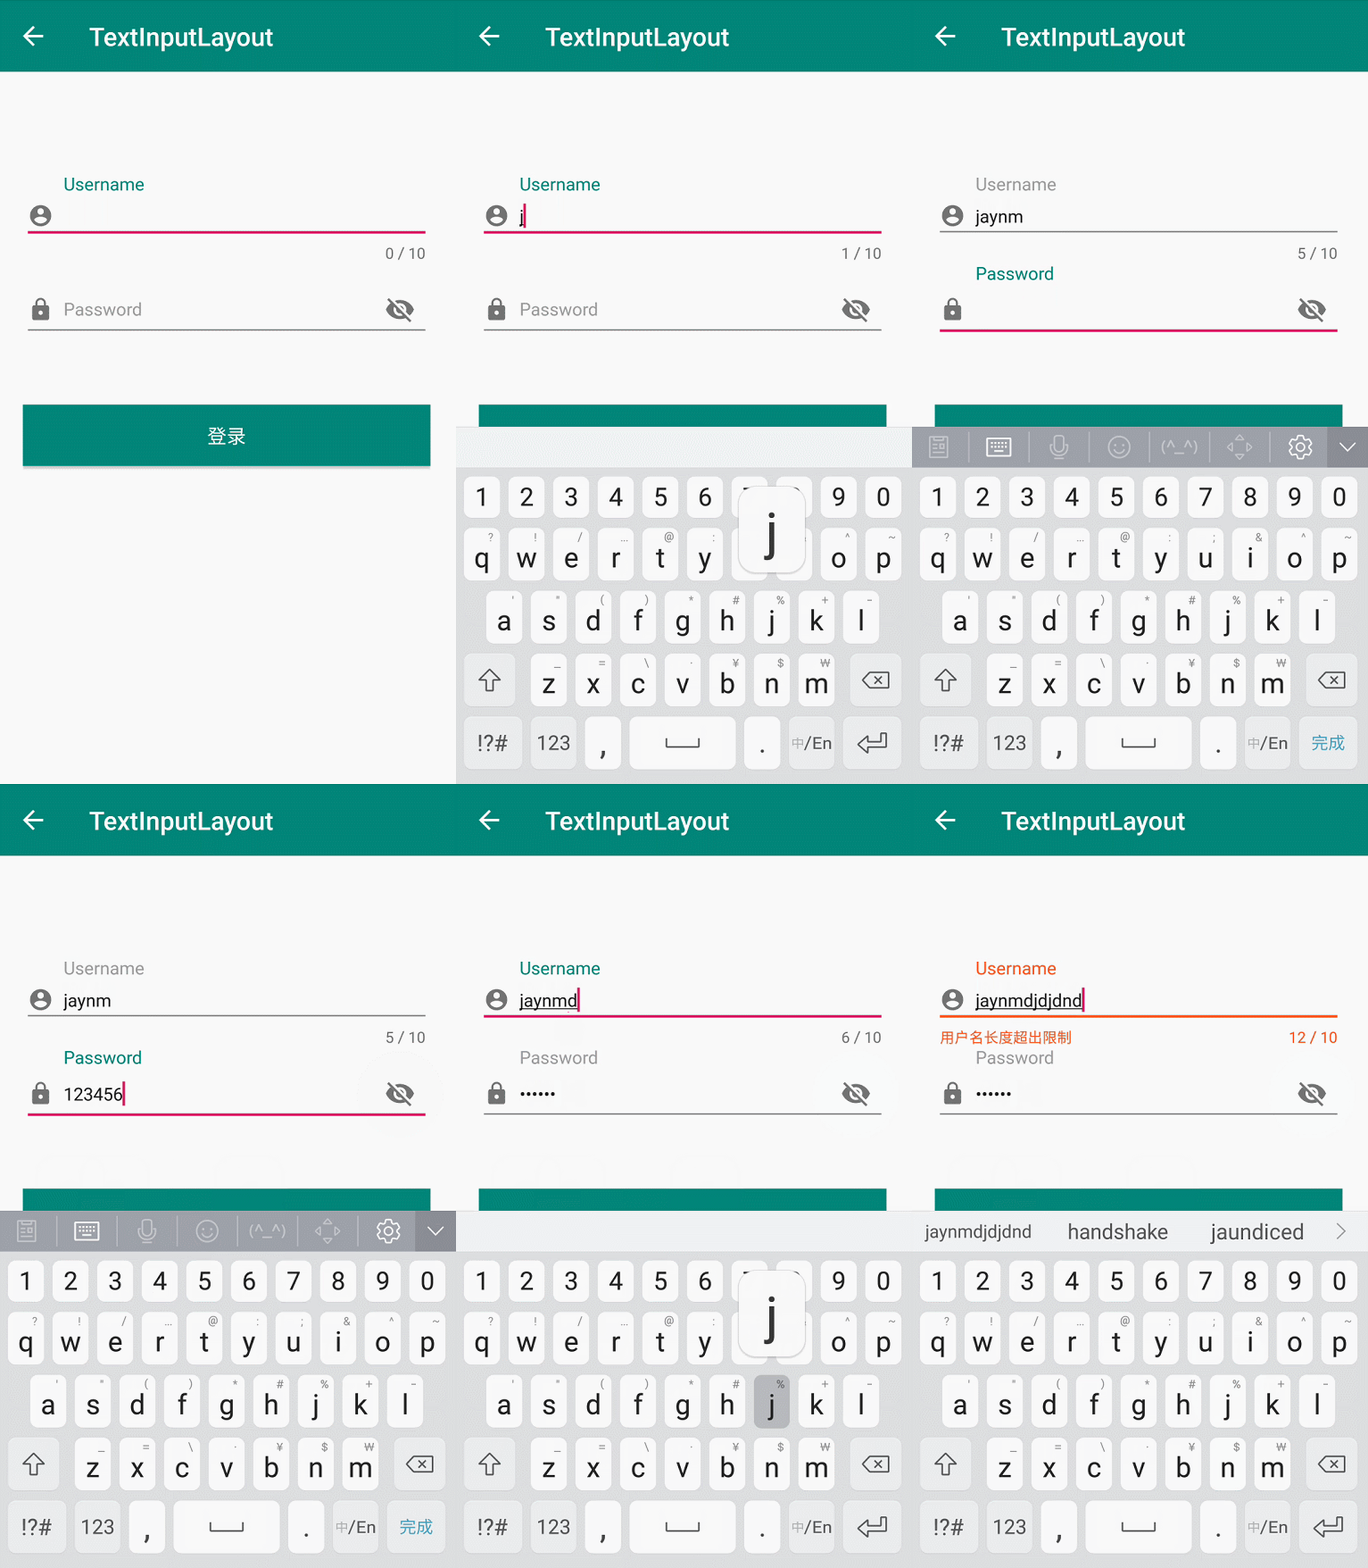
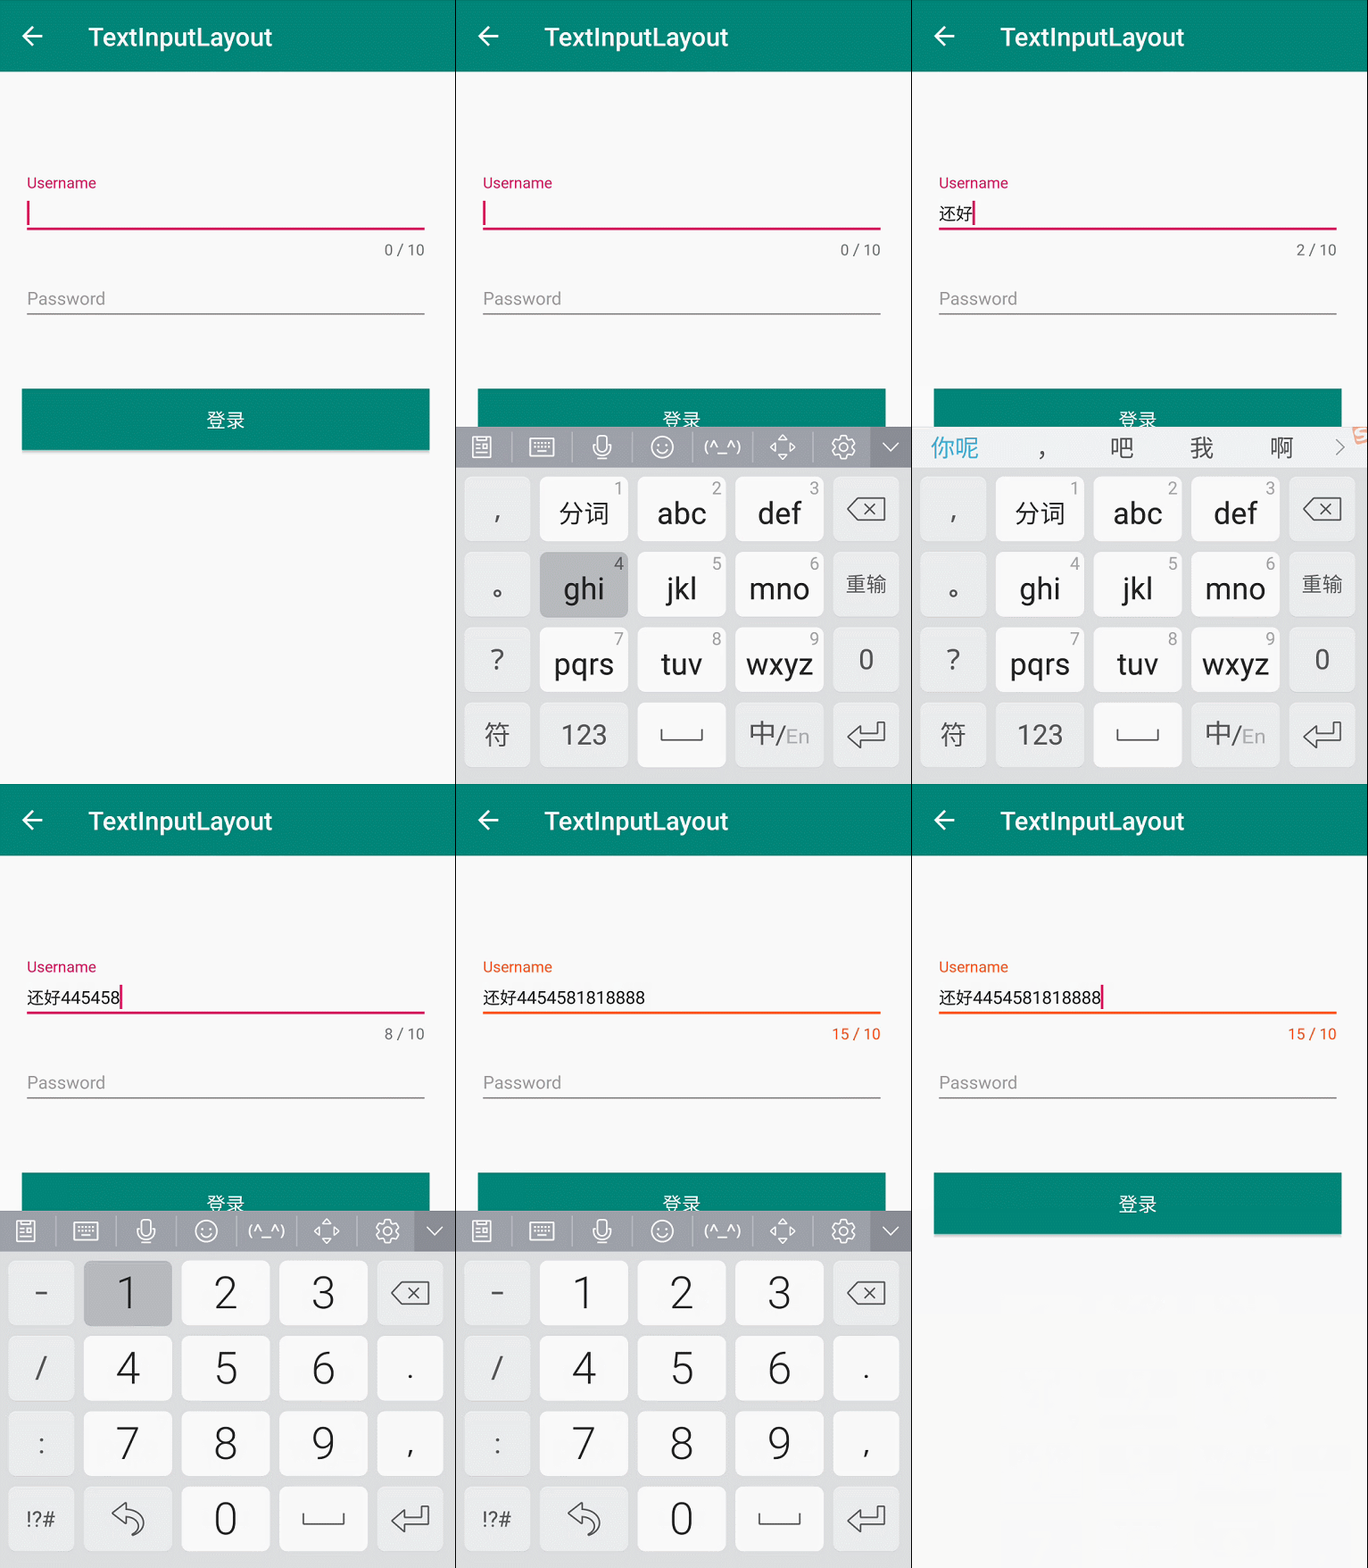
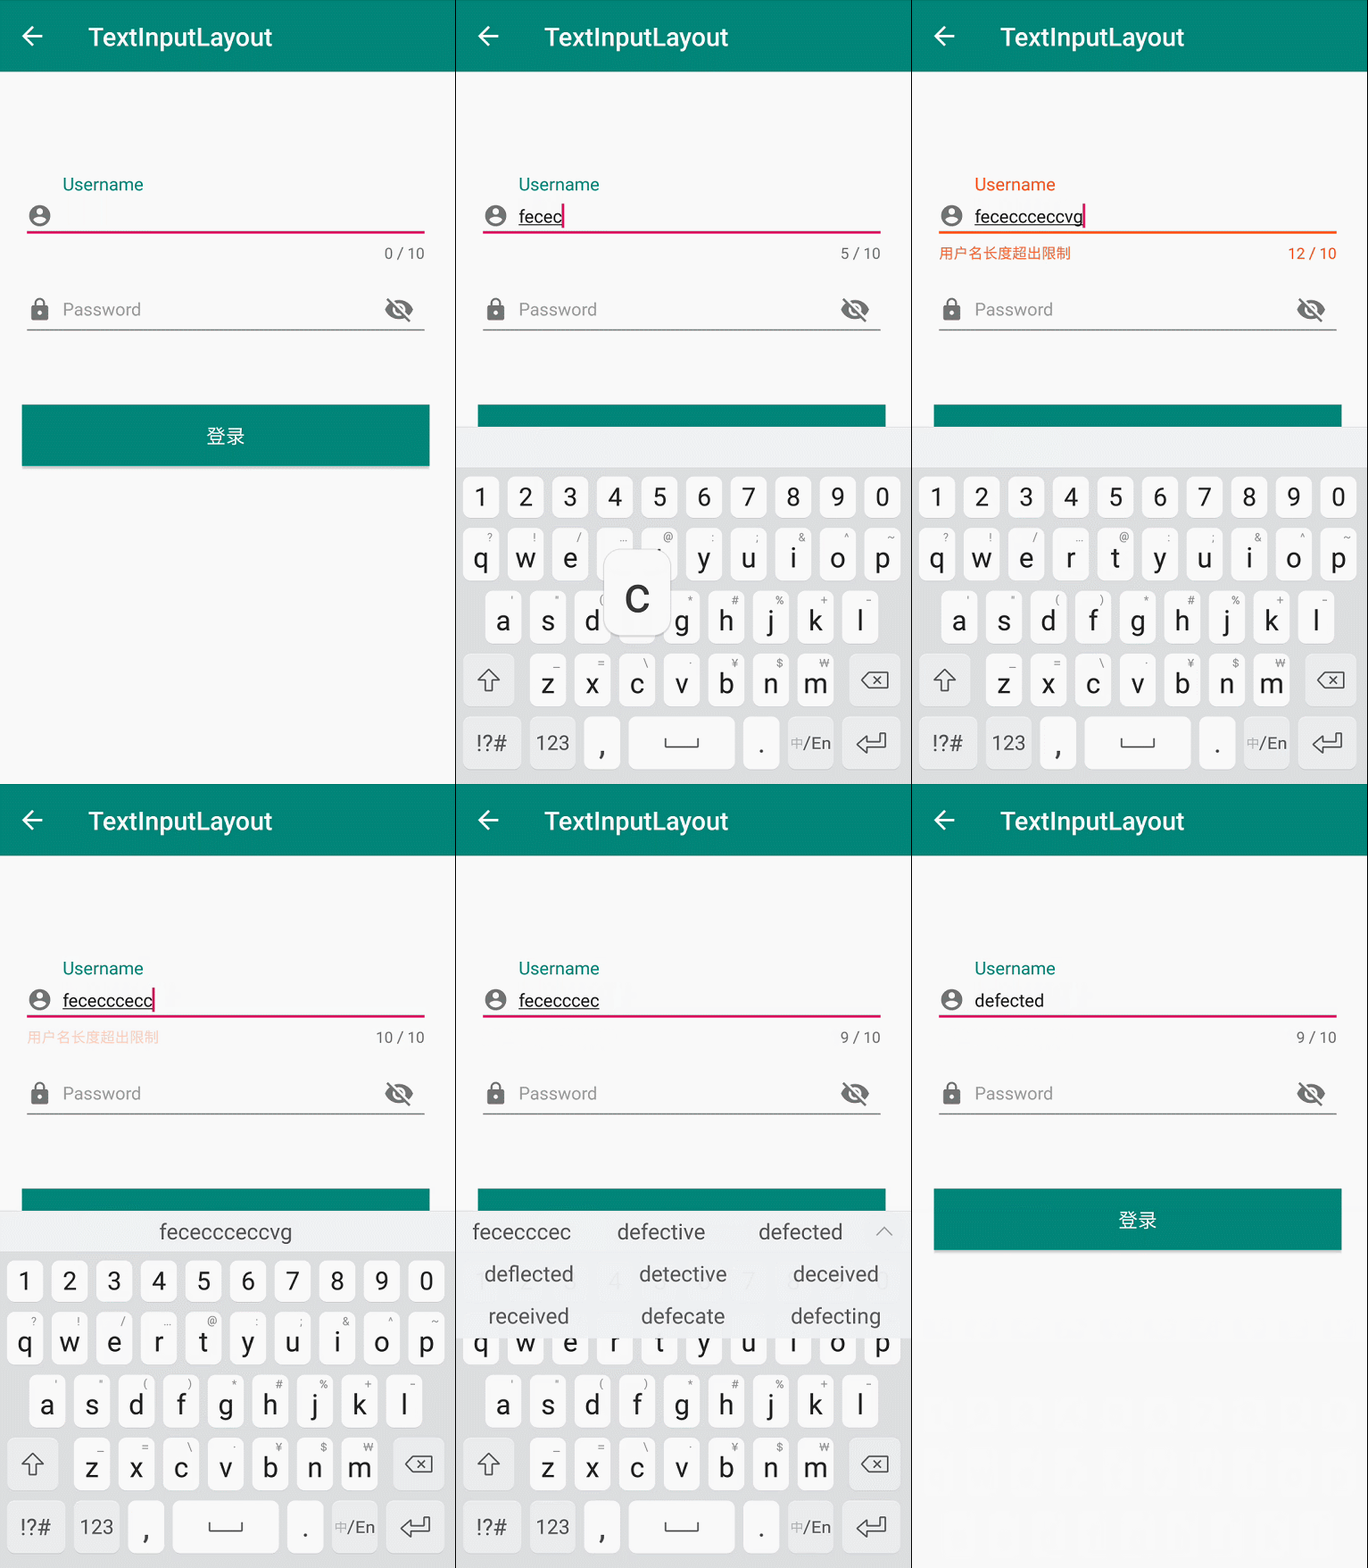
设置文本框输入最大长度,并且开启错误提示,当文本框输入文本长度超出时,报错显示。
// 开启错误提示
userInputLayout.setErrorEnabled(true);
// 开启计数
userInputLayout.setCounterEnabled(true);
// 设置输入最大长度
userInputLayout.setCounterMaxLength(10);
3、自定义浮动标签字体样式
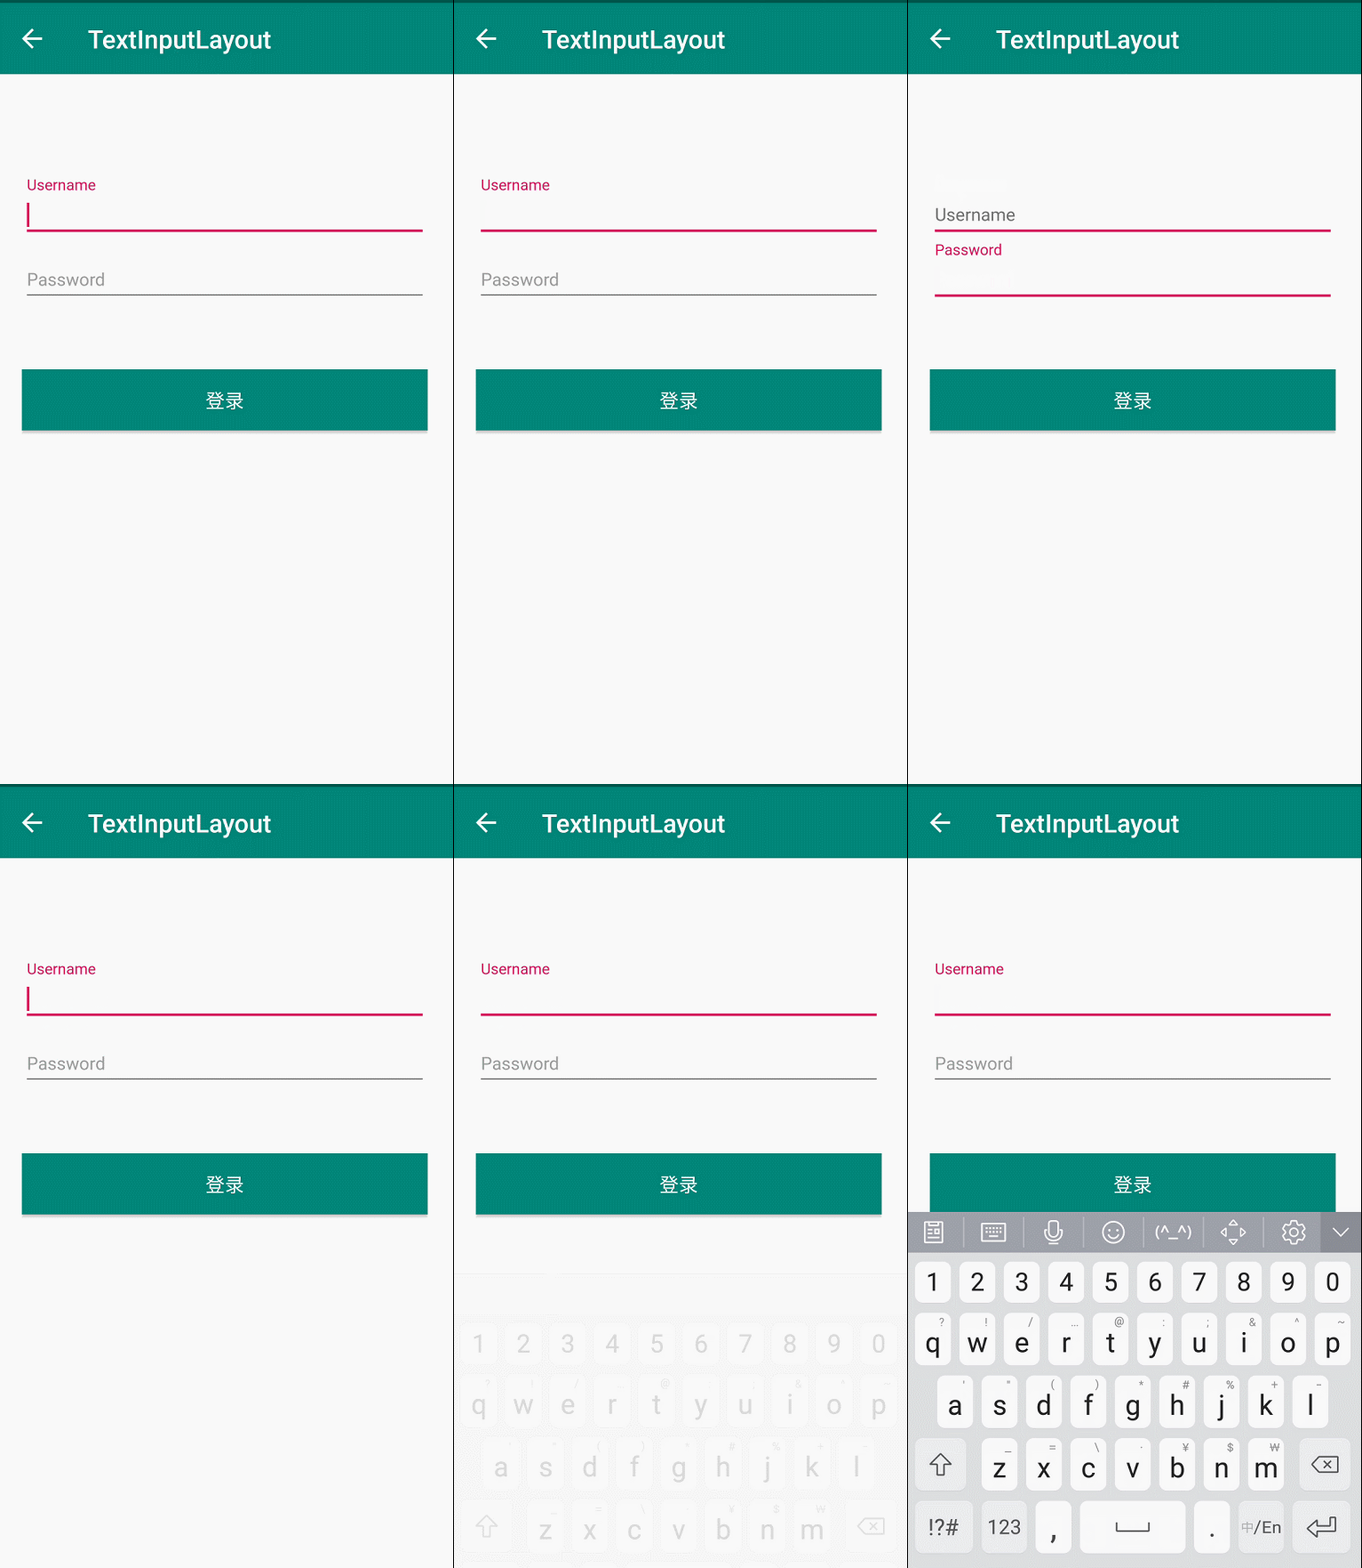
默认浮动标签样式跟 APP 主题色 colorAccent 色值一致,所以需要自定义样式,修改标签字体大小和颜色
- 自定义 style
<style name="hintAppearence" parent="TextAppearance.AppCompat">
- "android:textSize"
>14dp
- "android:textColor">@color/colorPrimary
style>
- 使用 setHintTextAppearance()方法加载自定义样式
userInputLayout.setHintTextAppearance(R.style.hintAppearence);
如图所示,Username 文本框是自定义样式效果,Password 文本框是系统默认效果
TextInputLayout 中所有关于样式的设置方式都采用这种方式,所以这里只举例一种,其他属性直接照搬即可使用 。
4、密码可见性切换
APP 登录界面密码框经常会遇到最右边有一个“小眼睛”图标,点击可以切换密码是否可见,以前我们实现时,使用一个 ImageView,然后根据点击事件判断标记位更新文本框的内容。现在使用 TextInputLayout 只需要一行代码即可轻松实现。
这里使用 XML 属性实现,对应的 setPasswordVisibilityToggleEnabled(boolean enabled) 方法
<com.google.android.material.textfield.TextInputLayout
    android:layout_width="match_parent"
    android:layout_height="wrap_content"
    android:focusable="false"
    android:focusableInTouchMode="false"
    android:hint="Password"
    app:counterOverflowTextAppearance="@style/hintAppearence"
    app:hintTextAppearance="@style/hintAppearence"
    app:passwordToggleEnabled="true">

    <EditText
        android:layout_width="match_parent"
        android:layout_height="wrap_content"
        android:drawableStart="@drawable/ic_baseline_lock_24"
        android:drawablePadding="8dp"
        android:inputType="textPassword"
        android:textSize="14dp" />

com.google.android.material.textfield.TextInputLayout>
以上文本框左边的 icon 使用 EditText 的android:drawableStart属性添加
5、文本框输入校验
一般情况下,APP 用户名称输入都会有校验功能,本文以用户名长度不大于 10 为例,如果超出时,输入框底部报错提示。
采用EditText.addTextChangedListener()方法实现,相信大家对这个监听方法并不陌生,因为没有 TextInputLayout 之前,这个应该是最常用的方式了。
注意:TextInputLayout.getEditText()方法获取的就是内部的 EditText 控件,所以不需要在 Activity 中在 findViewById 初始化 View
userInputLayout.getEditText().addTextChangedListener(new TextWatcher() {

    @Override
    public void beforeTextChanged(CharSequence s, int start, int count, int after) {

        // 文本变化前调用
    }

    @Override
    public void onTextChanged(CharSequence s, int start, int before, int count) {

        // 文本发生变化时调用
    }

    @Override
    public void afterTextChanged(Editable s) {

        // 文本发生变化后调用
        if(userInputLayout.getEditText().getText().toString().trim().length()>10){

            userInputLayout.setError("用户名长度超出限制");
        }else{

            userInputLayout.setError(null);
        }
    }
});
以上五种使用方式应该是开发过程中最常见的功能了,官网关于 TextInputLayout 属性太多了,好多属性我自己到现在都没理解干什么的。不过只要掌握开发中这些常用的属性就足够了,TextInputLayout 底层实现了 LinearLayout,感兴趣的朋友可以查看阅读源码深入学习。
源码下载 源码包含 Material Design 系列控件集合,定时更新,敬请期待!
三、总结
本片文章已经是 Material Design 系列第四篇了,我会坚持把 Material Design 系列控件全部介绍完毕,最后会将所有的 Demo 整合一套源码分享给大家,敬请期待!相信看完我的博客对你学习 Material Design UI 控件有一定的帮助,因为我会把每个控件开发中的基本使用详细讲解,简单易懂。
我的微信:Jaynm888
欢迎点评,
诚邀 Android 程序员加入微信交流群,公众号回复加群或者加我微信邀请入群。
![]()
