快速将wax配置到项目中进行lua开发
通过Finder浏览到你保存该项目的文件夹。创建三个新的文件夹:wax、scripts和Classes。
第一:首先,下载源代码的压缩包。Wax放在GitHub上(https://github.com/probablycorey/wax)
第二:现在,执行下列操作:
◆ 拷贝lib和bin文件夹,把它们粘贴到位于WaxApplication项目文件夹里面的wax文件夹。打开WaxApplication项目文件夹里面的wax/lib/extensions/文件夹。删除SQLite和xml文件夹,
◆ 将xcode-template/Classes/ProtocolLoader.h拷贝到Classes项目文件夹。
◆ 拷贝xcode-template/scripts/文件夹的内容,将它放到scripts项目文件夹里面。
现在用Finder选择Classes、scripts和wax文件夹,把它们拖入到Xcode项目中。
第三:改动main.m 为如下
  //这是发生奇迹的地方!

   // Wax并不使用nib文件来装入主视图,一切在AppDelegate.lua文件里面完成

   #import <UIKit/UIKit.h>

   #import "wax.h"

   #import "wax_http.h"

   #import "wax_json.h"

   #import "wax_filesystem.h"

   int main(int argc, char *argv[]) {

   NSAutoreleasePool * pool =[[NSAutoreleasePool alloc] init];


   wax_start("AppDelegate.lua", luaopen_wax_http, luaopen_wax_json, luaopen_wax_filesystem, nil);


   int retVal = UIApplicationMain(argc, argv, nil, @"AppDelegate");

   [pool release];

   return retVal;

   }
第三,删除不必要的文件
删除MainWindow.xib、WaxApplicationAppDelegate.h和WaxApplicationAppDelegate.m三个文件。打开WaxApplication/Supporting Files/WaxPallication-Info.plist,然后删除键是Main nib file base name的那一行。
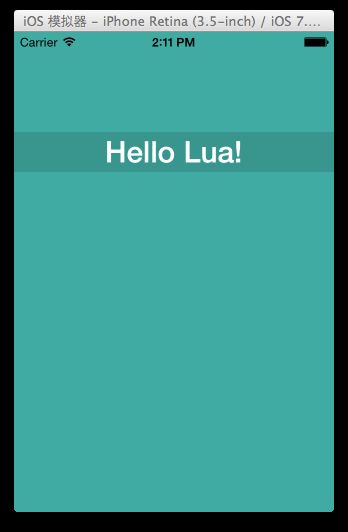
第四,运行程序,我们会看到如下画面。
完成以上步骤并运行后,我遇到的如下问题:
/Desktop/WaxApplication/wax/lib/wax_server.h:46:12: Class 'HACK_WAX_DELEGATE_IMPLEMENTOR' defined without specifying a base class
源代码

// This is needed because the runtime doesn't automatically load protocols

@interface HACK_WAX_DELEGATE_IMPLEMENTOR <WaxServerDelegate> {}

@end
修改后的代码

// This is needed because the runtime doesn't automatically load protocols

@interface HACK_WAX_DELEGATE_IMPLEMENTOR : NSObject  <WaxServerDelegate> {}

@end
修复方式:为 HACK_WAX_DELEGATE_IMPLEMENTOR 添加一个 NSObject 基类即可。
最终运行后效果:

注意:其它的教程中会让设置Shell脚本,但是我没有设置,也运行成功了。如果需要设置shell脚本,请参考如下步骤:
在右边窗格中,寻找Targets标题,点击WaxApplication。点击Build Phases(构建阶段)选项卡。点击Copy Bundle Resources(复制捆绑资源),清除所有lua文件。
◆ 在右下角,先点击Add Build Phase(添加构建阶段),再点击Add Run Script(添加运行脚本)。
◆ 将Shell设成/bin/zsh
◆ 将Shell下面的文本区域设成$PROJECT_DIR/wax/lib/build-scripts/copy-scripts.sh。
【Wax】使用Wax (非framework方式,XCode 4.6)
