OKE上搭建Verrazzano实战
Step1,创建OKE集群(Shape选择VM2.4以上),详细略。
Note: 如果是使用Cloud Shell,请直接到Step5。
Step2,下载安装kubectl 1.16.8(2020-09-08时点,OKE支持的最新版本是1.16.8)
curl -LO https://storage.googleapis.com/kubernetes-release/release/v1.16.8/bin/linux/amd64/kubectl
chmod +x kubectl
sudo mv ./kubectl /usr/local/bin/
Step3,下载安装helm v3.1.2(2020-09-08时点,使用最新版的helm v3.3.1有问题)
wget https://get.helm.sh/helm-v3.1.2-linux-amd64.tar.gz
tar zxvf helm-v3.1.2-linux-amd64.tar.gz && rm -rf helm-v3.1.2-linux-amd64.tar.gz
chmod +x linux-amd64/helm
sudo mv ./linux-amd64/helm /usr/local/bin/
rm -rf linux-amd64/
Step4,安装配置OCI CLI
bash -c "$(curl -L https://raw.githubusercontent.com/oracle/oci-cli/master/scripts/install/install.sh)"
配置OCI CLI,详细略。
oci setup config
Step5,配置OKE
mkdir -p $HOME/.kube
# 请修改Step6,安装Verrazzano
sudo yum install -y git
git clone https://github.com/verrazzano/verrazzano && cd verrazzano
export CLUSTER_TYPE=OKE
export VERRAZZANO_KUBECONFIG=~/.kube/config
export KUBECONFIG=~/.kube/config
# 请修改和
kubectl create secret docker-registry ocr --docker-username=<username> --docker-password=<password> --docker-server=container-registry.oracle.com
# 请在每个shell执行后,确认所有pods都正常变成Running状态后,在执行下一个shell
./install/1-install-istio.sh
./install/2a-install-system-components-magicdns.sh
./install/3-install-verrazzano.sh
./install/4-install-keycloak.sh
Step7,发布example应用bobs-books
访问Oracle Container Registry,Select Middleware, review, and Sign in to accept the licenses for the WebLogic and Coherence images.
Select Verrazzano, review, and accept the licenses for the four repositories listed at the top of the page: example-bobbys-coherence, example-bobbys-front-end, example-bobs-books-order-manager, and example-roberts-coherence.
kubectl create secret generic bobs-bookstore-weblogic-credentials \
        --from-literal=username=weblogic \
        --from-literal=password=welcome1

kubectl create secret generic bobbys-front-end-weblogic-credentials \
        --from-literal=username=weblogic \
        --from-literal=password=welcome1
kubectl create ns bob
kubectl create secret generic mysql-credentials \
        --from-literal=username=books \
        --from-literal=password=WebLogic1234 \
        -n bob
kubectl apply -f ./examples/bobs-books/mysql.yaml
kubectl apply -f ./examples/bobs-books/bobs-books-model.yaml
# 修改./examples/bobs-books/bobs-books-binding.yaml
vi ./examples/bobs-books/bobs-books-binding.yaml
---修改前
  ingressBindings:
    - name: "bobbys-ingress"
      dnsName: "*"
    - name: "bobs-ingress"
      dnsName: "*"
    - name: "roberts-ingress"
      dnsName: "*"
---
---修改后
  ingressBindings:
    - name: "bobbys-ingress"
      dnsName: "bobbys-books.xip.io"
    - name: "bobs-ingress"
      dnsName: "bobs-books.xip.io"
    - name: "roberts-ingress"
      dnsName: "roberts-books.xip.io"
---
kubectl apply -f ./examples/bobs-books/bobs-books-binding.yaml
Step8,配置自定义hosts
# 获取nginx-ingress的LoadBalancer IP
export NGINX_INGRESS_IP=$(kubectl get svc ingress-controller-nginx-ingress-controller -n ingress-nginx -o json | jq -r '.status.loadBalancer.ingress[0].ip')
# 追加到/etc/hosts文件中
sudo su - << FOE
echo "${NGINX_INGRESS_IP} rancher.default.${NGINX_INGRESS_IP}.xip.io keycloak.default.${NGINX_INGRESS_IP}.xip.io grafana.vmi.system.default.${NGINX_INGRESS_IP}.xip.io prometheus.vmi.system.default.${NGINX_INGRESS_IP}.xip.io kibana.vmi.system.default.${NGINX_INGRESS_IP}.xip.io elasticsearch.vmi.system.default.${NGINX_INGRESS_IP}.xip.io" >> /etc/hosts
FOE
# 获取istio-ingressgateway的LoadBalancer IP
export ISTIO_INGRESS_IP=$(kubectl get svc istio-ingressgateway -n istio-system -o json | jq -r '.status.loadBalancer.ingress[0].ip')
sudo su - << FOE
echo "${ISTIO_INGRESS_IP} bobbys-books.xip.io bobs-books.xip.io roberts-books.xip.io" >> /etc/hosts
FOE
Step9,访问bobs-books应用。
使用浏览器打开,http://roberts-books.xip.io/books

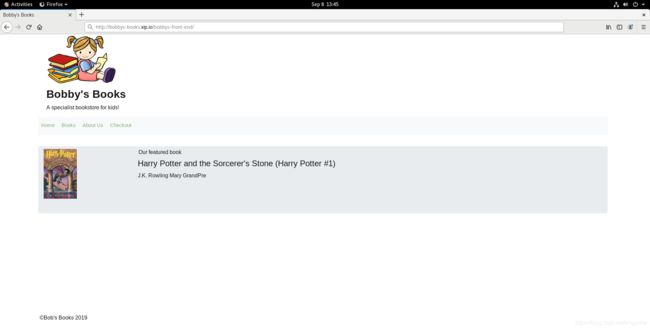
使用浏览器打开,http://bobbys-books.xip.io/bobbys-front-end/
使用浏览器打开,http://bobs-books.xip.io/bobs-bookstore-order-manager/order
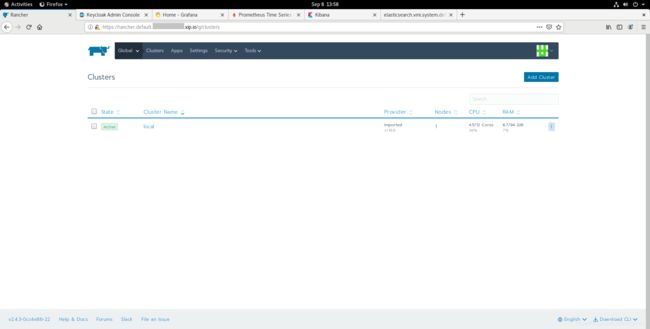
Step10,访问Rancher。
# 获取用户admin的密码
kubectl get secret --namespace cattle-system rancher-admin-secret -o jsonpath={
     .data.password} | base64 --decode; echo
使用浏览器打开(请先修改
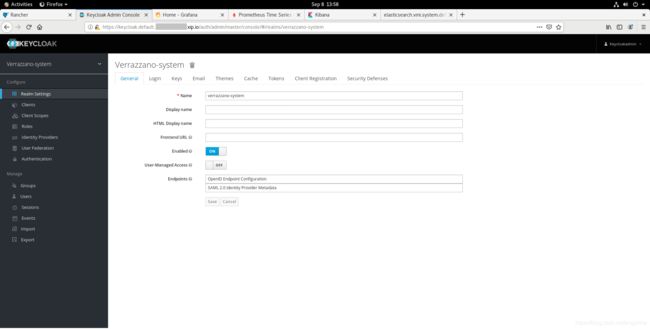
Step11,访问Keycloak。
# 获取用户keycloakadmin的密码
kubectl get secret --namespace keycloak keycloak-http -o jsonpath={
     .data.password} | base64 --decode; echo
使用浏览器打开(请先修改
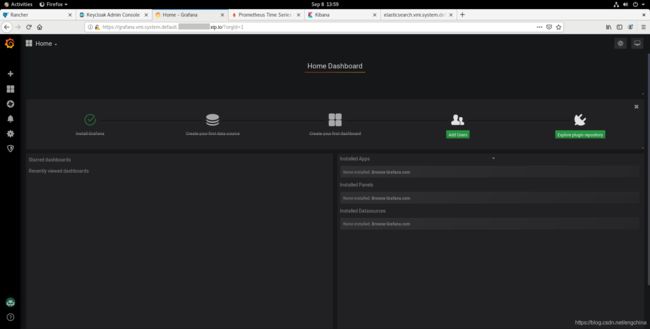
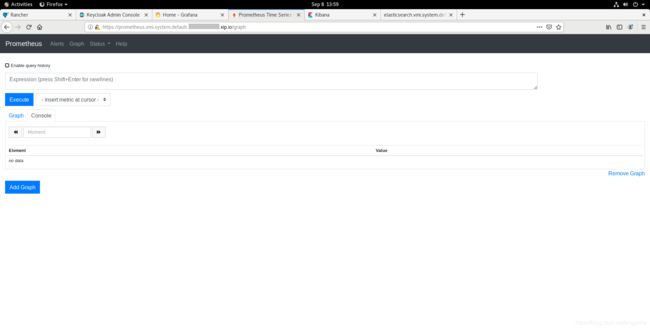
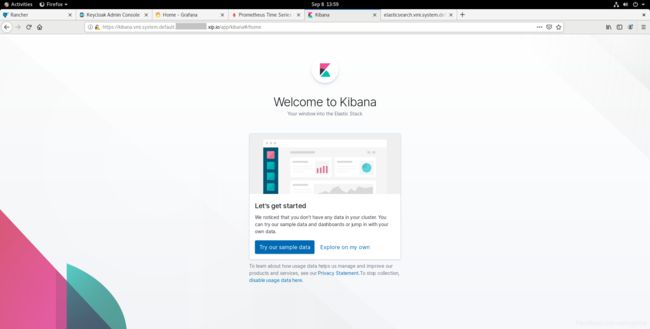
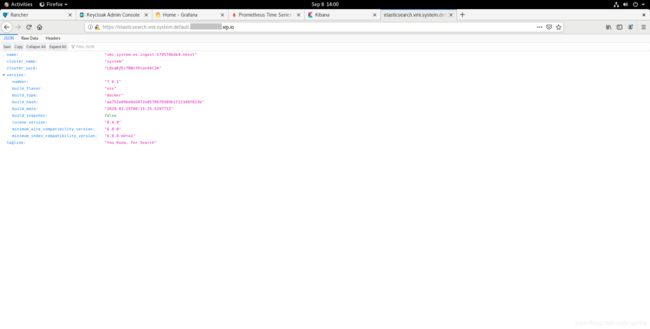
Step12,Grafana,Prometheus,Kibana,Elasticsearchbobs-books应用。
# 获取用户verrazzano的密码
kubectl get secret --namespace verrazzano-system verrazzano -o jsonpath={
     .data.password} | base64 --decode; echo
使用浏览器打开(请先修改
使用浏览器打开(请先修改
使用浏览器打开(请先修改
使用浏览器打开(请先修改
完结!

