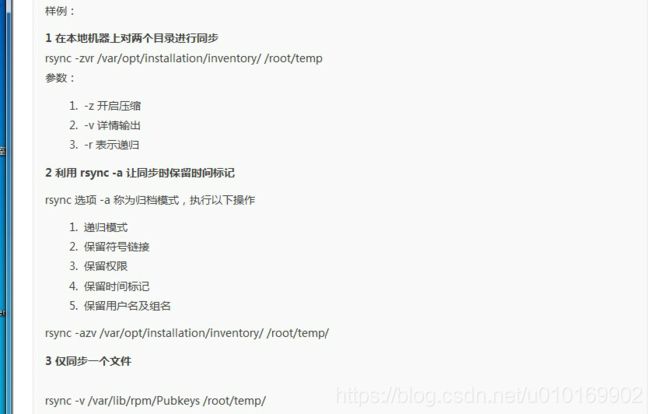
rsync搭建
http://wenku.baidu.com/link?url=WdRjz_UUZRDdmb1kW4VG3RjbP9u1mCZg2C7qeDirBo5CnnfmVl66Qe5renChHWswxjgqMtdAU0L0KZ4VRz5uQ88o90vLJF38-ZXx7yt9lpS
http://www.cnblogs.com/mchina/p/2829944.html
3.1. 检查rsync 是否已经安装
rpm -qa|grep rsync
若已经安装,则使用rpm -e 命令卸载。
3.2. 下载RPM包
wget http://pkgs.repoforge.org/rsync/rsync-3.0.9-2.el6.rfx.x86_64.rpm
3.3. 安装rsync
rpm -ivh rsync-3.0.9-2.el6.rfx.x86_64.rpm
4.修改 /etc/xinetd.d/rsync 配置文件以适合您的需要。例如,您可以修改配置行
server_args = --daemon
5.创建相应的目录
mkdir /etc/rsyncd
touch /etc/rsyncd/rsyncd.conf
ln -s /etc/rsyncd/rsyncd.conf /etc/rsyncd.conf
6.最简单的独立运行 rsync 服务的方法是执行如下的命令:
/usr/bin/rsync --daemon
7. vi /etc/rsyncd/rsyncd.conf
# Minimal configuration file for rsync daemon
# See rsync(1) and rsyncd.conf(5) man pages for help
# This line is required by the /etc/init.d/rsyncd script# GLOBAL OPTIONS
uid = root
gid = root
use chroot = no
read only = yes
#limit access to private LANs
hosts allow=172.16.0.0/255.255.0.0 192.168.1.0/255.255.255.0 10.0.1.0/255.255.255.0
hosts deny=*
max connections = 5
pid file = /var/run/rsyncd.pid
secrets file = /etc/rsyncd/rsyncd.secrets
#lock file = /var/run/rsync.lock
motd file = /etc/rsyncd/rsyncd.motd
#This will give you a separate log file
log file = /var/log/rsync.log
#This will log every file transferred - up to 85,000+ per user, per sync
transfer logging = yes
log format = %t %a %m %f %b
syslog facility = local3
timeout = 300
# MODULE OPTIONS
[lixin360.com]
path = /home/mailbox/lixin360.com
list=yes
ignore errors
auth users = david
comment = David home
exclude = important/
8. 建立/etc/rsyncd/rsyncd.secrets文件
# vim /etc/rsyncd/rsyncd.secrets
david:asdf
china:jk
# chown root:root /etc/rsyncd/rsyncd.secrets
# chmod 600 /etc/rsyncd/rsyncd.secrets
9. vi /etc/rsyncd/rsyncd.motd
+++++++++++++++++++++++++++
+ David Camp +
+++++++++++++++++++++++++++
10. netstat -an | grep 873
如果rsync启动成功的话可以看到873端口已经在监听了。
客户端安装
yum -y install rsync
场景一:
# rsync -avzP [email protected]::lixin360.com /mnt/usb/
Password: 这里要输入david的密码,是服务器端提供的,在前面的例子中,我们用的是 asdf,输入的密码并不显示出来;输好后就回车;
注: 这个命令的意思就是说,用david 用户登录到服务器上,把davidhome数据,同步到本地目录/tmp/david/上。当然本地的目录是可以你自己定义的,比如 dave也是可以的;当你在客户端上,当前操作的目录下没有davidhome这个目录时,系统会自动为你创建一个;当存在davidhome这个目录中,你要注意它的写权限。
场景二:
# rsync -avzP --delete [email protected]::lixin360.com /mnt/usb/
这回我们引入一个 -delete 选项,表示客户端上的数据要与服务器端完全一致,如果 /tmp/david/目录中有服务器上不存在的文件,则删除。最终目的是让/tmp/david/目录上的数据完全与服务器上保持一致;用的时候要小心点,最好不要把已经有重要数所据的目录,当做本地更新目录,否则会把你的数据全部删除;
场景三:
# rsync -avzP --delete --password-file=/tmp/rsync.password [email protected]::lixin360.com /mnt/usb/
这次我们加了一个选项 -password-file=rsync.password ,这时当我们以david用户登录rsync服务器同步数据时,密码将读取 /tmp/rsync.password 这个文件。这个文件内容只是david用户的密码。我们要如下做;
# touch /tmp/rsync.password
# chmod 600 /tmp/rsync.password
# echo "asdf"> /tmp/rsync.password
# rsync -avzP --delete --password-file=/tmp/rsync.password [email protected]::lixin360.com /mnt/usb/
注: 这样就不需要密码了;其实这是比较重要的,因为服务器通过crond 计划任务还是有必要的;
5.3. rsync 客户端自动与服务器同步数据
编辑crontab
# crontab -e
加入如下代码:
10 0 * * * rsync -avzP --delete --password-file=/tmp/rsync.password [email protected]::lixin360.com /mnt/usb/
备份需要关闭selinux
http://www.open-open.com/lib/view/open1373187761487.html
scp 只能完全备份,不能增量备份。
rsync ssh 协议