利用ali OTTER 实时同步业务数据到数据仓库
1.背景
公司要求是某些业务报表达到实时标准,数据量最多的表大概400W+,报表逻辑复杂,计算一年24W数据,整个程个流程下来差不多一个小时,主要时间耗在全量数据同步跟计算上。年后大概实时需求会更多,数据量会更大,各分部数据到会到数据仓库。用脚本增量同步有限制,主要因为业务数据每天定时批量更新,周期是分钟,每次更新至少10W以上,脚本从下载数据到导入数据之后计算,流程复杂,时间太长。所以首先要解决的是数据实时同步到数据仓库。
2.OTTER 介绍
安装步骤,原理介绍 参考:https://yq.aliyun.com/articles/223077?utm_content=m_32233
上面安装会有点小问题,自己安装研究了下:详见下面
2.1 软件版本表
需要软件:java,MYSQL5.x,manager,node,ZOOKEEPER,aria2
| 软件名 | 版本号 | 备注 |
| JAVA | 1.8.0_131 | |
| mysql | 5.6 | |
| manager | 4.2.12 | 最新版是,新版下载安装后发现实际目录结构跟启动脚本中路径不匹配. 例如:启动脚本配置文件是conf目录里面,然而实际的目录结构没有conf而是resource目录。 |
| node | 4.2.12 | 与manager版本保持一致 |
| zookeeper | 3.4.10 | |
| aria2 | 1.15.2 | 下载插件,manager邮件提醒用,启动node是会检查,没有会报错。 |
2.2 安装
mysql java 安装这里不做说明,其他博客有说明。
mysql配置:
show variables like 'binlog_format'   #binlong 格式必须是row
show variables like '%server_id%'     #必须有server_id,该参数跟数据库复制有关,详情看官网
show variables like '%char%'   #字符集character_set_server 必须是utf8,否则配置数据源表验证不通过。
#my.ini
[mysqld] 添加以下配置
character-set-server=utf8
collation-server=utf8_general_ci
binlog_format=row
log-bin=mysql-bin
server_id=1初始化otter manager系统表:
[otter@user node]$  wget https://raw.github.com/alibaba/otter/master/manager/deployer/src/main/resources/sql/otter-manager-schema.sql
[otter@user node]$  mysql -h127.0.0.1 -uroot -p******* otter -e "source otter-manager-schema.sql";
2.2.1 zookeeper 安装
下载解压zookeeper 到/usr/local/zookeeper目录下:
[root@master conf]# cp zoo_sample.cfg  zoo.cfg
[root@master conf]# cat zoo.cfg |grep -v ^#
tickTime=2000
initLimit=10
syncLimit=5
dataDir=/var/lib/zookeeper
clientPort=2181
server.1=192.168.1.132:3887
[root@master conf]#
[root@master zookeeper-3.4.10]# ./bin/zkServer.sh  start --启动
ZooKeeper JMX enabled by default
Using config: /usr/local/zookeeper/zookeeper-3.4.10/bin/../conf/zoo.cfg
Starting zookeeper ... STARTED
[root@master zookeeper-3.4.10]#
[root@master zookeeper-3.4.10]# ./bin/zkServer.sh  stop    --关闭
ZooKeeper JMX enabled by default
Using config: /usr/local/zookeeper/zookeeper-3.4.10/bin/../conf/zoo.cfg
Stopping zookeeper ... STOPPED
2.2.2 aria2 安装
下载解压aria2 到/usr/local/aria2/aria2-1.15.2(目录没有统一好,因为之前装了一个新版本1.33.1,在编译时要GCC>4.7 )
[root@master aria2-1.15.2]# ./configure
[root@master aria2-1.15.2]# make
[root@master aria2-1.15.2]# make install
#########标准源码安装三部曲############
[root@master aria2-1.15.2]# aria2c -v
aria2 version 1.15.2
Copyright (C) 2006, 2012 Tatsuhiro Tsujikawa


This program is free software; you can redistribute it and/or modify
it under the terms of the GNU General Public License as published by
the Free Software Foundation; either version 2 of the License, or
(at your option) any later version.


This program is distributed in the hope that it will be useful,
but WITHOUT ANY WARRANTY; without even the implied warranty of
MERCHANTABILITY or FITNESS FOR A PARTICULAR PURPOSE.  See the
GNU General Public License for more details.


** Configuration **
Enabled Features: BitTorrent, GZip, HTTPS, Message Digest
Hash Algorithms: sha-1, sha-224, sha-256, sha-384, sha-512, md5


Report bugs to [email protected]
Visit http://aria2.sourceforge.net/
直接安装:
[root@test6 ~]# yum install epel-release
[root@test6 ~]# yum install aria2 -yOTTER安装在otter用户下,家目录结构如下: manager,node分别解压到otter-manager和otter-node目录
[otter@master ~]$ ll
总用量 41092
-rw-r--r--. 1 otter otter 24385075 2月   4 15:03 manager.deployer-4.2.12.tar.gz
-rw-r--r--. 1 otter otter 17663670 2月   4 15:03 node.deployer-4.2.12.tar.gz
drwxrwxr-x. 7 otter otter     4096 2月   4 15:13 otter-manager
-rw-rw-r--. 1 otter otter    11298 2月   4 15:02 otter-manager-schema.sql
drwxr-xr-x. 6 otter otter     4096 12月  5 19:48 otter-master     #之前下的最新版,里面包含manager node 包,但是目录不对
drwxrwxr-x. 9 otter otter     4096 2月   4 17:05 otter-node
[otter@master ~]$
otter manager 配置:
[otter@master conf]$ cd /home/otter/otter-manager/conf
[otter@master conf]$ cat otter.properties |grep -v ^#|grep -v ^$
otter.domainName = 127.0.0.1    #修改成实际IP
otter.port = 8080
otter.jetty = jetty.xml
otter.database.driver.class.name = com.mysql.jdbc.Driver
otter.database.driver.url = jdbc:mysql://127.0.0.1:3306/otter   #数据库配置 需要手动初始化系统表!!!。
otter.database.driver.username = root
otter.database.driver.password = 123456
otter.communication.manager.port = 1099
otter.communication.pool.size = 10
otter.zookeeper.cluster.default = 127.0.0.1:2181
otter.zookeeper.sessionTimeout = 60000
otter.manager.address = ${otter.domainName}:${otter.communication.manager.port}
otter.manager.productionMode = true
otter.manager.monitor.self.enable = true
otter.manager.monitor.self.interval = 120
otter.manager.monitor.recovery.paused = true
otter.manager.monitor.email.host = smtp.gmail.com
otter.manager.monitor.email.username =
otter.manager.monitor.email.password =
otter.manager.monitor.email.stmp.port = 465
启动manager:
[otter@master otter-manager]$ ./bin/startup.sh
Java HotSpot(TM) 64-Bit Server VM warning: ignoring option PermSize=96m; support was removed in 8.0
Java HotSpot(TM) 64-Bit Server VM warning: ignoring option MaxPermSize=256m; support was removed in 8.0
Java HotSpot(TM) 64-Bit Server VM warning: UseCMSCompactAtFullCollection is deprecated and will likely be removed in a future release.
2018-02-04 23:45:53.306 [] INFO  com.alibaba.otter.manager.deployer.OtterManagerLauncher - ## start the manager server.
2018-02-04 23:46:07.858 [] INFO  com.alibaba.otter.manager.deployer.JettyEmbedServer - ##Jetty Embed Server is startup!
2018-02-04 23:46:07.858 [] INFO  com.alibaba.otter.manager.deployer.OtterManagerLauncher - ## the manager server is running now ......
otter node 配置:
[otter@master conf]$ cd /home/otter/otter-node/conf
[otter@master conf]$ cat otter.properties |grep -v ^# |grep -v ^$
otter.nodeHome = ${user.dir}/../
otter.htdocs.dir = ${otter.nodeHome}/htdocs
otter.download.dir = ${otter.nodeHome}/download
otter.extend.dir= ${otter.nodeHome}/extend
otter.zookeeper.sessionTimeout = 60000
otter.communication.pool.size = 10
otter.manager.address = 127.0.0.1:1099  #修改成实际ip
otter node启动:
[otter@master otter-node]$ ./bin/startup.sh
[otter@master otter-node]$ ./bin/stop.sh
2.2.4 验证
manager WEB登录:http://192.168.1.132:8080/login.htm 登录默认是匿名登录,可用admin用户登录创建流程(admin/admin):
附录:
manger启停:
[otter@master bin]$ pwd
/home/otter/otter-manager/bin
[otter@master bin]$ ls
otter.pid startup.bat startup.sh stop.sh/home/otter/otter-node/bin
[otter@master bin]$ ll
总用量 36
-rw-rw-r--. 1 otter otter 16589 2月 4 16:35 hs_err_pid18360.log #报错日志
-rw-rw-r--. 1 otter otter 6 2月 4 17:05 otter.pid
-rwxr-xr-x. 1 otter otter 1144 6月 30 2015 startup.bat
-rwxr-xr-x. 1 otter otter 3578 6月 30 2015 startup.sh
-rwxr-xr-x. 1 otter otter 1361 6月 30 2015 stop.sh
[otter@master bin]$ [otter@master bin]$ ./zkServer.sh --help
ZooKeeper JMX enabled by default
Using config: /usr/local/zookeeper/zookeeper-3.4.10/bin/../conf/zoo.cfg
Usage: ./zkServer.sh {start|start-foreground|stop|restart|status|upgrade|print-cmd}
报错解决1:
[otter@master node]$ cat node.log
# There is insufficient memory for the Java Runtime Environment to continue.
# Native memory allocation (mmap) failed to map 1073741824 bytes for committing reserved memory.
# An error report file with more information is saved as:
# /home/otter/otter-node/bin/hs_err_pid18312.log
Java HotSpot(TM) 64-Bit Server VM warning: ignoring option PermSize=96m; support was removed in 8.0
Java HotSpot(TM) 64-Bit Server VM warning: ignoring option MaxPermSize=256m; support was removed in 8.0
Java HotSpot(TM) 64-Bit Server VM warning: UseCMSCompactAtFullCollection is deprecated and will likely be removed in a future release.
Java HotSpot(TM) 64-Bit Server VM warning: INFO: os::commit_memory(0x0000000700000000, 1073741824, 0) failed; error='Cannot allocate memory' (errno=12)报错解决2:
Exception in thread "main" java.lang.ExceptionInInitializerError
        at com.alibaba.otter.node.deployer.OtterLauncher.main(OtterLauncher.java:39)
Caused by: com.alibaba.otter.shared.common.model.config.ConfigException: ERROR ##
Caused by: org.springframework.beans.factory.BeanCreationException: Error creating bean with name 'configClientService' defined in URL [jar:file:/home/otter/otter-node/lib/node.common-4.2.12.jar!/
spring/otter-node-config.xml]: Invocation of init method failed; nested exception is com.alibaba.otter.shared.common.model.config.ConfigException: nid is not set!
        at org.springframework.beans.factory.support.AbstractAutowireCapableBeanFactory.initializeBean(AbstractAutowireCapableBeanFactory.java:1455)
        at org.springframework.beans.factory.support.AbstractAutowireCapableBeanFactory.doCreateBean(AbstractAutowireCapableBeanFactory.java:519)
        at org.springframework.beans.factory.support.AbstractAutowireCapableBeanFactory.createBean(AbstractAutowireCapableBeanFactory.java:456)
        at org.springframework.beans.factory.support.AbstractBeanFactory$1.getObject(AbstractBeanFactory.java:294)
        at org.springframework.beans.factory.support.DefaultSingletonBeanRegistry.getSingleton(DefaultSingletonBeanRegistry.java:225)
        at org.springframework.beans.factory.support.AbstractBeanFactory.doGetBean(AbstractBeanFactory.java:291)
        at org.springframework.beans.factory.support.AbstractBeanFactory.getBean(AbstractBeanFactory.java:193)
        at org.springframework.beans.factory.support.AbstractBeanFactory.doGetBean(AbstractBeanFactory.java:284)
        at org.springframework.beans.factory.support.AbstractBeanFactory.getBean(AbstractBeanFactory.java:193)
        at org.springframework.beans.factory.support.DefaultListableBeanFactory.preInstantiateSingletons(DefaultListableBeanFactory.java:609)
        at org.springframework.context.support.AbstractApplicationContext.finishBeanFactoryInitialization(AbstractApplicationContext.java:918)
        at org.springframework.context.support.AbstractApplicationContext.refresh(AbstractApplicationContext.java:469)
        at org.springframework.context.support.ClassPathXmlApplicationContext.(ClassPathXmlApplicationContext.java:139)
        at org.springframework.context.support.ClassPathXmlApplicationContext.(ClassPathXmlApplicationContext.java:83)
        at com.alibaba.otter.node.etl.OtterContextLocator$1.(OtterContextLocator.java:39)
        at com.alibaba.otter.node.etl.OtterContextLocator.(OtterContextLocator.java:39)
        at com.alibaba.otter.node.deployer.OtterLauncher.main(OtterLauncher.java:39)
Caused by: com.alibaba.otter.shared.common.model.config.ConfigException: nid is not set!
解决 执行:[otter@master conf]$ echo 1>conf/nid #在conf目录下新建文件nid,内容为1,跟manager界面录入的node信息产生的序号一致
报错解决3:
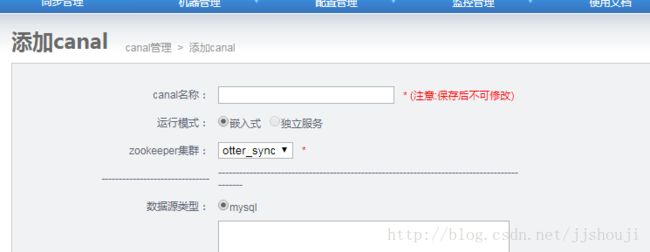
这个错误有点奇怪,前端知识配置了canal 名称(没有强制不为空,但是一旦为空,则canal界面便一直不能访问),后台otter库CANAL表插入了一条name空记录,所以记住这个名称一定要填写,一定要填写!!!!!!:
Problem accessing /canal_list.htm. Reason:

Failed to invoke Valve[#2/3, level 3]: com.alibaba.citrus.turbine.pipeline.valve.PerformTemplateScreenValve#4270b142:PerformTemplateScreenValve2018-02-04 22:03:34.800 [/canal_list.htm] ERROR com.alibaba.citrus.webx.impl.WebxRootControllerImpl - Full stack trace of the error IllegalArgumentException: [Assertion failed] - the argument is r
equired; it must not be null
com.alibaba.citrus.service.pipeline.PipelineException: Failed to invoke Valve[#2/3, level 3]: com.alibaba.citrus.turbine.pipeline.valve.PerformTemplateScreenValve#7a0ab480:PerformTemplateScreenVal
ve
。。。。。。。
Caused by: com.alibaba.citrus.webx.WebxException: Failed to execute screen: CanalList
at com.alibaba.citrus.turbine.pipeline.valve.PerformScreenValve.performScreenModule(PerformScreenValve.java:126) ~[citrus-webx-all-3.2.0.jar:3.2.0]
at com.alibaba.citrus.turbine.pipeline.valve.PerformScreenValve.invoke(PerformScreenValve.java:74) ~[citrus-webx-all-3.2.0.jar:3.2.0]
at com.alibaba.citrus.service.pipeline.impl.PipelineImpl$PipelineContextImpl.invokeNext(PipelineImpl.java:157) ~[citrus-webx-all-3.2.0.jar:3.2.0]
... 51 common frames omitted解决:手动删除该条记录,暂时解决方案,永久解决要修改前段该字段为必要字段,不为空。
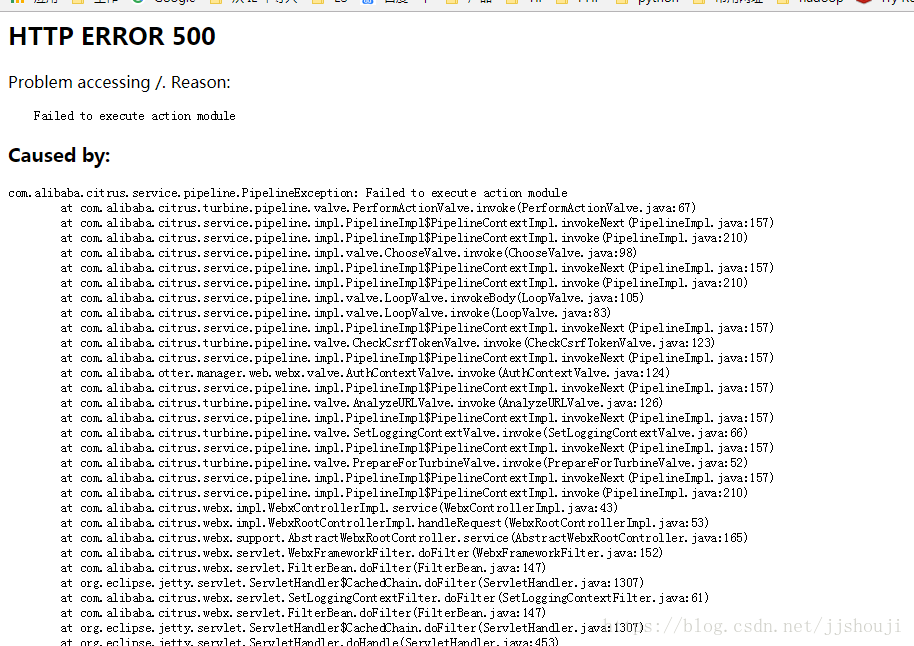
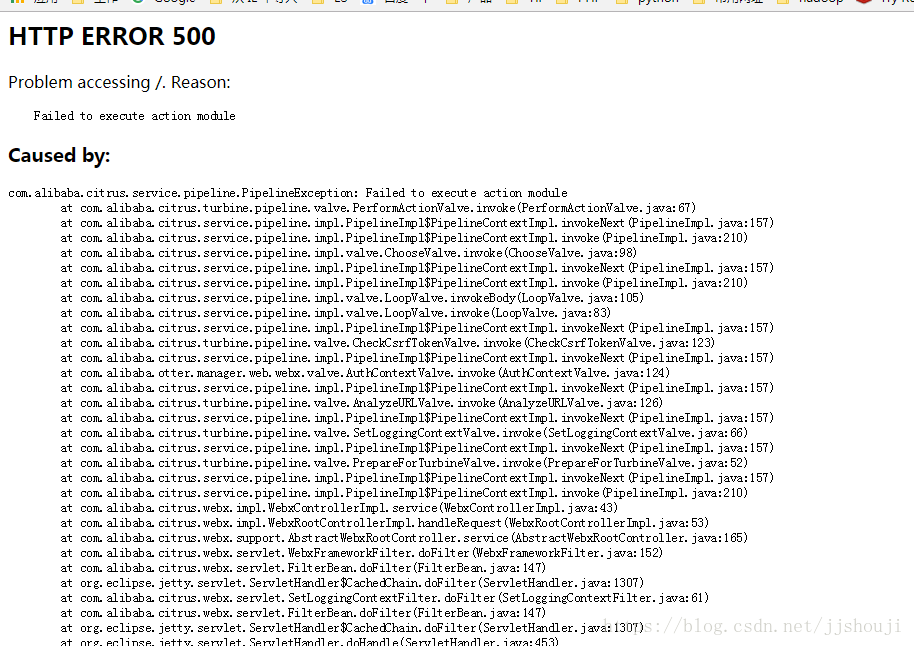
报错4:点击zookeeper 刷新按钮时报错:
点击查看时进去有发现错误:
解决:安装NC命令: yum install nc 即可!


