JavaEE--spring-JdbcTemplate的介绍和使用
JdbcTemplate对象是spring基于原始jdbc进行的简单封装.既有jdbc的执行效率,又不用像使用jdbc那样自己写调用过程.因为Spring已经替我们封装好了.它还支持xml配置和依赖注入.是一种轻便的持久层使用方式.
下面我们来简单使用JdbcTemplate来实现对数据库的增删改查.
1.创建项目
2.导入Jar包

3.创建实体类Account及RowMapper映射类
public class Account implements Serializable {
	private Integer id;
	private String name;
	private Float money;
	//自己生成get/set方法..
}
public class AccountRowMapper implements RowMapper {
//实现RowMapper接口.用来映射返回集的字段和实体类的字段.
@Override
public Account mapRow(ResultSet rs, int rowNum) throws SQLException {
Account account = new Account();
account.setId(rs.getInt("id"));
account.setName(rs.getString("name"));
account.setMoney(rs.getFloat("money"));
return account;
}
} 4.创建持久层接口与实现类
public interface AccountDao {
	public void update(Account account);
	public void delete(Account account);
	public List findAll();
	public void save(Account account);
}
public class AccountDaoImpl implements AccountDao {
private JdbcTemplate jdbcTemplate;
public void setJdbcTemplate(JdbcTemplate jdbcTemplate) {
this.jdbcTemplate = jdbcTemplate;
}
@Override
public void update(Account account) {
jdbcTemplate.update("update account set name=? where id = ?", account.getName(), account.getId());
}
@Override
public void delete(Account account) {
jdbcTemplate.update("delete from account where id = ?",account.getId());
}
@Override
public List findAll() {
//查询返回多个对象可以实现RowMapper接口,用来接收返回集
return jdbcTemplate.query("select * from account", new AccountRowMapper());
}
@Override
public void save(Account account) {
jdbcTemplate.update("insert into account(name,money) values(?,?)",account.getName(),account.getMoney());
}
} 5.创建配置文件applicationContext.xml
6.创建测试类.
public class TestJdbcTemplate {
	public AccountDao getAccountDao() {
		// 初始化spring容器
		ApplicationContext ac = new ClassPathXmlApplicationContext("applicationContext.xml");
		// 拿到dao对象
		AccountDao accountDao = (AccountDao) ac.getBean("accountDao");
		return accountDao;
	}

	//保存用户
	@Test
	public void save(){
		// 插入一个用户
		Account a1 = new Account();
		a1.setName("花千骨");
		a1.setMoney(99999f);
		AccountDao accountDao = getAccountDao();
		accountDao.save(a1);
	}
	// 查询所有
		@Test
		public void findAll() {
			AccountDao accountDao = getAccountDao();
			List list = accountDao.findAll();
			for (Account account : list) {
				System.out.println(account);
			}
		}
	//根据id修改用户姓名
	@Test
	public void update(){
		Account a1 = new Account();
		a1.setId(1);
		a1.setName("中岛美雪");
		AccountDao accountDao = getAccountDao();
		accountDao.update(a1);
	}
	//根据用户删除id
	@Test
	public void delete(){
		Account a1 = new Account();
		a1.setId(1);
		AccountDao accountDao = getAccountDao();
		accountDao.delete(a1);
	}
}
7.进行测试:
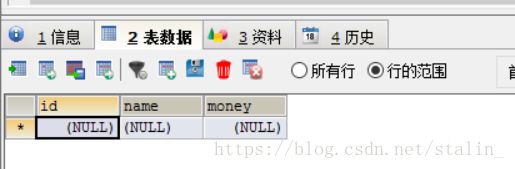
首先我们用以下SQL在mysql数据库中创建account表.
CREATE TABLE `account` (
  `id` INT(11) NOT NULL AUTO_INCREMENT,
  `name` VARCHAR(32) DEFAULT NULL,
  `money` INT(11) DEFAULT NULL,
  PRIMARY KEY (`id`)
) ENGINE=INNODB AUTO_INCREMENT=8 DEFAULT CHARSET=utf8
创建结果如图:
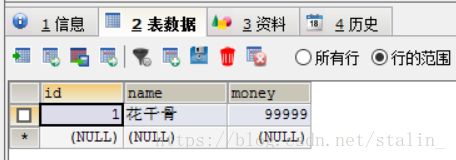
执行新增用户方法:
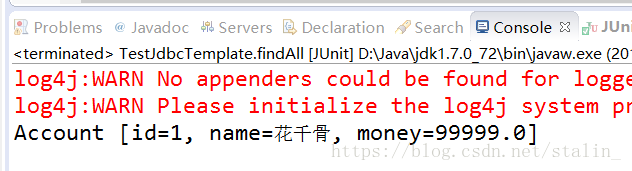
执行查询所有用户方法:
执行修改用户方法:

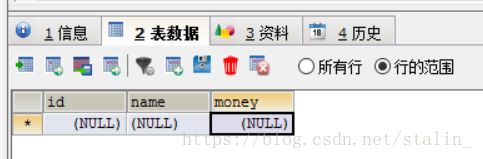
执行删除用户方法:
喜欢的朋友请点个赞哦~~