Spring(一)—— Spring IOC
文章目录
-
- Spring简介
- Spring IOC
-
- IOC的使用(基于配置)
-
- Spring创建对象的方式
- Spring依赖注入的方式
- IOC的使用(基于注解)
Spring简介
Spring是一个轻量级、开源的框架,核心功能如下:
- IOC:控制反转,对象额创建不是通过 new 的形式,而是交给Spring配置创建对象;
- AOP:面向切面编程,扩展功能而不用修改代码;(通常用于日志监控、登陆操作等);
IOC是典型的工厂模式,通过工厂去注入对象,AOP则是代理模式的体现。
Spring提供了一站式的框架,Java EE三层结构中,每一层Spring都提供了解决方案:
- Controller(Web服务层):Spring MVC;
- Service(业务处理层):Spring IOC、AOP;
- Dao:Mybatis、jdbcTemplated、Mybatis-Spring整合;
Spring IOC
IOC即控制反转,把对象的创建交给了Spring管理,IOC的使用有两种方式:
- 通过配置文件;
- 通过注解;
IOC的底层原理:
- XML配置文件;
- dom4j解析XML配置文件,得到需要创建对象的全路径名;
- 利用工厂设计模式,通过反射产生对象;
对象的创建过程:

- 创建XML配置文件,配置要创建的对象的类;
示例 - 创建工厂类,利用dom4j解析配置文件,通过反射创建对象;
//大概原理
public class UserFactory {
    public static User getBean() {
        //利用dom4j解析配置文件,通过id属性值来获取到类的全路径名
        String path = "com.tulun.bean.Student1";
        //通过反射创建对象
        Class c = Class.forName(path);
        //创建对象
        User user = (User) c.newInstance();
        return user;
    }
}
IOC的使用(基于配置)
使用步骤:
- 引入依赖;
- 创建类,在类中添加方法;
- 创建Spring的XML配置文件,配置需要创建对象的类;
- 使用;
需要引入的Spring的基本依赖包:
            org.springframework
            spring-beans
            4.1.7.RELEASE


            org.springframework
            spring-core
            4.1.7.RELEASE


            org.springframework
            spring-context
            4.1.7.RELEASE


            org.springframework
            spring-expression
            4.1.7.RELEASE
Spring创建对象的方式
Spring通过配置文件创建对象的方式(即bean实例化的方式)主要有三种:
- 通过无参构造;
- 通过静态工厂创建;
- 通过一般工厂创建;
代码示例:
这三种方式需要创建的对象都是Student1的对象:
public class Student1 {
    public void show() {
        System.out.println("Student1.show()...");
    }
}
一、通过无参构造
配置文件 bean1.xml:
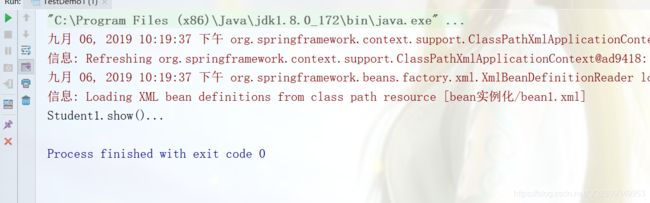
测试:
public class TestDemo1 {
    public static void main(String[] args) {
        //加载Spring配置文件,创建对象
        ApplicationContext context = new ClassPathXmlApplicationContext("bean实例化/bean1.xml");
        Student1 student = (Student1) context.getBean("student");  //参数是id
        student.show();
    }
}
二、使用静态工厂创建
添加静态工厂类:
public class StaticFactory {
    public static Student1 getBean() {
        return new Student1();
    }
}
配置文件需要这样写,bean2.xml:
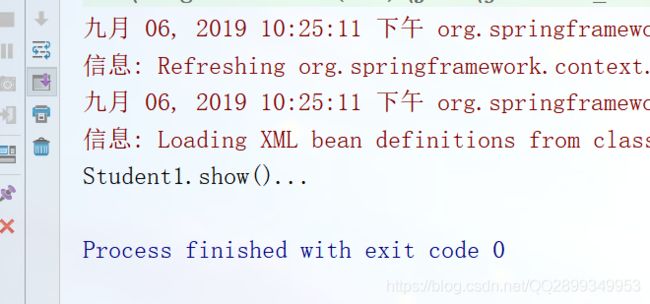
测试:
public class TestDemo2 {
    public static void main(String[] args) {
        ApplicationContext context = new ClassPathXmlApplicationContext("bean实例化/bean2.xml");
        Student1 student = (Student1)context.getBean("student1");
        student.show();
    }
}

三、通过一般工厂创建:
添加一般工厂类:
public class Factory {
    public Student1 getBean() {
        return new Student1();
    }
}
这个方法实例化bean的时候,我们需要先得到工厂类对象,所以这个时候的配置文件bean3.xml是:
测试:
public class TestDemo3 {
    public static void main(String[] args) {
        ApplicationContext context = new ClassPathXmlApplicationContext("bean实例化/bean3.xml");
        Student1 student = (Student1)context.getBean("student1");
        student.show();
    }
}
Spring依赖注入的方式
以上是Spring创建对象的方式,现在来说说Spring如何给属性赋值,也就是依赖注入(DI);
Java中给属性赋值的方式有主要三种:
- 通过有参构造函数;
- 通过set方法;
- 通过接口;
在Spring里面我们主要使用的给属性赋值的方式有两种:
- 有参构造;
- set方法;
代码示例:
依赖注入主要是给Student2对象进行属性注入:
public class Student2 {
    private String name;

    //通过set方法个属性赋值的时候,先创建的是一个无参的对象
    public Student2() {}

    public Student2(String name) {
        this.name = name;
    }

    public String getName() {
        return name;
    }

    public void setName(String name) {
        this.name = name;
    }

    public void show() {
        System.out.println("Student2.show()...");
    }
}
一、通过有参构造
配置文件nature1.xml:
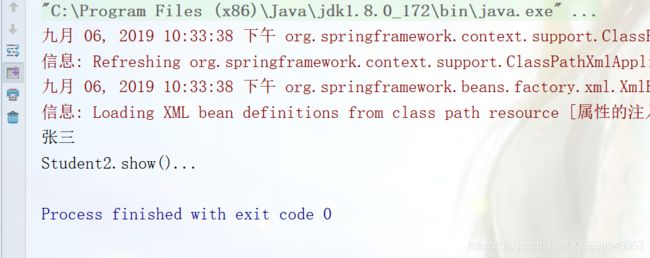
测试:
public class TestDemo1 {
public static void main(String[] args) {
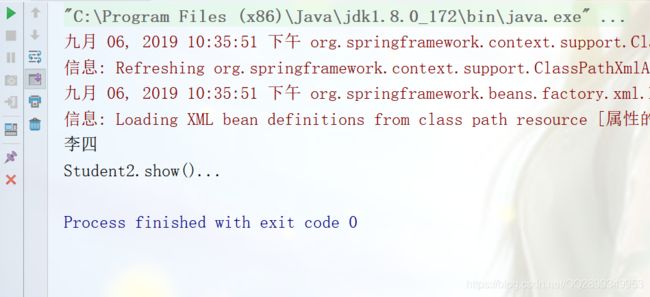
ApplicationContext context = new ClassPathXmlApplicationContext("属性的注入/nature1.xml");
Student2 student = (Student2)context.getBean("student");
System.out.println(student.getName());
student.show();
}
}
二、通过set方法:
这个被创建对象的类一定要有set方法,不然报错;
nature2.xml:
测试:
public class TestDemo2 {
    public static void main(String[] args) {
        ApplicationContext context = new ClassPathXmlApplicationContext("属性的注入/nature2.xml");
        Student2 student = (Student2)context.getBean("student");
        System.out.println(student.getName());
        student.show();
    }
}
复杂属性的依赖注入
上述我们是对简单数据类型的属性进行依赖注入,那么接下来就是复杂属性的依赖注入,复杂属性包括对象、数组、map、List、Properties(配置文件);
先来说说对象的注入:
先创建一个dao层的类:
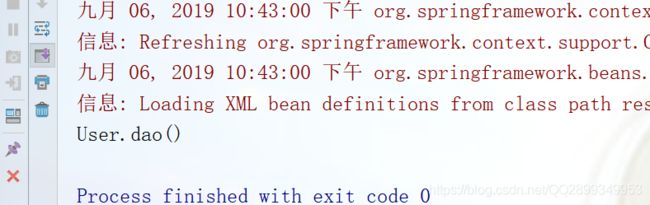
public class User {
    public void add() {
        System.out.println("User.dao()");
    }
}
再来一个Service层的对象:
public class UserService {
    private User user;

    //需要添加set方法才可以给属性赋值
    public void setUser(User user) {
        this.user = user;
    }

    public void add(){
        user.add();
    }
}
现在来写配置文件nature3.xml:
其实只要注意对象的注入的时候,后面那个标签不是value,而是 ref 就好了!
测试:
public class TestDemo3 {
    public static void main(String[] args) {
        ApplicationContext context = new ClassPathXmlApplicationContext("属性的注入/复杂属性的注入/nature3.xml");
        UserService userService = (UserService)context.getBean("userService");
        userService.add();
    }
}
下来就是数组、List、map和properties属性的注入了:
需要创建对象的类是Student3:
public class Student3 {
    private String name;
    private String[] str;
    private List list;
    private Map map;
    private Properties properties;

    public void setName(String name) {
        this.name = name;
    }

    public void setStr(String[] str) {
        this.str = str;
    }

    public void setList(List list) {
        this.list = list;
    }

    public void setMap(Map map) {
        this.map = map;
    }

    public void setProperties(Properties properties) {
        this.properties = properties;
    }

    @Override
    public String toString() {
        return "Student3{" +
                "name='" + name + '\'' +
                ", 数组=" + Arrays.toString(str) +
                ", list=" + list +
                ", map=" + map +
                ", properties=" + properties +
                '}';
    }
}
他的配置文件nature4.xml:
                1
                2


                张三
                李四


                com.mysql.jdbc.Driver
测试:
public class TestDemo4 {
    public static void main(String[] args) {
        ApplicationContext context = new ClassPathXmlApplicationContext("属性的注入/复杂属性的注入/nature4.xml");
        test1(context);
        test2(context);
        test3(context);
        test4(context);
    }

    //测试数组
    private static void test1(ApplicationContext context) {
        Student3 student = (Student3)context.getBean("student1");
        System.out.println(student.toString());
    }

    //测试list
    private static void test2(ApplicationContext context) {
        Student3 student = (Student3)context.getBean("student2");
        System.out.println(student.toString());
    }

    //测试map
    private static void test3(ApplicationContext context) {
        Student3 student = (Student3)context.getBean("student3");
        System.out.println(student.toString());
    }

    //测试文件
    private static void test4(ApplicationContext context) {
        Student3 student = (Student3)context.getBean("student4");
        System.out.println(student.toString());
    }
}

IOC的使用(基于注解)
使用步骤:
- 引入依赖;
- 配置XML文件,开启扫描类;
- 创建对应的类,添加注解,一般用@Component;
- 测试使用;
依赖和上面的一样;
在常用的注解@Component下还衍生了三个注解:
- @Controller(Web层);
- @Service(业务层);
- @Repository(dao层);
他们的作用都是一样的,只是这样是各层之间有了很高的区分度;
依赖注入的方式:
对象的依赖注入:
- @Autowired
- @Resource
简单类型(基本属性)的依赖注入:
- @Value
代码示例:
创建类:
@Component(value = "user")
@Scope(value = "singleton")  //设置单例
//相当于配置实现时里面的id
注解实现的配置文件,bean4.xml:
测试,测试我用的额 junit,它的 jar 包如下:
            junit
            junit
            4.12
            test
测试代码:
public class TestDemo1 {
    @Test
    public void test1() {
        ApplicationContext context = new ClassPathXmlApplicationContext("注解实现/bean4.xml");
        User user = (User)context.getBean("user");
        user.add();
    }
}
再来一个:
创建一个类:
@Component(value = "userService")
public class UserService {
    @Autowired
    //@Resource  //这个也可以 需要添加参数的话就是User那个类注解里面的
    private User user; //这个User就是上面示例中的那个

    public void add() {
        user.add();
    }
}
测试:
public class TestDemo2 {
    @Test
    public void test1() {
        ApplicationContext context = new ClassPathXmlApplicationContext("注解实现/bean4.xml");
        UserService userService = (UserService) context.getBean("userService");
        userService.add();
    }
}
所以拿注解来实现的话,就显得特别简单,而在IOC中,配置和注解一般是联合使用的,其中:
- 创建对象(bean的实例化)是通过配置实现的;
- 依赖注入是通过注解实现的;
下面是一个配置和注解联合使用的例子,有三层(Controller、Service、Dao),其中,Controller层中有Service层的对象,Service层中有Dao层对象,那么代码如下:
创建Dao层类:
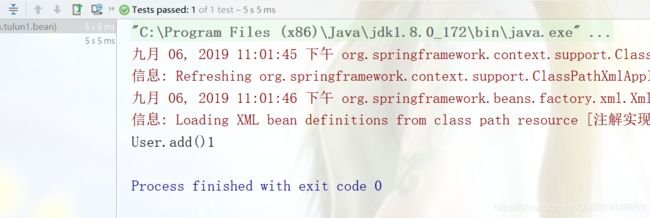
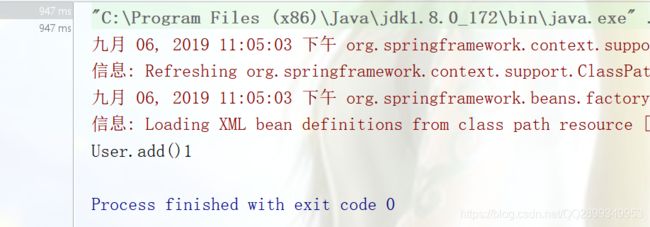
public class TestDao {
@Value(value = "1")
private int test;
public void setTest(int test) {
this.test = test;
}
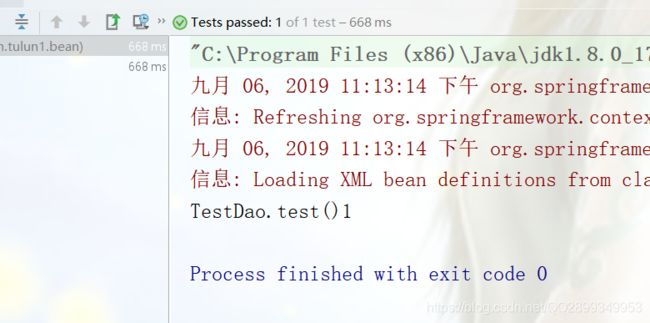
public void test() {
System.out.println("TestDao.test()"+test);
}
}
创建Service层类:
public class TestService {
    @Autowired
    private TestDao testDao;

    public void setTestDao(TestDao testDao) {
        this.testDao = testDao;
    }

    public void test() {
        testDao.test();
    }
}
创建Controlller层类:
public class TestController {
    @Resource
    private TestService testService;

    public void setTestService(TestService testService) {
        this.testService = testService;
    }

    public void test() {
        testService.test();
    }
}
因为是配置和注解的联合使用,所以需要在配置文件中开启扫描、创建对象,那么bean5.xml如下:
测试:
public class TestDemo3 {
    @Test
    public void test1() {
        ApplicationContext context = new ClassPathXmlApplicationContext("配置和注解联合使用/bean5.xml");
        TestController testController = (TestController)context.getBean("controller");
        testController.test();
    }
}