一、Spring-Session使用的场景
HttpSession是通过Servlet容器进行创建和管理的,在单机环境中。通过Http请求创建的Session信息是存储在Web服务器内存中,如Tomcat/Jetty。假如当用户通过浏览器访问应用服务器,session信息中保存了用户的登录信息,并且session信息没有过期失,效那么用户就一直处于登录状态,可以做一些登录状态的业务操作。
但是现在很多的服务器都采用分布式集群的方式进行部署,一个Web应用,可能部署在几台不同的服务器上,通过LVS或者Nginx等进行负载均衡(一般使用Nginx+Tomcat实现负载均衡)。此时来自同一用户的http请求将有可能被分发到不同的web站点中去(如:第一次分配到A站点,第二次可能分配到B站点)。那么问题就来了,如何保证不同的web站点能够共享同一份session数据呢?
假如用户在发起第一次请求时候访问了A站点,并在A站点的session中保存了登录信息,当用户第二次发起请求,通过负载均衡请求分配到B站点了,那么此时B站点能否获取用户保存的登录的信息呢?答案是不能的,因为上面说明,session是存储在对应Web服务器的内存的,不能进行共享,此时spring-session就出现了,来帮我们解决这个session共享的问题!
如何进行Session共享呢?
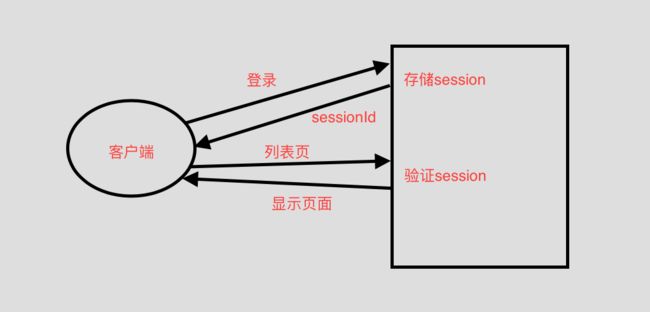
简单点说就是请求http请求经过Filter链,根据配置信息过滤器将创建session的权利由tomcat交给了spring-session中的SessionRepository,通过spring-session创建会话,Session的内容统一存储在一个数据库(如MySQL)或缓存(如Redis,Mongo)中。
当然使用Nginx的ip_hash策略也可以解决session同步的问题。
在使用Nginx的ip_hash策略时候,每个请求按访问ip的hash结果分配,这样每个访客固定访问一个后端服务器,这样就解决session的同步问题。
大神文章地址:https://blog.csdn.net/qq_28602957/article/details/61615876
二、在springboot中使用spring-session
1、引入Maven依赖
        UTF-8
        UTF-8
        1.8


        org.springframework.boot
        spring-boot-starter-web


        org.springframework.boot
        spring-boot-starter-data-redis


        org.springframework.session
        spring-session-data-redis
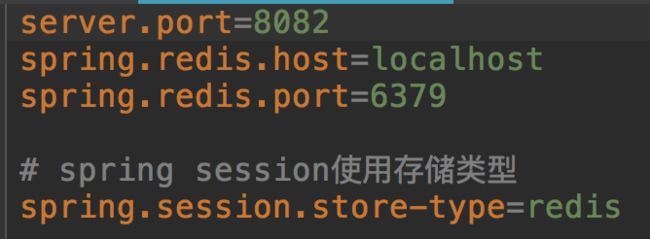
2、配置application.properties
server.port=8080
spring.redis.host=localhost
spring.redis.port=6379

#spring session使用存储类型,默认就是redis所以可以省略
spring.session.store-type=redis
3、在启动类中加入注解
@EnableCaching
@EnableRedisHttpSession
@SpringBootApplication
public class SpringsessionApplication {

    public static void main(String[] args) {
        SpringApplication.run(SpringsessionApplication.class, args);
    }

}
4、编写控制器
import org.springframework.web.bind.annotation.RequestMapping;
import org.springframework.web.bind.annotation.RestController;
import javax.servlet.http.HttpServletRequest;

@RestController
public class IndexController {

    @RequestMapping("/show")
    public String show(HttpServletRequest request){
        return "I'm " + request.getLocalPort();
    }


    @RequestMapping(value = "/session")
    public String getSession(HttpServletRequest request) {
        request.getSession().setAttribute("userName", "admin");
        return "I'm " + request.getLocalPort() + " save session " + request.getSession().getId();
    }

    @RequestMapping(value = "/get")
    public String get(HttpServletRequest request) {
        String userName = (String) request.getSession().getAttribute("userName");
        return "I'm " + request.getLocalPort() + " userName :" + userName;
    }

}
5、配置nginx
    upstream  ngixServers{
        server localhost:8081;
        server localhost:8082;
    }
    server {
        listen       8888;
        server_name  localhost;
        location / {
        proxy_pass http://ngixServers;
        }
    }
6、测试结果
a)启动redis
b)启动nginx
c)修改springboot的启动方式,允许启动多个示例。
d)修改application.properties中的端口号,改为8081,启动tomcat。
e)修改application.properties中的端口号,改为8082,启动tomcat。
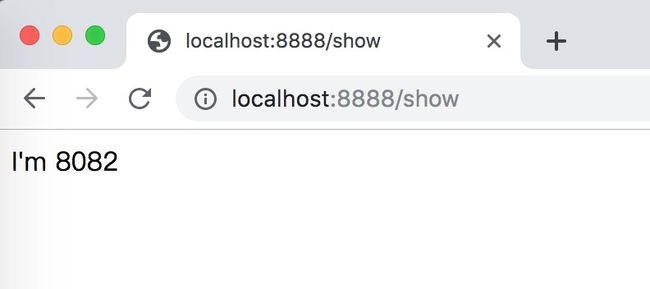
访问地址:http://localhost:8888/show 可见如下结果(出现不分先后):
刷新可见:
以上运行结果说明负责均衡已经好使,两台服务器都可以正常访问。
f)接下来访问地址:http://localhost:8888/session,将session写入一个服务器。(服务器可能是8081,也可能是8082)
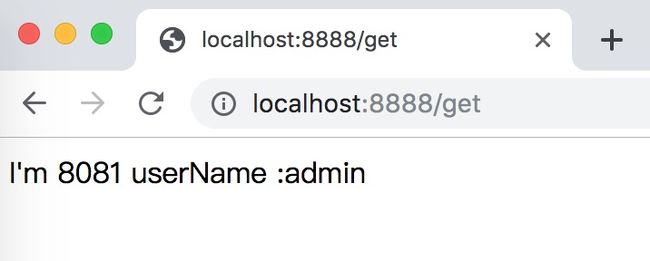
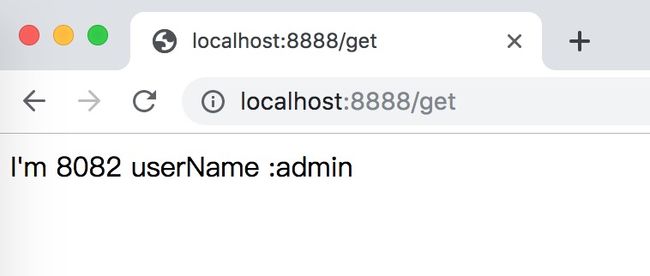
g)访问地址:http://localhost:8888/get ,多次刷新可见两个服务器均能获得session。(此session存在与redis中)
或者
到此,使用nginx实现负载均衡和使用spring-session+redis实现session共享就完成了。可以使用命令或者在RedisDesktopManager中查看redis中存储的session信息!
参考大神文章:
https://www.cnblogs.com/aflyun/p/8532210.html
https://www.cnblogs.com/shyroke/p/8039430.html
