Pyqt 设置 背景颜色和背景图片、 QPalette 调色板 与QPainter 画板区别 、 不规则图片
设置 背景颜色和背景图片
首先设置autoFillBackground属性为真
然后定义一个QPalette对象
设置QPalette对象的背景属性(颜色或图片)
最后设置QWidget对象的Palette
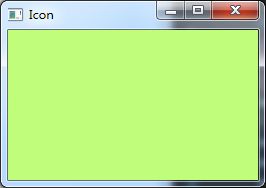
实例:
 1 # -*- coding: utf-8 -*-

 2 import sys

 3 from PyQt4 import QtGui

 4 from PyQt4.QtGui import *

 5 from PyQt4.QtCore import *

 6

 7

 8 class Icon(QtGui.QWidget):

 9     def __init__(self, parent=None):

10         QtGui.QWidget.__init__(self, parent)

11         palette1 = QtGui.QPalette(self)

12         palette1.setColor(self.backgroundRole(), QColor(192,253,123))   # 设置背景颜色

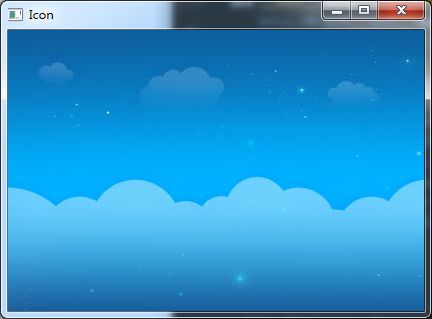
13         # palette1.setBrush(self.backgroundRole(), QtGui.QBrush(QtGui.QPixmap('../../../Document/images/17_big.jpg')))   # 设置背景图片

14         self.setPalette(palette1)

15         self.setAutoFillBackground(True) # 不设置也可以

16         self.setGeometry(300, 300, 250, 150)

17         self.setWindowTitle('Icon')

18         self.setWindowIcon(QtGui.QIcon('../../../Document/images/firefox.png'))

19         mylayout = QVBoxLayout()

20         self.setLayout(mylayout)

21

22

23

24

25 app = QtGui.QApplication(sys.argv)

26 icon = Icon()

27 icon.show()

28 sys.exit(app.exec_())
效果:


---------------------------------------------------------------------------------------
QPalette 调色板 与QPainter 画板区别
 1 # -*- coding: UTF8 -*-

 2 from PyQt4 import QtGui

 3 from PyQt4.QtGui import *

 4 import sys

 5

 6 '''

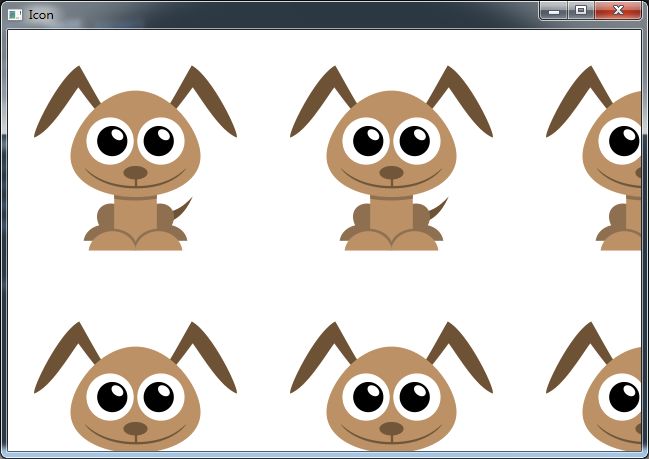
 7 调色板:   palette    铺平整个背景 (小于窗体有多个图片)

 8 png 如果有图层,背景为黑色,可图层覆盖

 9 '''

10 class Icon(QtGui.QWidget):

11     def __init__(self, parent=None):

12

13         QtGui.QWidget.__init__(self, parent)

14         self.resize(256, 256)

15         self.setWindowTitle('Icon')

16         mylayout = QVBoxLayout()

17         self.setLayout(mylayout)

18

19     def paintEvent(self, event):

20         palette1 = QtGui.QPalette(self)

21         palette1.setColor(self.backgroundRole(), QColor(192, 253, 123))   # 设置背景颜色

22         palette1.setBrush(self.backgroundRole(), QtGui.QBrush(QtGui.QPixmap('1.png')))   # 设置背景图片

23         self.setPalette(palette1)

24

25

26 app = QtGui.QApplication(sys.argv)

27 icon = Icon()

28 icon.show()

29 sys.exit(app.exec_())
效果:

 1 # -*- coding: UTF8 -*-

 2 from PyQt4.QtGui import *

 3 from PyQt4.QtCore import *

 4

 5 '''

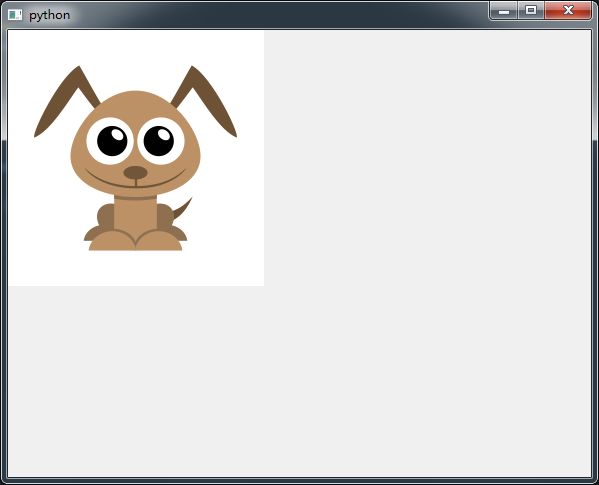
 6  绘制QPainter 窗体    显示一个

 7 QPainter默认只能在paintEvent里面调用   否则:QPainter::begin: Paint device returned engine == 0, type: 1

 8 '''

 9 class MyForm(QWidget):

10     def __init__(self,parent=None):

11         super(MyForm, self).__init__(parent)

12         self.resize(256, 256)

13

14     def paintEvent(self, event):

15         painter = QPainter()

16         painter.begin(self)

17         painter.setRenderHint(QPainter.Antialiasing)

18         painter.setPen(Qt.NoPen)

19         painter.drawPixmap(0, 0, 256, 256, QPixmap("1.png"))

20         painter.end()

21

22

23 app = QApplication([])

24 form = MyForm()

25 form.show()

26 app.exec_()
效果:

--------------------------------------------------------------------------------------------------------------------------
不规则窗体的显示
pyqt 的显示不规则图片主要注意两点
1. 图片的遮盖物mask
pixmap.setMask() etMask()的作用是为调用它的控件增加一个遮罩,遮住所选区域以外的部分使之看起来是透明的, 它的参数可为一个QBitmap对象或一个QRegion对象,此处调用QPixmap的mask()函数获得图片自身的遮罩,为一个QBitmap对象
2. 如何激活paintEvent
paintEvent 每次初始化窗体只调用一次,导致chang不规则图片的时候遮盖物不修改,所以要每修改次图片就激活一次paintEvent事件
激活的方法是更新窗体或重新绘制
通过Qtimer 每隔*/秒 self.connect(self.timer,SIGNAL("timeout()"),self.timeChang) 触发update
1 self.update()

2 self.repaint()
代码如下:
 1 # -*- coding: UTF8 -*-

 2 from PyQt4.QtGui import *

 3 from PyQt4.QtCore import *

 4 import sys

 5

 6 class ShapeWidget(QWidget):

 7     def __init__(self,parent=None):

 8         super(ShapeWidget,self).__init__(parent)

 9         self.i = 1

10         self.mypix()

11         self.timer = QTimer()

12         self.timer.setInterval(500)  # 500秒

13         self.timer.timeout.connect(self.timeChange)

14         self.timer.start()

15

16     # 显示不规则 pic

17     def mypix(self):

18         self.update()

19         if self.i == 5:

20             self.i = 1

21         self.mypic = {1: 'Left_Button.png', 2: "Up_Button.png", 3: 'Right_Button.png', 4: 'Down_Button.png'}

22         self.pix = QPixmap(self.mypic[self.i], "0", Qt.AvoidDither | Qt.ThresholdDither | Qt.ThresholdAlphaDither)  #

23         self.resize(self.pix.size())

24         self.setMask(self.pix.mask())    #setMask()的作用是为调用它的控件增加一个遮罩,遮住所选区域以外的部分使之看起来是透明的, 它的参数可为一个QBitmap对象或一个QRegion对象,此处调用QPixmap的mask()函数获得图片自身的遮罩,为一个QBitmap对象。实例中使用的是png格式的图片,它的透明部分实际上即是一个遮罩。

25         self.dragPosition=None

26

27     #重定义鼠标按下响应函数mousePressEvent(QMouseEvent)和鼠标移动响应函数mouseMoveEvent(QMouseEvent),使不规则窗体能响应鼠标事件,随意拖动。

28     def mousePressEvent(self, event):

29         if event.button() == Qt.LeftButton:

30             self.dragPosition = event.globalPos()-self.frameGeometry().topLeft()    #保存当前鼠标点所在的位置相对于窗体左上角的偏移值dragPosition,

31             event.accept()

32         if event.button() == Qt.RightButton:

33             self.close()

34

35     def mouseMoveEvent(self, event):

36         if event.buttons() & Qt.LeftButton:

37             self.move(event.globalPos()-self.dragPosition)   # 当左键移动窗体修改偏移值

38             event.accept()

39     # 如何激活 paintEvent 呢? 一般 paintEvent 在窗体首次绘制加载, 要重新加载paintEvent 需要重新加载窗口使用 self.update() or  self.repaint()

40     def paintEvent(self, event):

41         painter = QPainter(self)

42         painter.drawPixmap(0, 0, self.pix.width(),self.pix.height(),self.pix)

43     # 鼠标双击事件

44     def mouseDoubleClickEvent(self, event):

45         if event.button() == 1:

46             self.i+=1

47             self.mypix()

48

49     #每**秒修改paint

50     def timeChange(self):

51         self.i+=1

52         self.mypix()

53

54 if __name__ == '__main__':

55     app=QApplication(sys.argv)

56     form=ShapeWidget()

57     form.show()

58     app.exec_()
不规则资源图片:

效果:

---------------------------------------------------------------------------------------------
加载Gif动画效果
 1 # -*- coding: utf-8 -*-

 2 import sys

 3 from PyQt4 import QtCore,QtGui

 4 class loadingGif(QtGui.QWidget):

 5     def __init__(self,parent=None):

 6         super(loadingGif, self).__init__(parent)

 7         self.label = QtGui.QLabel('', self)

 8         self.setFixedSize(200,200)

 9         self.setWindowFlags(QtCore.Qt.Dialog|QtCore.Qt.CustomizeWindowHint)

10         self.movie = QtGui.QMovie("loading.gif")

11         self.label.setMovie(self.movie)

12         self.movie.start()

13

14 if __name__ == '__main__':

15     app = QtGui.QApplication(sys.argv)

16     mw = loadingGif()

17     mw.show()

18     sys.exit(app.exec_())
效果:
