This document is used for consultant or developers at customer side who would like to know technical detail about how a word template is merged with xml data stream. Before you touch the related ABAP code about document merging, it is good to get some basic understandong about how ABAP manipulates word document in this document Manipulate Docx document with ABAP.
In the document Create Webservice enabled word document in attachment assignment block, it is described how to create a word template and feed its content with web service generated via web service tool in CRM Webclient UI. Besides that you could also use your own web service, for example you can expose your function module in ABAP backend via SOAMANAGER. The detailed step could be found in this document.
In consulting note 2048272, an ABAP report is provided to allow you to merge the word template with given xml data without Webclient UI:
If you meet with issue that the merged word document does not work as you expected, for example some fields are empty however the corresponding node in xml do have data filled, then you can use this ABAP report to do trouble shooting. You could get the word template and xml data file for web service response by following consulting note 2047259.
In this document, I will show you how the element “Partner” in word template is merged with the value from xml node SOLD_TO.PARTNER in the runtime. You could find the template “zpartner.docx” and xml data file “response.xml” used in this example from document attachment.
Explore the word template to identify binding information
From the above screenshot, we click on Partner field and the tooltip shows this element is bound to field PARTNER. How is this mapping relationship maintained within word template?
Rename zparetner.docx to zpartner.zip, double click on the zip file, double click subfolder “word”, then double click on “document.xml”:
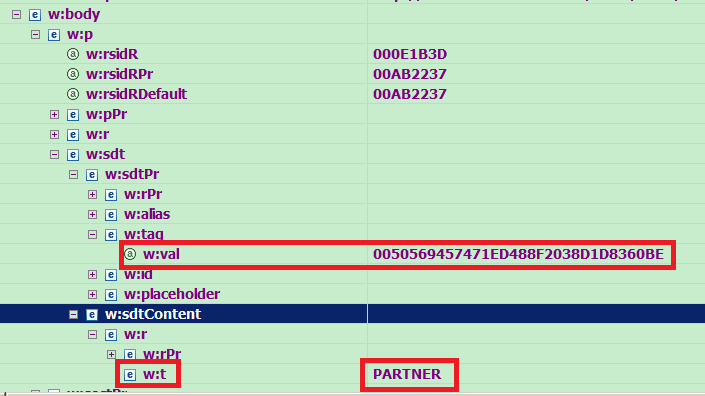
You should find a w:t node with PARTNER, and a w:tag node with attribute “w:val”, whose value is 0050569457471ED488F2038D1D8360BE.
The w:t node contains the text which end user sees in the word template, and w:val maintains the mapping relationship to xml schema.
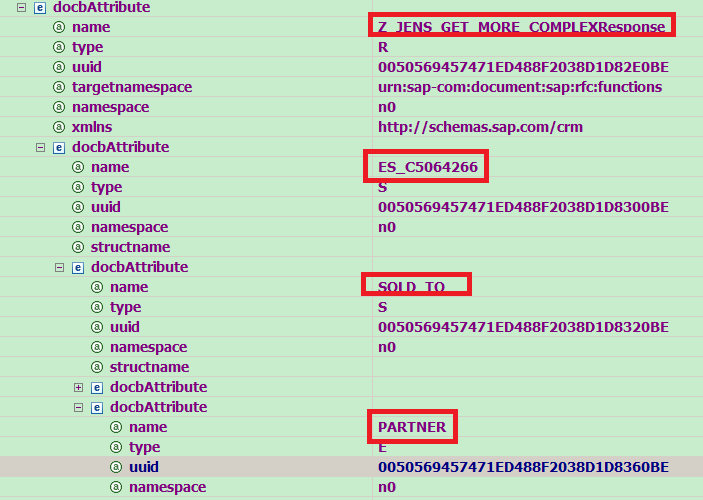
Now go back to zpartner.zip, click on customXml folder and double click “item1.xml”. Search xml file by value “0050569457471ED488F2038D1D8360BE”. One result found, and we could know the complete binding path is Z_JENS_GET_MORE_COMPLEXResponse.ES_C5064266.SOLD_TO.PARTNER.
Merge step1 cl_crm_oi_docx_helper=>replace_vars_uuid_with_path
In this step, the original uuid in document.xml is replaced by the complete path of bound xml node:
Merge step2 add necessary namespace to every node in xml
It is done via transformation call:
CALL TRANSFORMATION crm_office_int_rt_add_ns
        SOURCE XML lv_response
        RESULT XML lv_response_ns.
Notice the no namespace added for each node after transformation call:
Merge step3 cl_crm_oi_docx_transform_rt=>transform
the formatted template source( uuid replaced with complete path ) and formatted xml data source( n0 namespace added ) are passed into this method.
step3.1 cl_crm_oi_docx_transform_rt=>indicate_tree
The xml node is further enriched with attribute Loopcount and Path, which are especially used for render data with table structure. ( template merged with table data will be discussed in another document )
step3.2 cl_crm_oi_docx_transform_rt=>update_payload_from_addinsch
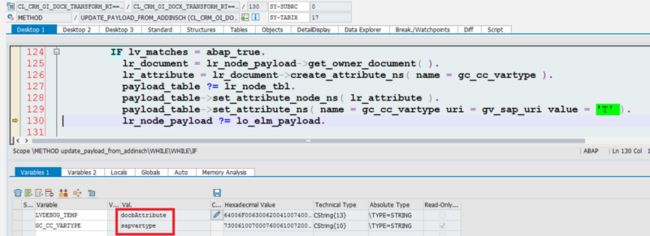
This method will create a new attribute sapvartype with value “T” for those node in xml source with table structure, not relevant for current example.
step3.3 recursively call cl_crm_oi_docx_transform_rt=>process_node_cc
node: dom element of root node “Z_JENS_GET_MORE_COMPLEXResponse” in xml.
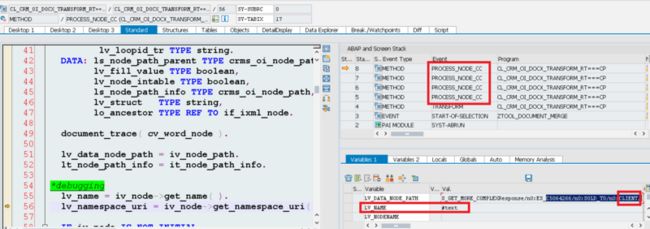
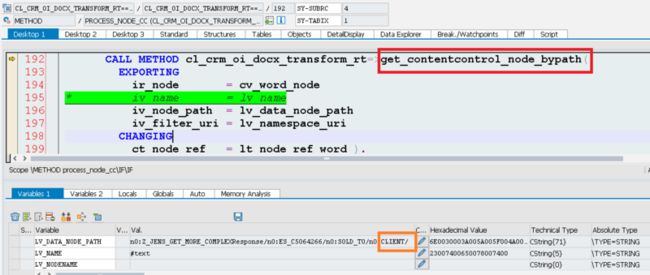
Now we have reached the first leaf node in xml, “CLIENT”. Pay attention to the recursive callstack.
since we don’t bind CLIENT node in xml to our template, after method get_contentcontrol_node_bypath, lt_node_ref_word will remain empty so we quit from the current traverse and try with next node.
Soon we reach the method get_contentcontrol_node_bypath again, and since our template consumes the node PARTNER, it is ready to feed the template with the value contained in this xml node.
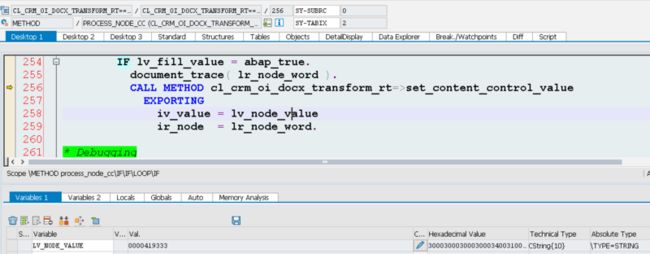
The sold to partner id “0000419333” will be set to the corresponding dom element node “lr_node_word” by the method below.
in the beginning of this document we know it is the content of w:t node which will be displayed to end user so first we have to locate those w:t nodes via filtering ( w:t node found and stored in variable node_text ) and finally fill value to them by method fill_text_node, and that’s all.
final merged document:
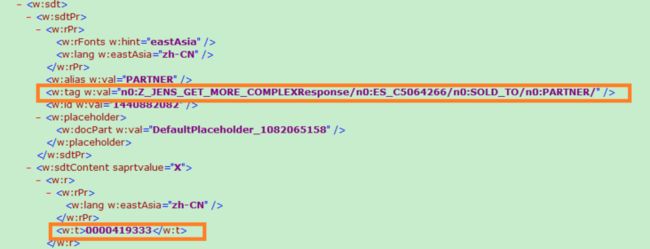
And you could find the w:t node contains the correct value from document source code:
Next reading
Understand how the word template is merged with xml data stream – part 2 – table structure
要获取更多Jerry的原创文章,请关注公众号"汪子熙":![]()


