canvas学习笔记
html5的新标签:canvas;
作用:标签定义图形,比如图表和其他图像;标签只是图形容器,您必须使用脚本来绘制图形。默认大小:宽300px,高150px;
背景知识:概念最初由苹果公司提出的,用于在Mac os X webkit中创建控制板部件。在canvas出现之前,开发人员若要在浏览器中使用绘图API,只能使用Adobe的Flash和SVG插件或者只有IE才支持的VML(矢量标记语言)
强调一点:canvas元素本身并没有绘制能力(它仅仅是图形的容器) - 您必须使用脚本来完成实际的绘图任务.
关于这个容器,下面给一个直观的图来表示:
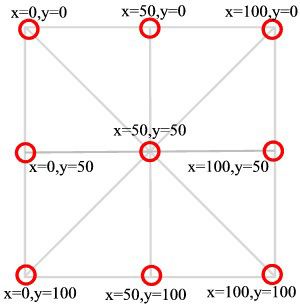
开始绘图之旅:
1.画一条线段。
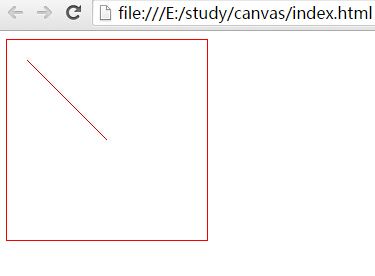
beginPath方法表示开始绘制路径,moveTo(x, y)方法设置线段的起点,lineTo(x, y)方法设置线段的终点,stroke方法用来给透明的线段着色。
ctx.beginPath(); // 开始路径绘制

ctx.moveTo(20, 20); // 设置路径起点,坐标为(20,20)

ctx.lineTo(100, 100); // 绘制一条到(100,100)的直线

ctx.lineWidth = 1.0; // 设置线宽

ctx.strokeStyle = "#CC0000"; // 设置线的颜色

ctx.stroke(); // 进行线的着色,这时整条线才变得可见
首先,我们需要定义一个用作绘图的上下文环境,我们使用 getContext("2d") 对象,这是一个内置的HTML5对象,可用于在画布上绘制文本、线条、矩形、圆形等等。后面会多次用到它,所以先赋给一个变量存起来。var ctx = getContext("2d");

<!DOCTYPE html>

<html lang="en">

<head>

    <meta charset="UTF-8">

    <title>Document</title>

    <style>

        canvas {

            border:1px solid red;

        }

    </style>

</head>

<body>

<canvas id="myCanvas" width="200" height="200"></canvas>

<script>

    var canvas = document.getElementById('myCanvas');

    var ctx = canvas.getContext("2d");


</script>

</body>

</html>
2.由线到面,画方形:
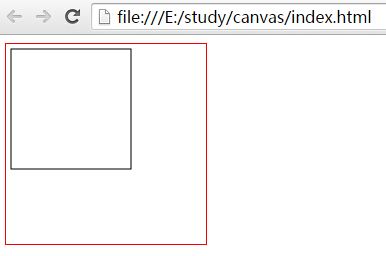
strokeRect(l,t,w,h): 默认一像素黑色边框
ctx.strokeRect(5,5,120,120); //left和top设为5是为了留一点空隙出来,可以看的清楚一点。
3.把方框填充一个颜色,变成方块
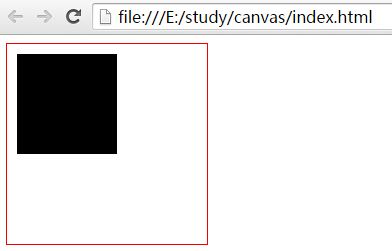
ctx.fillRect(10,10,100,100);//:默认颜色是黑色
fillRect(x,y,width,height);

这里的x,y和css中的position 属性中的定位是一个用法。看下上面代码的效果:
4.绘制圆形和扇形
ctx.arc(x, y, radius, startAngle, endAngle, anticlockwise);

arc方法的x和y参数是圆心坐标,radius是半径,startAngle和endAngle则是扇形的起始角度和终止角度(以弧度表示),anticlockwise表示做图时应该逆时针画(true)还是顺时针画(false),默认是顺时针true。
ctx.beginPath();

ctx.arc(60, 60, 50, 0, Math.PI*2, true);

ctx.stroke();
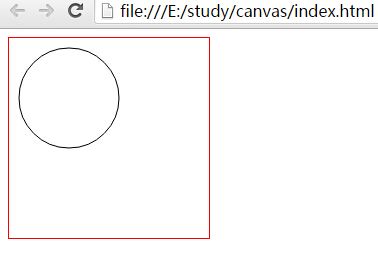
一个实心圆,只需把stroke(描边)换成fill(填充)即可:
ctx.beginPath();

ctx.arc(60, 60, 50, 0, Math.PI*2, true);

ctx.fill();
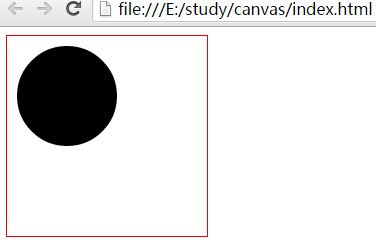
画半圆和扇形只是角度的变换。
ctx.beginPath();

ctx.arc(60, 60, 50, 0, Math.PI*.5,true);

ctx.stroke();
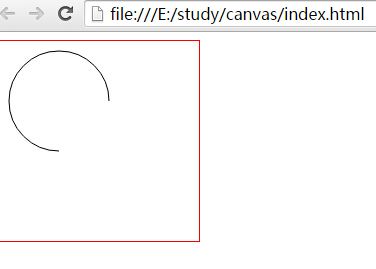
这里有一个注意事项:
ctx.arc(x, y, radius, startAngle, endAngle, false);

等价于
ctx.arc(x, y, radius, endAngle, startAngle, true);圆周的宽度:ctx.lineWidth
ctx.beginPath();

ctx.arc(60, 60, 50, 0, Math.PI*2, true);

ctx.lineWidth = 10.0;

ctx.strokeStyle = "#000";

ctx.stroke();
5.绘制文本
fillText(string, x, y) 用来绘制文本,它的三个参数分别为文本内容、起点的x坐标、y坐标。使用之前,需用font设置字体、大小、样式(写法类似与CSS的font属性)。与此类似的还有strokeText方法,用来添加空心字。
// 设置字体

ctx.font = "Bold 20px Arial";

// 设置对齐方式

ctx.textAlign = "left";

// 设置填充颜色

ctx.fillStyle = "#008600";

// 设置字体内容,以及在画布上的位置

ctx.fillText("Hello!", 10, 50);

// 绘制空心字

ctx.strokeText("Hello!", 10, 100);
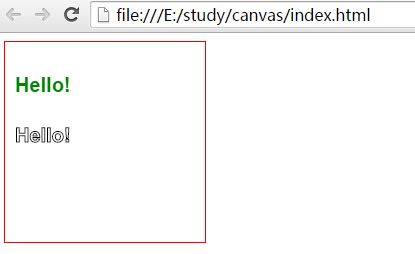
fillText方法不支持文本断行,即所有文本出现在一行内。所以,如果要生成多行文本,只有调用多次fillText方法。
6.图像处理方法
canvas允许将图像文件插入画布,做法是读取图片后,使用drawImage方法在画布内进行重绘。
var img = new Image();

img.src = "image.png";

ctx.drawImage(img, 0, 0); // 设置对应的图像对象,以及它在画布上的位置
由于图像的载入需要时间,drawImage方法只能在图像完全载入后才能调用,因此上面的代码需要改写。
var image = new Image();


image.onload = function() {


    if (image.width != canvas.width)

        canvas.width = image.width;

    if (image.height != canvas.height)

        canvas.height = image.height;


    ctx.clearRect(0, 0, canvas.width, canvas.height);

    ctx.drawImage(image, 0, 0);


}


image.src = "image.png";
drawImage()方法接受三个参数,第一个参数是图像文件的DOM元素(即img标签),第二个和第三个参数是图像左上角在Canvas元素中的坐标,上例中的(0, 0)就表示将图像左上角放置在Canvas元素的左上角。
7.动画
利用JavaScript,可以在canvas元素上很容易地产生动画效果。
var posX = 20,

    posY = 100;


setInterval(function() {

    ctx.fillStyle = "black";

    ctx.fillRect(0,0,canvas.width, canvas.height);


    posX += 1;

    posY += 0.25;


    ctx.beginPath();

    ctx.fillStyle = "white";


    ctx.arc(posX, posY, 10, 0, Math.PI*2, true);

    ctx.closePath();

    ctx.fill();

}, 100);
参考链接:
