一个完整的小程序开发流程
我微信小程序的学习都是跟着 https://www.bilibili.com/video/BV1WQ4y1T7D8?t=113&p=25 学的,所以会用到其中的素材
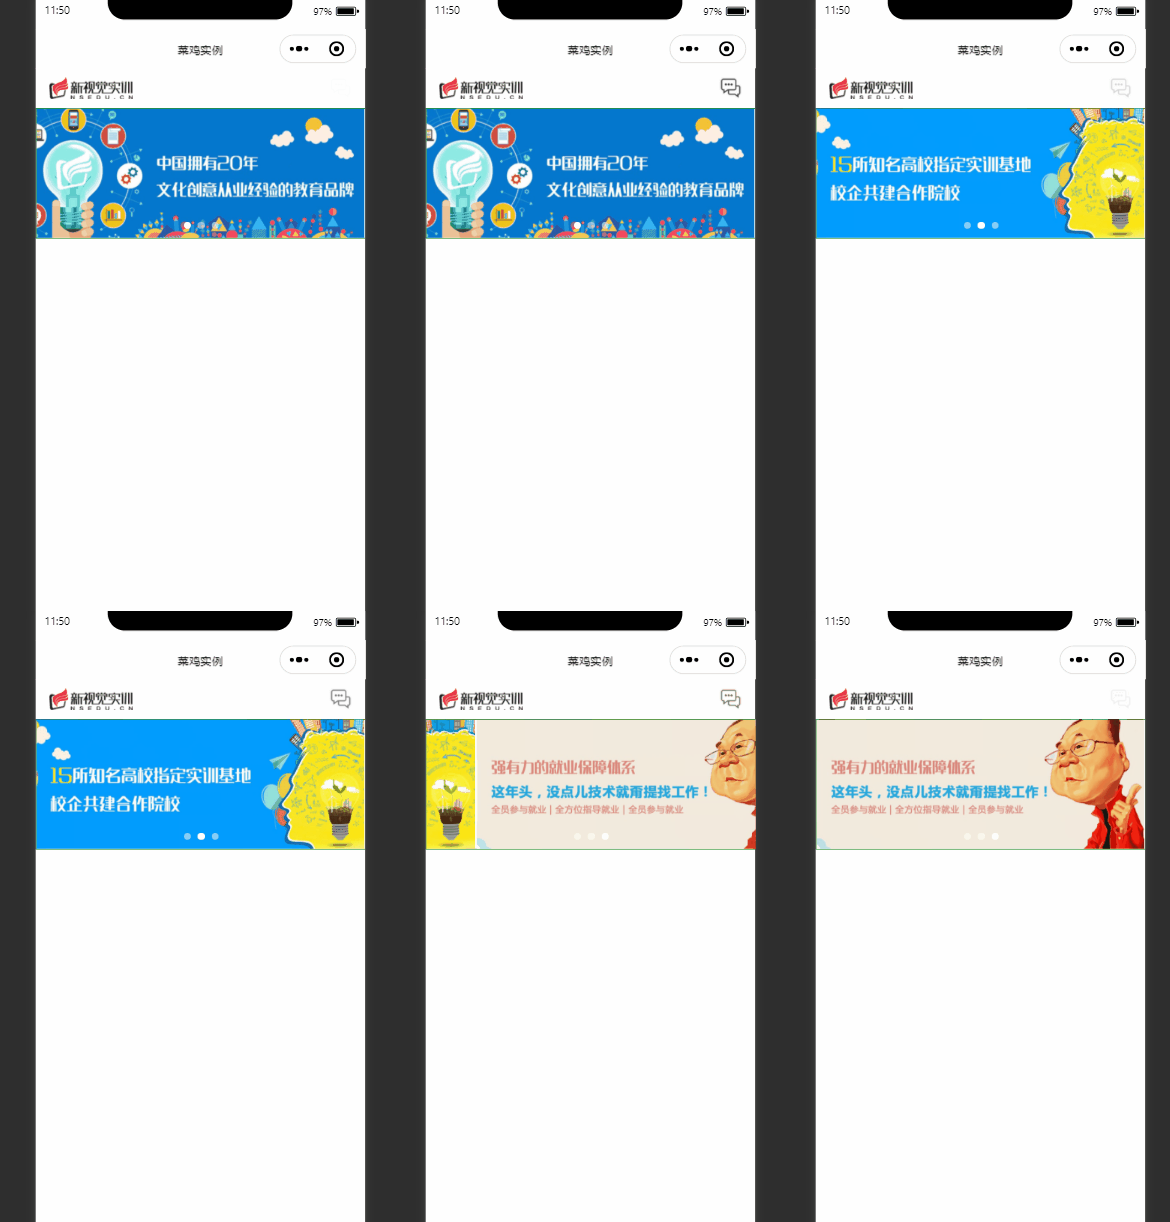
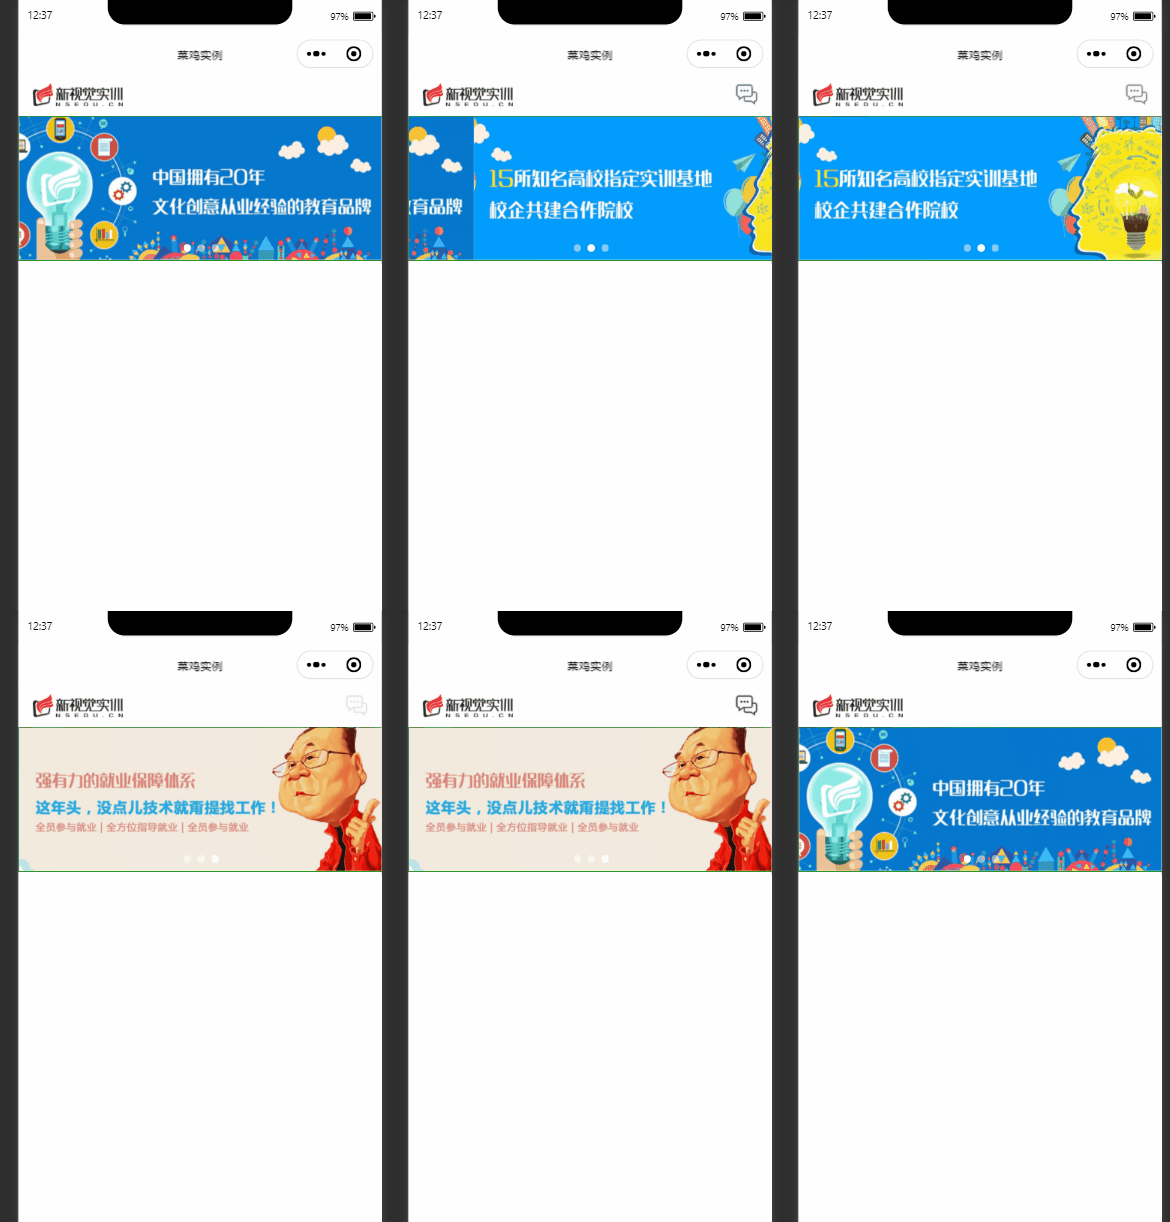
比如想做应该这样的小程序界面

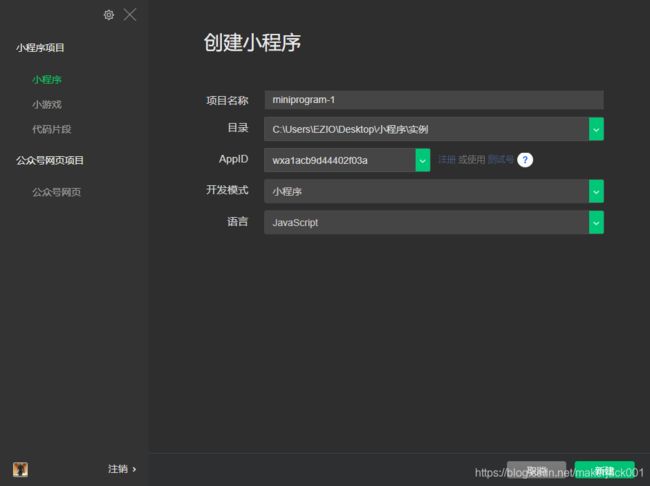
首先新建一个项目
打开index页面,把wxml和wxss内容全部清空
小程序头部设计
这里可以对整个上部框架进行操作背景字体风格、背景颜色、文字内容、文字颜色
左边是品牌logo,一般来说,点击此处会直接跳转到主页面,右边是聊天框,可以私聊客服什么的
可以给这整个头部套一个框架,方便对其内部元素进行管理
<view class="header">
  <view class="container hdCon">
  view>
view>
对框架进行大小及颜色的渲染
.header{
     width: 750rpx;height: 90rpx;border: 2rpx solid gray;}
.hdCon{
     height: 100%;}
由于容器的样式是通用的,我在app.wxss中就定义了一个全局的样式
.container{
     padding: 0 30rpx; box-sizing: border-box;}
执行此代码
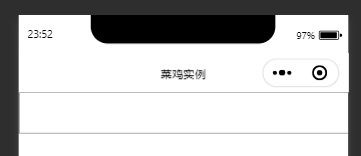
接着就是两个图标及其功能的实现
logo图标是为了跳转到首页,所以此处用navigator进行包装,在navigator层面进行操作
open-type一定要是switchType,否则无法跳转到tabBar界面
<navigator class="logo" url="/pages/index/index" open-type="switchType">
  <image src="/pages/images/logo.png" mode="heightFix">image>
navigator>
给logo规定一下大小,继承父级的高度,上面的代码规定放缩属性是高度一定,保持宽高比例,调整宽度
.hdCon image{
     height: 100%;}
.logo{
     height: 50rpx;}
这里用.hdCon image是因为另一个图标也要继承高度,索性就一起继承了
接下来是客服对话框,如果要自己写一个页面就太麻烦了,而button自己有这个功能,所以此处就不用navigator进行跳转,而是button覆盖到图标上,以实现跳转功能

还是用view包裹图标,然后附上button
<view class="kefu" >
  <button class="bt" open-type="contact">button>
  <image src="/pages/images/xiaoxi.png" mode="heightFix">image>
view>
此处opacity意思是透明度0代表完全透明,1代表不透明
.kefu{
     height: 50rpx;}
.kefu{
     position: relative;}
.bt{
     height: 100%; position: absolute;opacity: 0;}
此处可以再加点动画,让图标闪烁起来(透明度有时为0有时为1)
由于这个闪烁动画可能经常使用,可以写在app.wxss中,方便使用时调用
@keyframes dh{

  0%,100%{
     opacity: 1;}
  50%{
     opacity: 0;}
}
在刚才的css中添加动画,animation第一个参数是动画名 第二个是播放周期 第三个是无限循环播放
.kefu{
     height: 50rpx;}
.kefu{
     position: relative;}
.kefu image{
     animation: dh 3s infinite;}
.bt{
     height: 100%; position: absolute;opacity: 0;}
以上代码执行完后是这样的,要对布局进行调整,具体是对hdCon添加属性

继承父级高度 弹性布局 竖直方向布局:两端对齐 水平方向:居中
.hdCon{
     height: 100%;display: flex; justify-content: space-between; align-items: center;}
完整的渲染代码如下
.header{
     width: 750rpx;height: 90rpx;border: 2rpx solid gray;}
.hdCon{
     height: 100%;display: flex; justify-content: space-between; align-items: center;}
.hdCon image{
     height: 100%;}
.logo, .kefu{
     height: 50rpx;}
.kefu{
     position: relative;}
.kefu image{
     animation: dh 3s infinite;}
.bt{
     height: 100%; position: absolute;opacity: 0;}
前端代码完整如下
<view class="header">
  <view class="container hdCon">
    <navigator class="logo" url="/pages/index/index" open-type="switchType">
      <image src="/pages/images/logo.png" mode="heightFix">image>
    navigator>
    <view class="kefu" >
      <button class="bt" open-type="contact">button>
      <image src="/pages/images/xiaoxi.png" mode="heightFix">image>
    view>
  view>
view>
整个头部做完了,就可以把边框删了,边框是辅助排版用的,以便知道具体位置


轮播器设计
<view class="banner">
  <swiper >
  swiper>
view>
这是我准备放入的图片尺寸,所以最外层view标签的高度就是295,宽度自适应设备宽
.banner{
     width: 100%;height: 295rpx; border: 2rpx solid green;}
先插入待规划图片以供调整
<view class="banner">
  <swiper >
    <swiper-item><image src="/pages/images/banner1.jpg" mode="heightFix">image>swiper-item>
    <swiper-item><image src="/pages/images/banner2.jpg" mode="heightFix">image>swiper-item>
    <swiper-item><image src="/pages/images/banner3.jpg" mode="heightFix">image>swiper-item>
  swiper>
view>
效果是这样的

这是由于内部swiper组件并没有基础父级大小,而内部的图片也是按照原来的文件大小放入的,添加如下代码即可
.banner swiper{
     width: 100%;height: 100%;}
.banner image{
     height: 100%;}
就能够实现基础的滑块功能,但和理想的自动滑块,提示点还有一些区别,加一点点细节即可
在swiper组件中添加属性 指示点 指示点颜色 当前指示点颜色 循环播放 自动播放 播放间隔(单位:毫秒) 切换时间
<swiper indicator-dots="true" indicator-color="rgba(255,255,255,0.5)" indicator-active-color="#fff" circular="ture" autoplay="true" interval="3000" duration="500">
<view class="banner">
  <swiper indicator-dots="true" indicator-color="rgba(255,255,255,0.5)" indicator-active-color="#fff" circular="ture" autoplay="true" interval="3000" duration="500">
    <swiper-item><image src="/pages/images/banner1.jpg" mode="heightFix">image>swiper-item>
    <swiper-item><image src="/pages/images/banner2.jpg" mode="heightFix">image>swiper-item>
    <swiper-item><image src="/pages/images/banner3.jpg" mode="heightFix">image>swiper-item>
  swiper>
view>
渲染代码如下
.banner{
     width: 100%;height: 295rpx;}
.banner swiper{
     width: 100%;height: 100%;}
.banner image{
     height: 100%;}


