IOS下使用AVFoundation实现条形码和二维码扫描
昨天收到一个需求要给项目增加一个二维码扫描的功能,然后就找了一些AVFoundation的资料拼拼凑凑把功能完成了,中间也遇到了一些小坑。想了下转IOS也有一段时间了好久不发博客了,就写一篇博客当做时给自己成长的一次记录吧!同时也分享下代码和大家一起学习进步,有哪里做得不到位的还希望各位大神多指教。
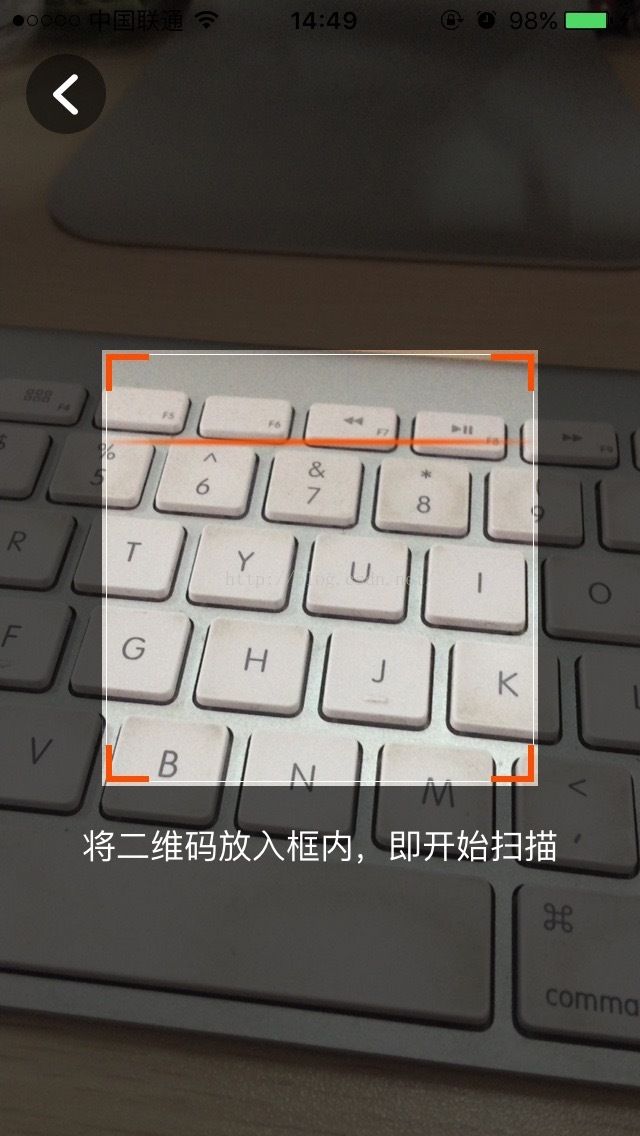
废话不多说,先来说下大致的需求,首先实现二维码的扫描识别功能 ,页面仿造微信扫码,需求如下图:
说下大致实现思路:
UI:基本比较简单整个图层的下方是从摄像头采集到的图像,没关键难点就在于四周半透明中间全透明的视图,以及扫描的线条。
关于半透明视图:我的实现方式是创建一个全透明的view定义好一个识别区然后在识别区的上下左右用Quartz2D分别画4个半透明的矩形。感觉比较挫,本来想用Quartz2d的API处理下,愣是只找到截取没找到裁图,希望有更好思路的大神可以指教下!
//填充区域颜色
    [[UIColor colorWithRed:0 green:0 blue:0 alpha:0.65] set];

    //扫码区域上面填充
    CGRect notScanRect = CGRectMake(0, 0, self.frame.size.width, _scanFrame.origin.y);
    CGContextFillRect(context, notScanRect);

    //扫码区域左边填充
    rect = CGRectMake(0, _scanFrame.origin.y, _scanFrame.origin.x,_scanFrame.size.height);
    CGContextFillRect(context, rect);

    //扫码区域右边填充
    rect = CGRectMake(CGRectGetMaxX(_scanFrame), _scanFrame.origin.y, _scanFrame.origin.x,_scanFrame.size.height);
    CGContextFillRect(context, rect);

    //扫码区域下面填充
    rect = CGRectMake(0, CGRectGetMaxY(_scanFrame), self.frame.size.width,self.frame.size.height - CGRectGetMaxY(_scanFrame));
    CGContextFillRect(context, rect);
扫描的线条动画:这个实现的方式多种多样,我就说下我的实现,就是一条美工提供好的线条然后用timer调setNeedsDisplay。在drawRect中改变图片的frame 再绘制到界面上。
@interface QRCodeAreaView()

/**
 *  记录当前线条绘制的位置
 */
@property (nonatomic,assign) CGPoint position;

/**
 *  定时器
 */
@property (nonatomic,strong)NSTimer  *timer;

@end

@implementation QRCodeAreaView

- (void)drawRect:(CGRect)rect {
    CGPoint newPosition = self.position;
    newPosition.y += 1;

    //判断y到达底部,从新开始下降
    if (newPosition.y > rect.size.height) {
        newPosition.y = 0;
    }

    //重新赋值position
    self.position = newPosition;

    // 绘制图片
    UIImage *image = [UIImage imageNamed:@"line"];

    [image drawAtPoint:self.position];
}

-(instancetype)initWithFrame:(CGRect)frame{
    if (self = [super initWithFrame:frame]) {
        self.backgroundColor = [UIColor clearColor];

        UIImageView *areaView = [[UIImageView alloc]initWithImage:[UIImage imageNamed:@"frame_icon"]];
        areaView.width = self.width;
        areaView.height = self.height;
        [self addSubview:areaView];

        self.timer = [NSTimer scheduledTimerWithTimeInterval:0.01 target:self selector:@selector(setNeedsDisplay) userInfo:nil repeats:YES];
    }

    return self;
}

-(void)startAnimaion{
    [self.timer setFireDate:[NSDate date]];
}

-(void)stopAnimaion{
    [self.timer setFireDate:[NSDate distantFuture]];
}

@end
说下二维码的识别:借助AVfoundation的强大API整体实现还是相当简单的,识别效率真的是杠杠的。
/**
     *  初始化二维码扫描
     */

    //获取摄像设备
    AVCaptureDevice * device = [AVCaptureDevice defaultDeviceWithMediaType:AVMediaTypeVideo];
    //创建输入流
    AVCaptureDeviceInput * input = [AVCaptureDeviceInput deviceInputWithDevice:device error:nil];
    //创建输出流
    AVCaptureMetadataOutput * output = [[AVCaptureMetadataOutput alloc]init];

    //设置代理 在主线程里刷新
    [output setMetadataObjectsDelegate:self queue:dispatch_get_main_queue()];

    //设置识别区域
    //深坑,这个值是按比例0~1设置,而且X、Y要调换位置,width、height调换位置
    output.rectOfInterest = CGRectMake(_areaView.y/screen_height, _areaView.x/screen_width, _areaView.height/screen_height, _areaView.width/screen_width);

    //初始化链接对象
    session = [[AVCaptureSession alloc]init];
    //高质量采集率
    [session setSessionPreset:AVCaptureSessionPresetHigh];

    [session addInput:input];
    [session addOutput:output];

    //设置扫码支持的编码格式(如下设置条形码和二维码兼容)
    output.metadataObjectTypes=@[AVMetadataObjectTypeQRCode,AVMetadataObjectTypeEAN13Code, AVMetadataObjectTypeEAN8Code, AVMetadataObjectTypeCode128Code];

    AVCaptureVideoPreviewLayer * layer = [AVCaptureVideoPreviewLayer layerWithSession:session];
    layer.videoGravity=AVLayerVideoGravityResizeAspectFill;
    layer.frame=self.view.layer.bounds;

    [self.view.layer insertSublayer:layer atIndex:0];

    //开始捕获
    [session startRunning];
#pragma 二维码扫描的回调
-(void)captureOutput:(AVCaptureOutput *)captureOutput didOutputMetadataObjects:(NSArray *)metadataObjects fromConnection:(AVCaptureConnection *)connection{
if (metadataObjects.count>0) {
[session stopRunning];//停止扫描
[_areaView stopAnimaion];//暂停动画
AVMetadataMachineReadableCodeObject * metadataObject = [metadataObjects objectAtIndex : 0 ];
//输出扫描字符串
NSLog(@"%@",metadataObject.stringValue);
}
}
但是中间也有一个坑就是众所周知的rectOfInterest属性,真想吐槽下apple干嘛不弄个正常人思维的东西?第一次使用的朋友同时又想提高识别效率,做出和大平台那样的中间区域识别的效果一看rect肯定和我一样兴奋,不就是设置个rect嘛。按照正常rect设置完成后,你会发现你的程序失效了。点开这个方法的帮助不难看到
The default value of this property is the value CGRectMake(0, 0, 1, 1). Metadata objects whose bounds do not intersect with the rectOfInterest will not be returned.
官方这是在告诉你这个rect范围时0~1,我们立马能想到计算X比例不就是当前X坐标/屏幕宽度嘛?可是事实不是,这个就是最操蛋的地方。我百度了一个多小时终于搞明白了(当初学习的博客找不到了,过后找到了再注明转载),原来这个XY是要翻过来的,同时width height也是要反过来,于是这个rect应该是CGRectMake(Y/屏幕高度, X/屏幕高度,heidth/屏幕高度,width/屏幕宽度)。最最坑爹的是这个设置设置完了以后屏幕上没有任何可视效果。我也是在中间画了一个半透明矩形拿一个二维码各个角度识别才测试出来的。
    //设置识别区域
    //深坑,这个值是按比例0~1设置,而且X、Y要调换位置,width、height调换位置
    output.rectOfInterest = CGRectMake(_areaView.y/screen_height, _areaView.x/screen_width, _areaView.height/screen_height, _areaView.width/screen_width);
//扫描区域
CGRect areaRect = CGRectMake((screen_width - 218)/2, (screen_height - 218)/2, 218, 218);
完整项目地址:https://github.com/CharmingLee/QRCodeController.git
https://git.oschina.net/CharmingLee/QRCodeController.git