一个前端工程师用Flutter开发以太坊交易所APP
开源地址
这篇博客不涉及以太坊知识的科普,单纯记录了我在用Flutter开发钱包的过程中遇到的各种小细节问题。如果有开发钱包的各位同学,可以拿去直接用,不需要授权。
https://github.com/youwallet/wallet/
钱包能力
- 新建钱包
- 导入/导出钱包
- 添加Token
- 转账
- 兑换
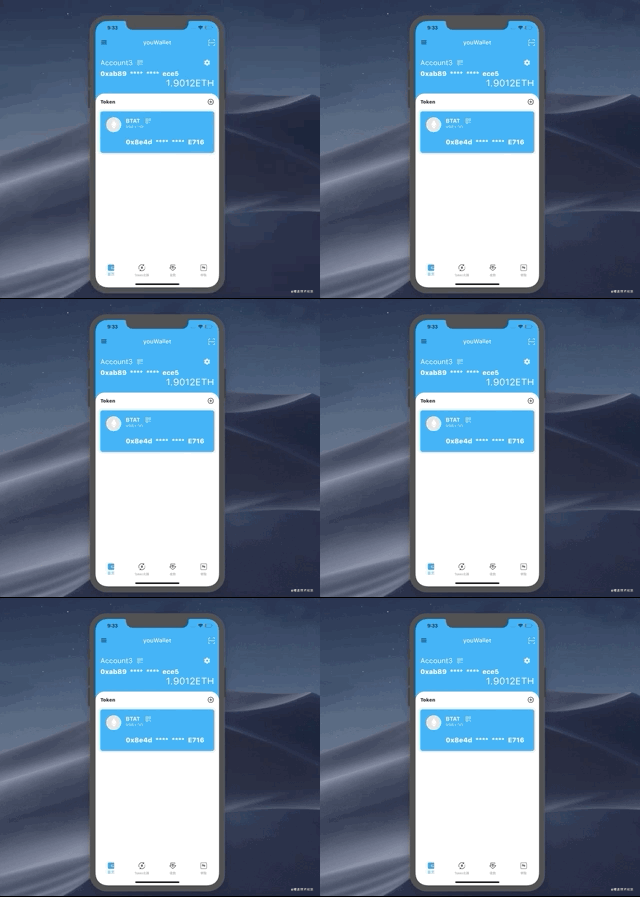
演示
[外链图片转存失败,源站可能有防盗链机制,建议将图片保存下来直接上传(img-Mq3Te65i-1607343547627)(https://p1-juejin.byteimg.com/tos-cn-i-k3u1fbpfcp/fe52d1852cec40478474460e7bd01b81~tplv-k3u1fbpfcp-watermark.image)]
引用字体图标
https://www.jianshu.com/p/960ee951a1b5
new Icon(
  IconData(0xe648, fontFamily: 'iconfont'),
  size: 50.0,
  color: Colors.black26
)
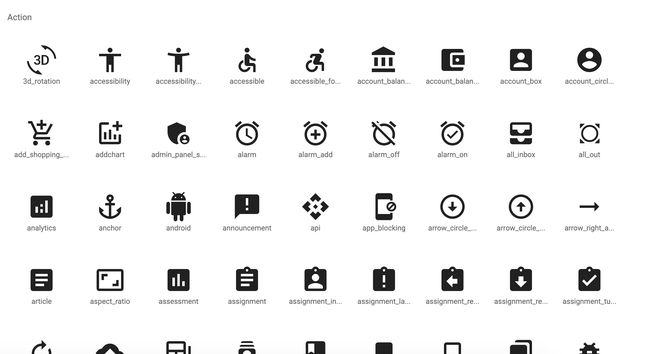
Flutter内置icon在线预览
在线预览: https://material.io/resources/icons/?style=baseline (需要梯子)
widget缝隙
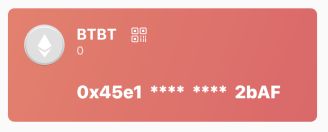
如图所示,有一个圆形容器CircleAvatar,设置背景色backgroundColor=Colors.white,radius设置为字体图标size尺寸的一半,理想情况下图标和容器完美贴合,在真机和debug模式下图标都会出现下偏移。为了贴合在一起,更改为stack布局
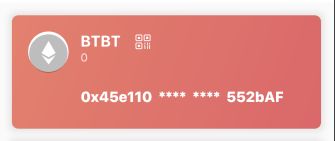
// 更改前
CircleAvatar(
      backgroundColor: Colors.white,
      radius: 25.0,
      child: Icon(
            IconData(0xe648, fontFamily: 'iconfont'),
            size: 50.0,
            color: Colors.black12
      )
);
// 更改后
Stack(
        children: [
          Container(
            width: 50.0,
            height: 50.0,
            decoration: new BoxDecoration(
                border: new Border.all(width: 2.4, color: Colors.black12),
                color: Colors.white,
                borderRadius: new BorderRadius.all(new Radius.circular(25.0))
            ),
          ),
          Positioned(
            child:Icon(IconData(0xe648, fontFamily: 'iconfont'),
            size: 50.0,
            color: Colors.black12)
          ),
        ],
      );
底部弹出框设置圆角
Flutter默认的弹出框是直角边框,可以利用decoration,将Container左上角和右上角设置Radius。
Container(
      decoration: new BoxDecoration(
        borderRadius: BorderRadius.only(
          topLeft: Radius.circular(18),
          topRight: Radius.circular(18)
        ),
      ),
      child: Column(
        children: ...
      ),
)
生成二维码
import 'package:qr_flutter/qr_flutter.dart';

// 生成自定义二维码比较简单
// 引入qr_flutter包,传递data和size即可控制二维码的内容和尺寸
QrImage(
    data: ,
    size: 100.0,
),
自定义icon打开draw
leading: Builder(
    builder: (context) => GestureDetector(
          child: new Icon(icon.menu)
          ),
          onTap: () => Scaffold.of(context).openDrawer(),
        ),
接入bugly监控
// 第一步:导入包
import 'package:flutter_bugly/flutter_bugly.dart';

// 第二步:在main函数最外层启用SDK
void main() => FlutterBugly.postCatchedException(() async {
  WidgetsFlutterBinding.ensureInitialized();
  runApp(MyApp());
});
沉浸式状态栏
// 导包:
import 'dart:io';
import 'package:flutter/services.dart';
···
runApp(MyApp());
if (Platform.isAndroid) {
    // 以下两行 设置android状态栏为透明的沉浸。写在组件渲染之后,是为了在渲染后进行set赋值,覆盖状态栏,写在渲染之前MaterialApp组件会覆盖掉这个值。
    SystemUiOverlayStyle systemUiOverlayStyle =
    SystemUiOverlayStyle(statusBarColor: Colors.transparent);
    SystemChrome.setSystemUIOverlayStyle(systemUiOverlayStyle);
}
并发请求
在web开发环境中,经常会遇到需要同时请求多个接口,等所有接口都返回数据后进入下一步的回调。web端可以方便的使用Promise.all来实现这个需求,那么在dart的语境中,该如何实现并发请求呢?答案就是Future.wait, dart的Future非常强大,还有更多方法等待探索
demo1(){
    return true;
}
demo2(){
    return true;
}
Future.wait([
    demo1,
    demo2
]).then((list) {
   print(list); // [true, true]
}).catchError((e) {
   print(e);
}).whenComplete(() {
   print("whenComplete");
});
延迟请求
这里可以使用Future.delayed,参数就是需要延迟执行的时间,延迟的时间以毫秒为单位
Future.delayed(Duration(seconds: 1), () => {
   demo2;
});
页面加载中状态
真实项目开发中,loading效果是一定会用到的页面过渡状态。web开发的时候,前端会先准备好loading状态,当接口返回数据后,再把loading设置为false。在Flutter中,可以很方便的使用FutureBuilder实现这个效果
new Scaffold(
body: FutureBuilder(
/*getData是异步数据接口*/
future: getData(),
builder: (BuildContext context, AsyncSnapshot一些常见异常
Waiting for another flutter command to release the startup lock…
进入本地Flutter的安装目录,找到\bin\cache下面的lockfile文件,删除该文件
参考
- https://pub.flutter-io.cn/
- https://book.flutterchina.club/
- https://dartpad.dartlang.org/
- https://github.com/wanglu1209/WFlutterDemo
- https://pub.flutter-io.cn/packages/qr_flutter
