预测化学分子的nlogP——基于sklearn, deepchem, DGL, Rdkit的图卷积网络模型
之前出了几个博客,都是关于如何使用deepchem的内置数据集、模型、以及分子特征化。
到目前为止,都没有使用自己真是的案例进行流程化的尝试。
这里就使用自己的test.sdf文件作为输入,到模型的建立和评估,建立一个真实的应用于分子的图神经网络模型案例。
import deepchem as dc
import os
一、加载SDF数据,特征化,生成机器学习/深度学习可以接受的数据格式
tasks:任务的列明, featurizer:分子特征化对象, sanitize:分子标准化(一般均选True,因为SDF文件中保存的分子很有可能是没有处理好的)
sdf_file = 'testset.sdf'
featurizer = dc.feat.CircularFingerprint(size=128)
loader = dc.data.SDFLoader(tasks=['n_logp'], featurizer=featurizer, sanitize=True)
'''
tasks:任务的列明, featurizer:分子特征化对象, sanitize:分子标准化(一般均选True,因为SDF文件中保存的分子很有可能是没有处理好的)
'''
dataset = loader.create_dataset(sdf_file)
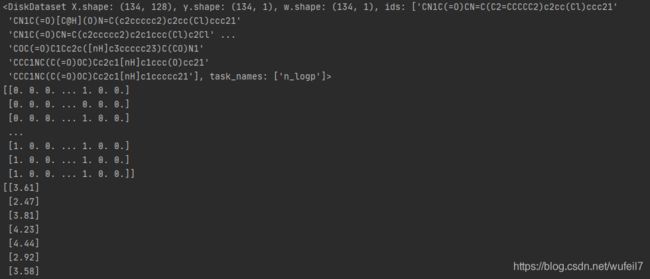
print(dataset)
print(dataset.X) #分子的特征
print(dataset.y) #label,也就是tasks
print(dataset.w) #样本权重,均为1
print(dataset.ids)
关于ConvMolFeaturizer,请参照:
Duvenaud, David K., et al. “Convolutional networks on graphs for learning molecular fingerprints.” Advances in neural information processing systems. 2015.
featurizer = dc.feat.ConvMolFeaturizer()
loader = dc.data.SDFLoader(tasks=['n_logp'], featurizer=featurizer, sanitize=True)
dataset = loader.create_dataset(sdf_file)
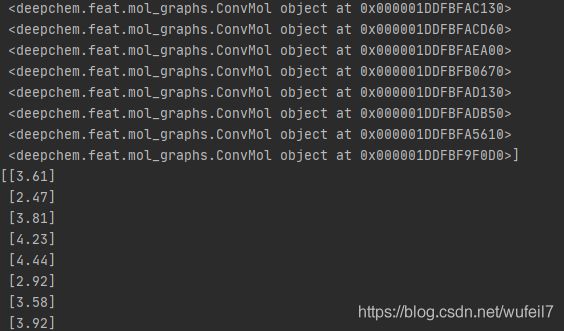
print(dataset)
print(dataset.X) #分子的特征
print(dataset.y) #label,也就是tasks
print(dataset.w) #样本权重,均为1
print(dataset.ids)
二、将分子的特征作为机器学习模型的输入
1) sklearn模型
这里使用简单的线性回归模型。模型结果不一定合理。
当然使用DNN也可以。也是使用这种输入。
或者使用不同的特征,请见deepchem:
https://deepchem.readthedocs.io/en/latest/api_reference/featurizers.html#featurizer
#数据加载
sdf_file = 'testset.sdf'
featurizer = dc.feat.CircularFingerprint(size=128)
loader = dc.data.SDFLoader(tasks=['n_logp'], featurizer=featurizer, sanitize=True)
dataset = loader.create_dataset(sdf_file)
#特征和标签
X = dataset.X
Y = dataset.y
from sklearn.model_selection import train_test_split
from sklearn.linear_model import LinearRegression
x_train, x_test, y_train, y_test = train_test_split(X, Y, test_size=0.3, random_state=42)
reg = LinearRegression()
reg.fit(x_train, y_train)
score = reg.score(x_test, y_test)
print('Simels线性回归模型的分数为:',score)
![]()
(2) GCN模型
首先,这里要先将分子转化为图神经网络的输入数据模式,主要是先使用dc.feat.ConvMolFeaturizer()将分子特征化。
其次,这里由于是图层面的任务,因此需要图回归模型, 所以这里。
这里直接使用Deepchem内置的GraphConvModel模型。
featurizer = dc.feat.ConvMolFeaturizer()
loader = dc.data.SDFLoader(tasks=['n_logp'], featurizer=featurizer, sanitize=True)
dataset = loader.create_dataset(sdf_file)
#划分数据集
import numpy as np
from deepchem import splits
splitter = splits.RandomSplitter()
train_set, test_set = splitter.train_test_split(dataset, frac_train=0.7)
#建立图神经卷积网络模型
model = dc.models.GraphConvModel(1, mode='regression', dropout=0.5)
model.fit(train_set) #会有警告
#评估器
avg_pearson_r2 = dc.metrics.Metric(dc.metrics.pearson_r2_score, np.mean)
test_score = model.evaluate(test_set,[avg_pearson_r2])
print('图卷积网络模型的预测分数为:', test_score)
![]()
(3)自定义的GCN模型
自定义的GCN模型使用torch编写。可参照:https://blog.csdn.net/wufeil7/article/details/107540479
分子要先进行处理,使之适合自定义的图神经网络的输入。分子的处理有很多的方法,例如(2)中使用dc.feat.ConvMolFeaturizer()。
这里使用RdKit的邻接矩阵处理。
注意,我们这里使用的是图层面的任务。
import torch
torch.set_default_tensor_type(torch.FloatTensor)
import dgl
print(torch.__version__)
print(dgl.__version__)
自定义一个GCN回归模型,建立图层面的回归任务
#自定义一个GCN回归模型
import torch.nn as nn
from dgl.nn.pytorch import GraphConv
import torch.nn.functional as F

#建立图层面的回归任务
class Regression(nn.Module):

    def __init__(self, in_dim, hidden_dim, out_dim):
        super(Regression, self).__init__()
        self.conv1 = GraphConv(in_dim, hidden_dim)
        self.conv2 = GraphConv(hidden_dim, hidden_dim)
        self.ress = nn.Linear(hidden_dim, out_dim)

    def forward(self, g):
        h = g.in_degrees().view(-1,1).float()
        h = F.relu(self.conv1(g, h))
        h = F.relu(self.conv2(g, h))
        g.ndata['h'] = h
        hg = dgl.mean_nodes(g, 'h')
        return self.ress(hg)
加载分子
1.这里使用RDKit中的Chem.PadansTools加载SDF文件,生成dataframe
2.从dataframe中的Smiles逐个转化为RDKIT的Mol文件
3.再将Mol文件通过Chem.rdmolops生成邻接矩阵
4.根据邻接矩阵为每一个分子构建DGL图对象。
也就是说,每一个分子最后都被表示成DGL图对象。
from rdkit import Chem
from rdkit.Chem import PandasTools
sdf_file = './testset.sdf'
data = PandasTools.LoadSDF(sdf_file)
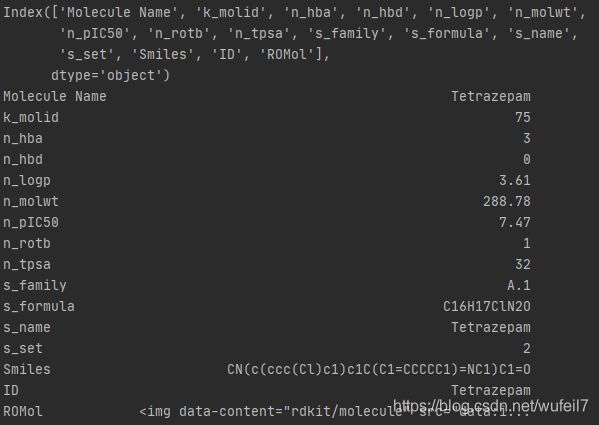
print(data)
print(data.columns)
print(data.loc[0, :])
X = data.loc[:, 'Smiles'].values
y = data.loc[:, 'n_logp'].values
y = [float(i) for i in y]
#分子特征化,这里直接使用RDKit生成的邻接矩阵作为分子的特征
#生成mol对象
X = [ Chem.MolFromSmiles(i)  for i in X]
#生成邻接矩阵(当然,一个分子的特征,不单单可以考虑分子图的结构,也可以考虑节点和边的信息,为了简便起见,这里仅仅考虑结构)
X = [Chem.rdmolops.GetAdjacencyMatrix(i) for i in X]
#由邻接矩阵转为dgl的图(先转化为稀疏矩阵,然后构构建图)
from scipy.sparse import coo_matrix
X = [coo_matrix((i), shape=(len(i), len(i))) for i in X]
X = [dgl.from_scipy(i) for i in X]
训练模型
from sklearn.model_selection import train_test_split
x_train, x_test, y_train, y_test = train_test_split(X, y, test_size=0.3, random_state=42)
#创建模型
net = Regression(1, 36, 1)
device = torch.device("cuda:0" if torch.cuda.is_available() else "cpu")
net.to(device)
#损失函数
loss_func = nn.MSELoss()
#优化器
from torch import optim
optimizer = optim.Adam(net.parameters(), lr=0.001)
#训练模型
train_epoch_loss = {
     }
eval_epoch_loss = {
     }
for epoch in range(10):
    print(epoch)
    net.train()
    loss_ = 0
    for x, y in zip(x_train, y_train):
        x = x.to(device)
        y_pred = net(x)
        y = np.array(y)
        y = y.reshape(-1,1)
        y = torch.from_numpy(y).float()
        y = y.to(device)
        loss = loss_func(torch.unsqueeze(y_pred, 0), y)
        optimizer.zero_grad()
        loss.backward()
        optimizer.step()
        loss_ = loss.item() + loss_

    train_epoch_loss[epoch] = loss_
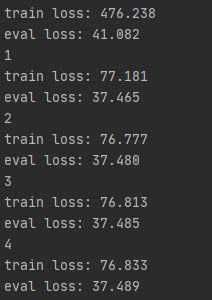
    print('train loss: {:.3f}'.format(loss_))

    loss_ = 0
    net.eval()
    for x,y in zip(x_test, y_test):
        x = x.to(device)
        y_pred = net(x)
        y = np.array(y)
        y = y.reshape(-1, 1)
        y = torch.from_numpy(y).float()
        y = y.to(device)
        loss = loss_func(torch.unsqueeze(y_pred, 0), y)
        loss_ = loss_ + loss.item()
    eval_epoch_loss[epoch] = loss_
    print('eval loss: {:.3f}'.format(loss_))
总结:
1.图神经网络处理化学分子数据具有两种模式:
(1)直接使用Deepchem和Deepchem内置的特征化方法和模型。
(2)使用DGL自定义为每一个分子定义一个图,然后使用自定义的DGL模型进行训练。
2.在模型中的关键:
(1)分子特征化的方法
(2)GCN等图神经网络的结构
(3)损失函数的使用


