应用场景:在我们的项目中是触发预警消息,在预警列表中插入一条预警记录,同时我们有水务app和河长治app等多个app需要接收预警消息并且推送预警消息,我们以往的做法就是在生成预警记录的同时触发推送给水务app的推送接口和推送给河长治的app接口,假如还有其他的app需要推送的情况下,我们就要在此继续触发接口,无疑增加了工作量,这时我们可以采用activeMq的topic模式,在生成预警消息的同时发布一条信息到mq中,只要谁订阅了此topic就可以进行相关操作,只要我们约定好序列化的json对象即可。
activeMq有queue和topic两种模式
不同之处:queue点对点模式,不可重复订阅
topic可以被多个消费者订阅
下边我们就开始在springboot中集成activeMq吧,let's go!
1.首先在项目中添加依赖
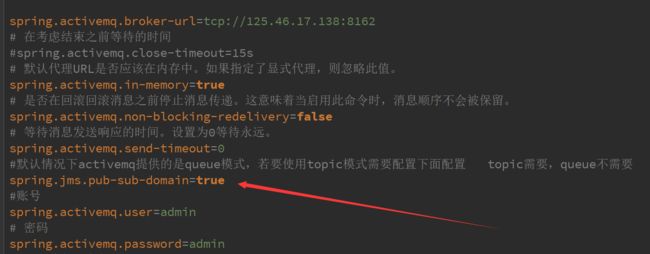
2.在配置文件中添加配置信息,注意下边有个配置信息是queue不需要,而topic需要的
spring.activemq.broker-url=tcp://125.46.17.138:8162
# 在考虑结束之前等待的时间
#spring.activemq.close-timeout=15s
# 默认代理URL是否应该在内存中。如果指定了显式代理,则忽略此值。
spring.activemq.in-memory=true
# 是否在回滚回滚消息之前停止消息传递。这意味着当启用此命令时,消息顺序不会被保留。
spring.activemq.non-blocking-redelivery=false
# 等待消息发送响应的时间。设置为0等待永远。
spring.activemq.send-timeout=0
#默认情况下activemq提供的是queue模式,若要使用topic模式需要配置下面配置 topic需要,queue不需要
spring.jms.pub-sub-domain=true
#账号
spring.activemq.user=admin
# 密码
spring.activemq.password=admin
# 是否信任所有包
#spring.activemq.packages.trust-all=
# 要信任的特定包的逗号分隔列表(当不信任所有包时)
#spring.activemq.packages.trusted=
# 当连接请求和池满时是否阻塞。设置false会抛“JMSException异常”。
#spring.activemq.pool.block-if-full=true
# 如果池仍然满,则在抛出异常前阻塞时间。
#spring.activemq.pool.block-if-full-timeout=-1ms
# 是否在启动时创建连接。可以在启动时用于加热池。
#spring.activemq.pool.create-connection-on-startup=true
# 是否用Pooledconnectionfactory代替普通的ConnectionFactory。
#spring.activemq.pool.enabled=false
# 连接过期超时。
#spring.activemq.pool.expiry-timeout=0ms
# 连接空闲超时
#spring.activemq.pool.idle-timeout=30s
# 连接池最大连接数
#spring.activemq.pool.max-connections=1
# 每个连接的有效会话的最大数目。
#spring.activemq.pool.maximum-active-session-per-connection=500
# 当有"JMSException"时尝试重新连接
#spring.activemq.pool.reconnect-on-exception=true
# 在空闲连接清除线程之间运行的时间。当为负数时,没有空闲连接驱逐线程运行。
#spring.activemq.pool.time-between-expiration-check=-1ms
# 是否只使用一个MessageProducer
#spring.activemq.pool.use-anonymous-producers=true
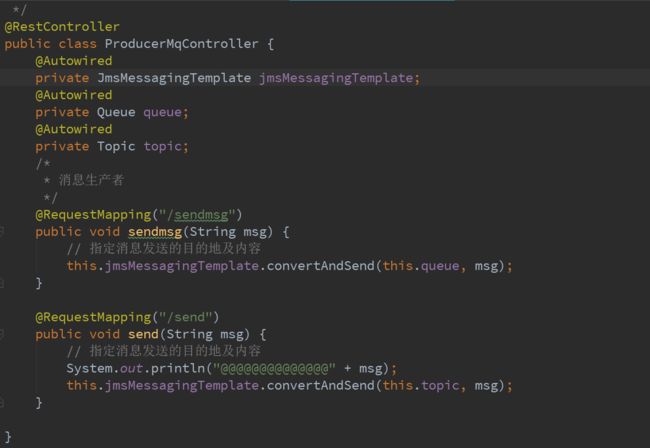
3.添加producer类
package com.ssm.demo.works.controller;
import org.springframework.beans.factory.annotation.Autowired;
import org.springframework.jms.core.JmsMessagingTemplate;
import org.springframework.web.bind.annotation.RequestMapping;
import org.springframework.web.bind.annotation.RestController;
import javax.jms.Queue;
import javax.jms.Topic;
/*
* 队列消息控制器*/
@RestController
public class ProducerMqController {
@Autowired
private JmsMessagingTemplatejmsMessagingTemplate;
@Autowired
private Queuequeue;
@Autowired
private Topictopic;
/*
* 消息生产者*/
@RequestMapping("/sendmsg")
public void sendmsg(String msg) {
// 指定消息发送的目的地及内容
this.jmsMessagingTemplate.convertAndSend(this.queue, msg);
}
@RequestMapping("/send")
public void send(String msg) {
// 指定消息发送的目的地及内容
System.out.println("@@@@@@@@@@@@@@" + msg);
this.jmsMessagingTemplate.convertAndSend(this.topic, msg);
}
}
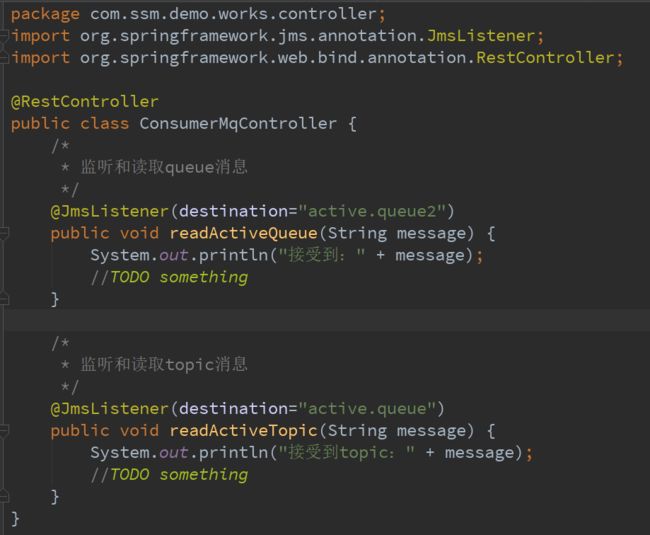
4.添加consumer类
package com.ssm.demo.works.controller;
import org.springframework.jms.annotation.JmsListener;
import org.springframework.web.bind.annotation.RestController;
@RestController
public class ConsumerMqController {
/*
* 监听和读取queue消息*/
@JmsListener(destination="active.queue2")
public void readActiveQueue(String message) {
System.out.println("接受到:" + message);
//TODO something
}
/*
* 监听和读取topic消息*/
@JmsListener(destination="active.queue")
public void readActiveTopic(String message) {
System.out.println("接受到topic:" + message);
//TODO something
}
}
JmsListener是spring-jms提供的一个注解,会实例化一个Jms的消息监听实例,也就是一个异步的消费者。
5.在springboot启动类中添加JMS的注解扫描
package com.ssm.demo;
import com.github.pagehelper.PageHelper;
import org.apache.activemq.command.ActiveMQQueue;
import org.apache.activemq.command.ActiveMQTopic;
import org.mybatis.spring.annotation.MapperScan;
import org.springframework.boot.SpringApplication;
import org.springframework.boot.autoconfigure.SpringBootApplication;
import org.springframework.context.annotation.Bean;
import org.springframework.jms.annotation.EnableJms;
import javax.jms.Queue;
import javax.jms.Topic;
import java.util.Properties;
@SpringBootApplication
@EnableJms
@MapperScan("com.ssm.demo.mapper")
public class DemoApplication {
public static void main(String[] args) {
SpringApplication.run(DemoApplication.class, args);
}
@Bean
public Queue queue() {
return new ActiveMQQueue("active.queue");
}
@Bean
public Topic topic() {
return new ActiveMQTopic("active.queue");
}
}
6.我们来测试一下queue模式和topic模式
运行代码,输入
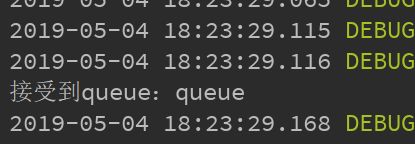
接下来验证queue模式
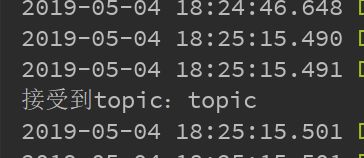
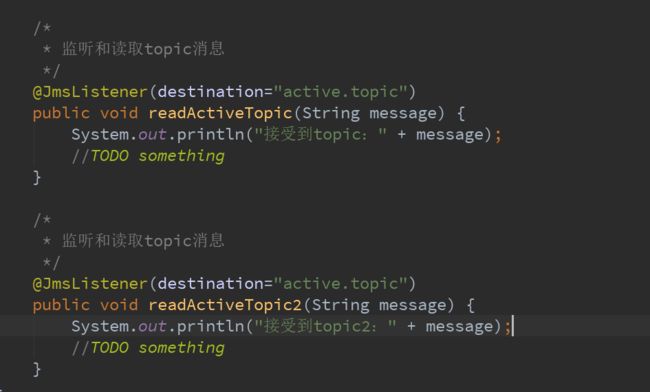
我发送一个topic,造出两个topic消费者
发送queue
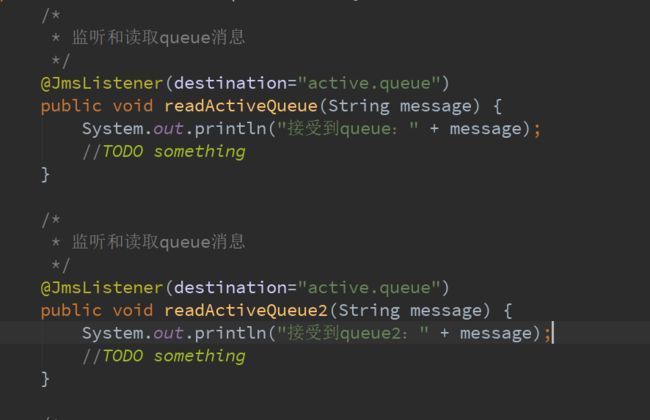
我写了两个消费者
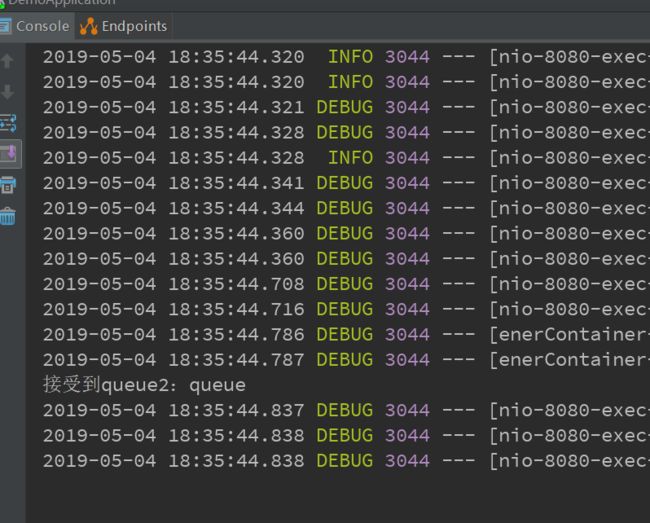
验证queue的消费对象到底有几个

