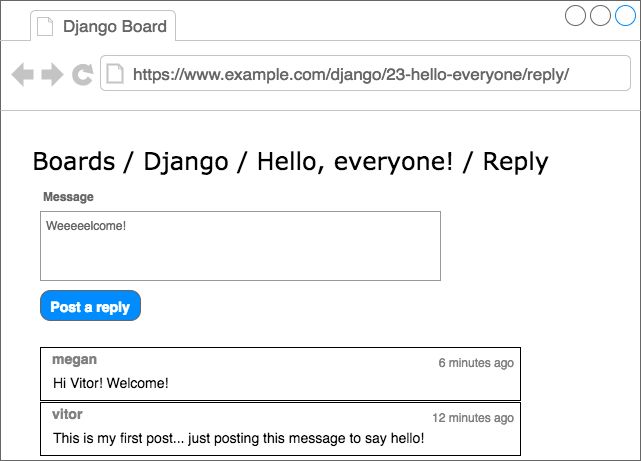
现在让我们来实现回复帖子的功能,以便我们可以添加更多的数据和改进功能实现与单元测试。
添加新的URL路由:
myproject/urls.py
url(r'^boards/(?P\d+)/topics/(?P\d+)/reply/$', views.reply_topic, name='reply_topic'),
给回帖创建一个新的表单:
boards/forms.py
from django import forms
from .models import Post

class PostForm(forms.ModelForm):
    class Meta:
        model = Post
        fields = ['message', ]
一个新的受@login_required保护的视图,以及简单的表单处理逻辑
boards/views.py
from django.contrib.auth.decorators import login_required
from django.shortcuts import get_object_or_404, redirect, render
from .forms import PostForm
from .models import Topic

@login_required
def reply_topic(request, pk, topic_pk):
    topic = get_object_or_404(Topic, board__pk=pk, pk=topic_pk)
    if request.method == 'POST':
        form = PostForm(request.POST)
        if form.is_valid():
            post = form.save(commit=False)
            post.topic = topic
            post.created_by = request.user
            post.save()
            return redirect('topic_posts', pk=pk, topic_pk=topic_pk)
    else:
        form = PostForm()
    return render(request, 'reply_topic.html', {'topic': topic, 'form': form})
现在我们再会到new_topic视图函数,更新重定向地址(标记为 #TODO 的地方)
@login_required
def new_topic(request, pk):
    board = get_object_or_404(Board, pk=pk)
    if request.method == 'POST':
        form = NewTopicForm(request.POST)
        if form.is_valid():
            topic = form.save(commit=False)
            # code suppressed ...
            return redirect('topic_posts', pk=pk, topic_pk=topic.pk)  # <- 这里
    # code suppressed ...
值得注意的是:在视图函数replay_topic中,我们使用topic_pk,因为我们引用的是函数的关键字参数,而在new_topic视图中,我们使用的是topic.pk,因为topic是一个对象(Topic模型的实例对象),.pk是这个实例对象的一个属性,这两种细微的差别,其实区别很大,别搞混了。
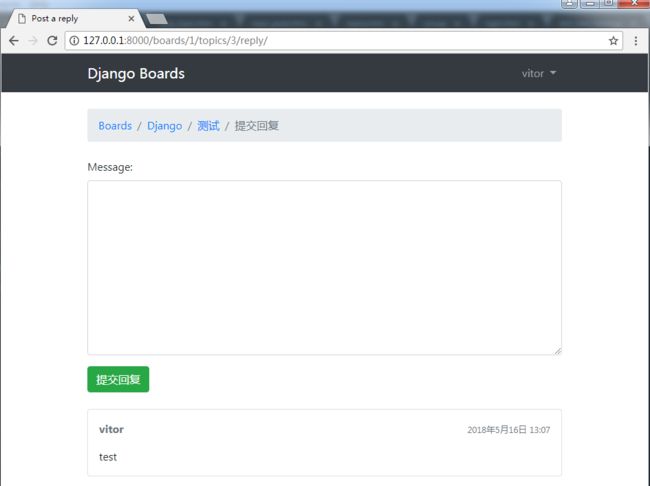
回复页面模版的一个版本:
templates/reply_topic.html
{% extends 'base.html' %}
{% load static %}
{% block title %}提交回复{% endblock %}
{% block breadcrumb %}
Boards
{{ topic.board.name }}
{{ topic.subject }}
提交回复
{% endblock %}
{% block content %}
{% for post in topic.posts.all %}
{{ post.created_by.username }}
{{ post.created_at }}
{{ post.message }}
{% endfor %}
{% endblock %}
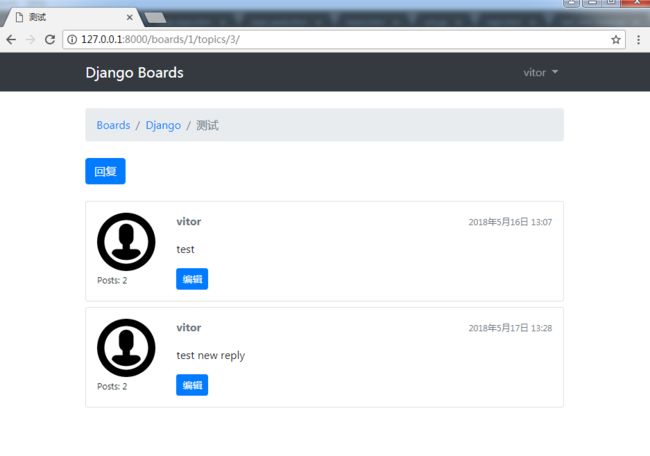
提交回复之后,用户会跳回主题的回复列表:
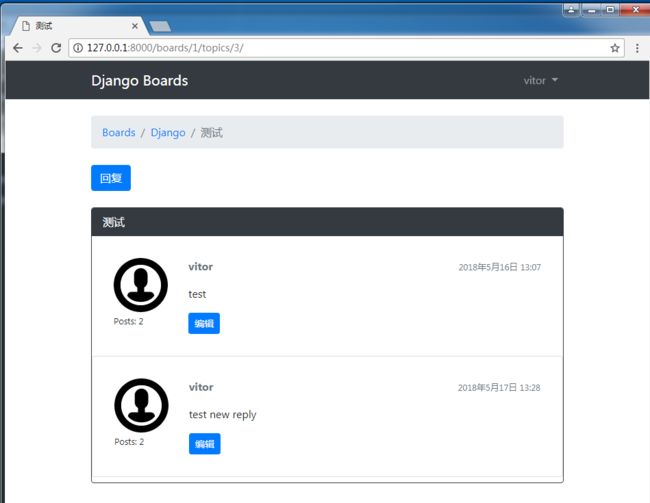
我们可以改变第一条帖子的样式,使得它在页面上更突出:
templates/topic_posts.html
{% for post in topic.posts.all %}

    {% if forloop.first %}
      {{ topic.subject }}
    {% endif %}


{% endfor %}
增加回复的链接,使其可以跳转到回复编辑页面
templates/topic_posts.html
现在对于测试,已经实现标准化流程了,就像我们迄今为止所做的一样。 在boards/tests 目录中创建一个新文件 test_view_reply_topic.py:
boards/tests/test_view_reply_topic.py
from django.contrib.auth.models import User
from django.test import TestCase
from django.urls import reverse
from ..models import Board, Post, Topic
from ..views import reply_topic

class ReplyTopicTestCase(TestCase):
    '''
    Base test case to be used in all `reply_topic` view tests
    '''
    def setUp(self):
        self.board = Board.objects.create(name='Django', description='Django board.')
        self.username = 'john'
        self.password = '123'
        user = User.objects.create_user(username=self.username, email='[email protected]', password=self.password)
        self.topic = Topic.objects.create(subject='Hello, world', board=self.board, starter=user)
        Post.objects.create(message='Lorem ipsum dolor sit amet', topic=self.topic, created_by=user)
        self.url = reverse('reply_topic', kwargs={'pk': self.board.pk, 'topic_pk': self.topic.pk})

class LoginRequiredReplyTopicTests(ReplyTopicTestCase):
    # ...

class ReplyTopicTests(ReplyTopicTestCase):
    # ...

class SuccessfulReplyTopicTests(ReplyTopicTestCase):
    # ...

class InvalidReplyTopicTests(ReplyTopicTestCase):
    # ...
这里的精髓在于自定义了测试用例基类ReplyTopicTestCase。然后所有四个类将继承这个测试用例。
首先,我们测试视图是否受@login_required装饰器保护,然后检查HTML输入,状态码。最后,我们测试一个有效和无效的表单提交。
原文 https://github.com/pythonzhichan/django-beginners-guide/blob/master/DjangoORM2.md