vue-router的实现原理以及使用方法讲解
vue中的vue-router是通过hash和history两种模式实现前端跳转路由,更新视图但不重新请求页面”是前端路由原理的核心之一,实现主要有两种方式
-
hash---- 利用URL中的hash(“#”) -
利用
Historyinterface在 HTML5中新增的方法
实现方式首先在router/index.js中注册路由 Vue.use(Router)
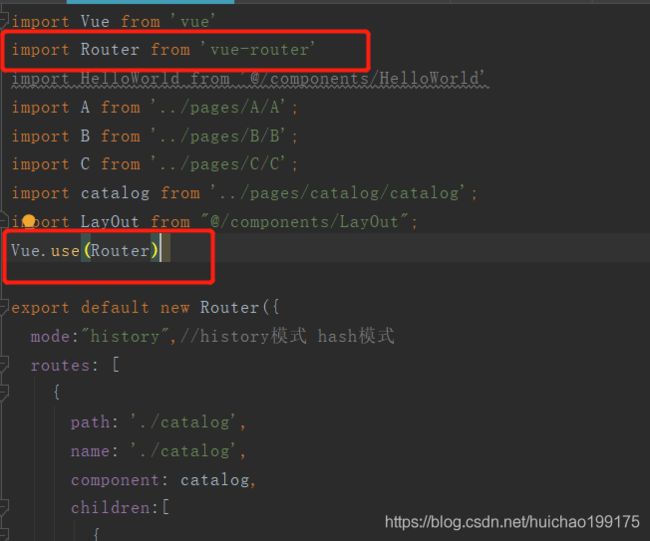
这里把路由单独写在一个routes.js中并导出,注意别忘了导出 export default routes
const routes = [
  {
    path: '/',
    redirect: '/routerTest'
  },
  {
    path: '/routerTest',
    component: () => import('../components/recommend/view.vue')
  },
  {
    path: '/singer',
    component: () => import('../components/singer/view.vue')
  },
  {
    path: '/rank',
    component: () => import('../components/rank/view.vue')
  },
  {
    path: '/search',
    component: () => import('../components/search/view.vue')
  }
]
export default routes
import Vue from 'vue'
import Router from 'vue-router'
import routes from './routes'
Vue.use(Router)
export default new Router({
// mode: 'history',//两种模式hash和history
routes
})
这两种方式有什么区别呢
1.mode:'hash' 多了个# 前端路由不刷新页面
http://localhost:8080/#/routerTest
2.mode:'history' 会去请求接口
http://localhost:8080/routerTest来看下实现不同模式跳转路由的源码
 // 根据mode确定history实际的类并实例化

// 根据mode确定history实际的类并实例化
switch (mode) {
  case 'history':
    this.history = new HTML5History(this, options.base)
    break
  case 'hash':
    this.history = new HashHistory(this, options.base, this.fallback)
    break
  case 'abstract':
    this.history = new AbstractHistory(this, options.base)
    break
  default:
    if (process.env.NODE_ENV !== 'production') {
      assert(false, `invalid mode: ${mode}`)
    }
}
HashHistory和HTML5History有什么区别
hashhistory将路由添加到浏览器的栈顶 push
html5history将路由在浏览器中替换 replace
以上是vue-router的实现原理,接下来如何在项目中使用vue-router呢
vue的router-link和router-view,是实现vue-router的两个必不可缺的组件,分别实现跳转路由和展示路由
首先在main.js入口文件中配置router实例
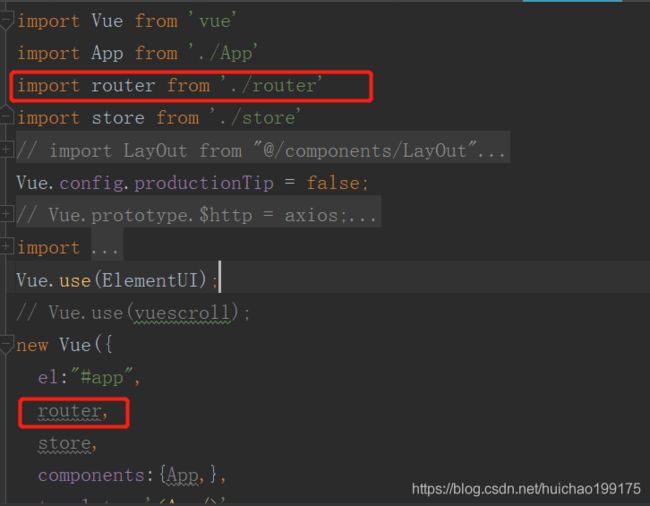
举个栗子

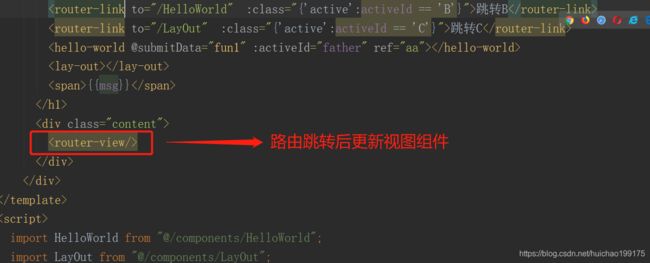
点击跳转C就切换到了LayOut组件的页面