使用EventLog实现事件日志操作
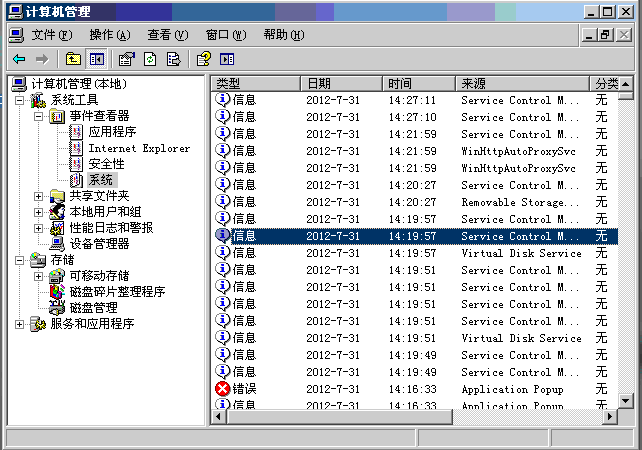
选中”我的电脑”,在其右键菜单中选择“管理”,在打开的对话框中包括了如下图所示的“日志”信息:

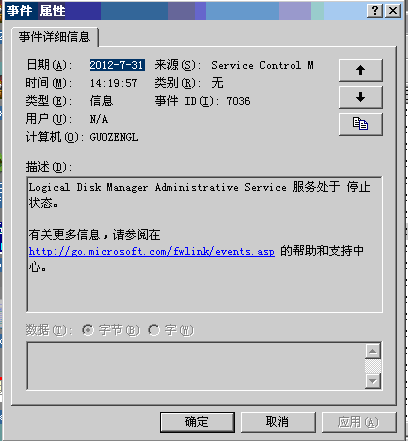
选中其中的某一条日志,可以看到如下的详细信息:

我们应该如何通过写代码的方式向其中添加“日志”呢?
在操作之前,先明确几个概念:
1:事件日志名(logName):“事件查看器”中的每一项,如“应用程序”、“Internet Explorer”、“安全性”和“系统”都是日志(严格地说是日志的显示名字)
2:事件源:列表中的“来源”,创建时和事件日志相关联;
3:事件类型:包括“信息”、“错误”等;
下面介绍事件日志的基本操作:
1:创建日志:我没找到直接创建日志的方法,日志应该都是通过下面的创建事件源来间接创建;
2:创建事件源:静态方法EventLog.CreateEventSource(string sourceName, string LogName); //参数分别表示事件源名和日志名
功能说明:在某个事件日志中创建事件源,如果事件日志不存在,则自动创建;
3:删除日志:静态方法EventLog.Delete(string logName);
4:删除事件源:静态方法EventLog.DeleteEventSource(string sourceName);
5:判断日志是否存在:静态方法EventLog.Exists(string logName);
6:判断事件源是否存在:静态方法EventLog. SourceExists (string sourceName);
7:写日志:使用EventLog类的实例调用方法WriteEntry(string logDesc, EventLogEntryType.Information); //或者EventLogEntryType.Error
封装的方法:
public void WriteLog(string logName, string SourceName, string LogText, EventLogEntryType type)
{
// Create an EventLog instance and assign its source.
EventLog el = new EventLog();
try
{
// Create the source, if it does not already exist.
if (!EventLog.SourceExists(SourceName))
{
if (EventLog.Exists(logName))
{
el.Log = logName;
}
else
{
EventLog.CreateEventSource(SourceName, logName);
}
}
el.Source = SourceName;
el.WriteEntry(LogText, type);
}
catch (Exception ex)
{
el.WriteEntry(ex.Message, EventLogEntryType.Error);
}
}
调用上述方法:this.WriteLog("测试日志", " testSource", " hello log ...", EventLogEntryType.Information);
执行完成之后:
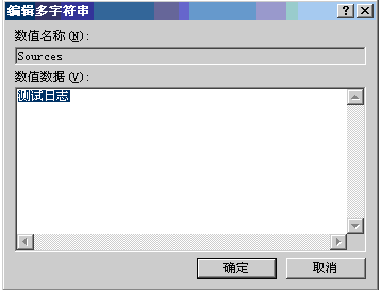
双击右侧列表中的Sources(事件源):

日志文件默认存放路径:C:\WINDOWS\system32\config