前端工程化之webpack打包知识总结
前端工程化之webpack打包知识总结
- 一、认识 webpack
- 二、安装和配置
-
- 1.初始化项目
- 2.跟目录下新建 src 目录,作为代码文件目录
- 3.在 src 目录下新建 index.html 和 index.js 文件
- 4.在 index.html 中编写 html 代码
- 5.安装 jQuery
- 6.编写 index.js 文件并在 index.html 中直接引入
- 7.安装 webpack
- 8.配置 webpack
- 9.配置启动命令
- 10.打包
- 11.运行
- 三、打包入口和打包出口
-
- 1.入口文件
- 2.出口文件
- 3.在 webpack.config.js 中重新配置入口文件和出口文件
- 4.运行打包命令并查看打包结果
- 四、自动打包
-
- 1.安装
- 2.修改 pacjkage.json 中的启动命令
- 3.运行
- 五、生成预览页面
-
- 1.安装
- 2.在 webpack.config.js 中编写代码
- 3.重新运行
- 六、加载器
-
- 1.处理css文件
-
- 1.1 src 目录下新建 css 目录,新建 index.css
- 1.2 index.js 中导入 index.css
- 1.3 安装loader
- 1.4 配置 webpack.config.js
- 2.处理less
-
- 2.1 安装
- 2.2 配置 webpack.config.js
- 2.3 css 目录中新建 a.less
- 2.4 index.js 中引入 a.less
- 2.5 重新运行
- 3.处理 sass
-
- 3.1 安装加载器
- 3.2 配置 webpack.config.js
- 3.3 css 目录下新建 a.scss
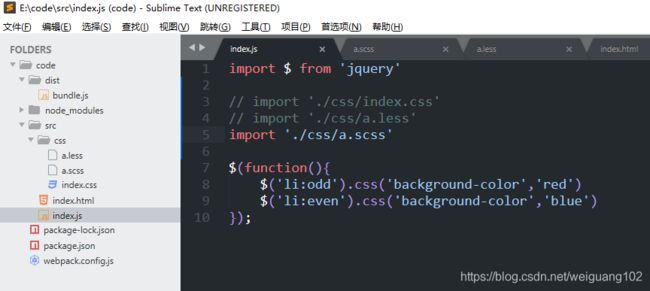
- 3.4 index.js 中引入 a.scss
- 3.5 重新运行
- 4.处理图片
-
- 4.1 安装
- 4.2 配置 webpack.config.js
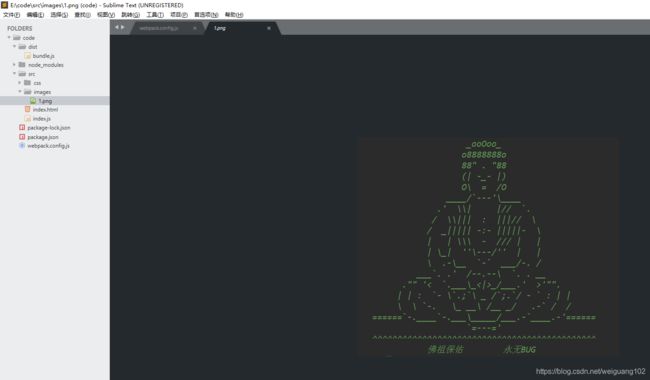
- 4.3 src 目录中新建 images文件夹并加入 1.jpg 文件
- 4.4 在 css 中为 body 设置背景图片
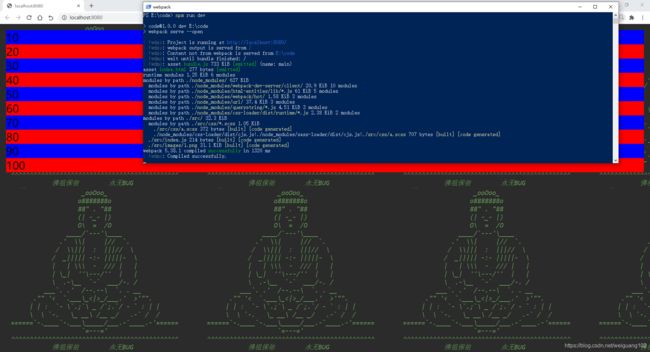
- 4.5 重新运行
- 5.处理 js 高级语法
-
- 5.1 安装babel转换器相关包
- 5.2 配置 webpack.config.js
- 5.3 在 index.js 中编写如下代码
- 5.4 安装babel 语法的相关插件
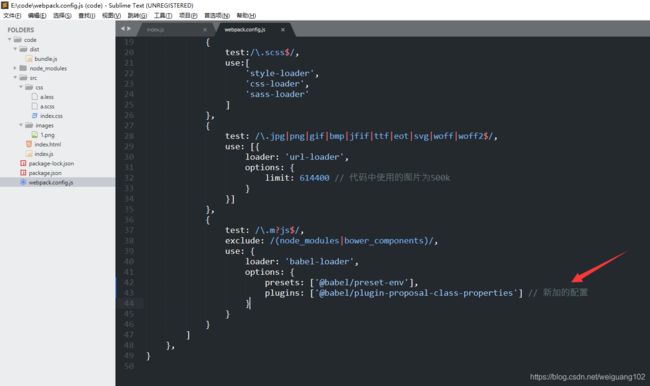
- 5.5 在上面规则的 option 属性中添加配置
- 5.6 重新运行
- 七、源代码下载
一、认识 webpack
webpack 是一个流行的前端构建工具,可以解决当前web开发中所面临的各种困境(我们主要开发的就是web程序,而浏览器对高级语法的支持不是很好,所以需要工具进行语法转换)
webpack 提供了友好的模块化 支持,以及代码压缩混淆、处理 js 兼容问题、性能优化等强大功能,从而让程序员将工作中心放到具体的功能实现上,提升开发效率和项目的可维护性。
二、安装和配置
以隔行变色案例为例
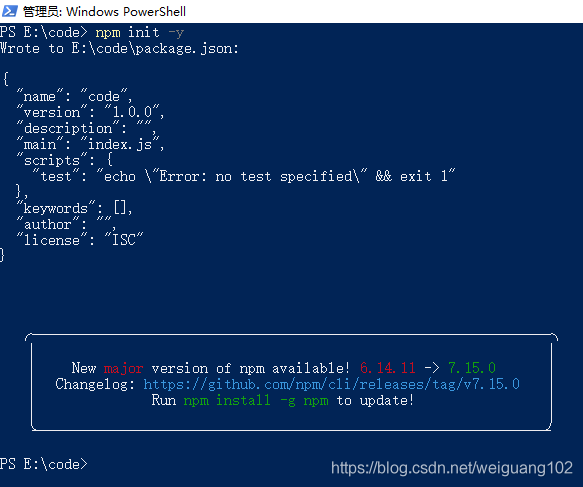
1.初始化项目
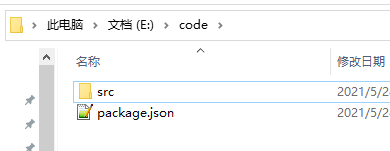
2.跟目录下新建 src 目录,作为代码文件目录
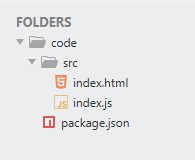
3.在 src 目录下新建 index.html 和 index.js 文件
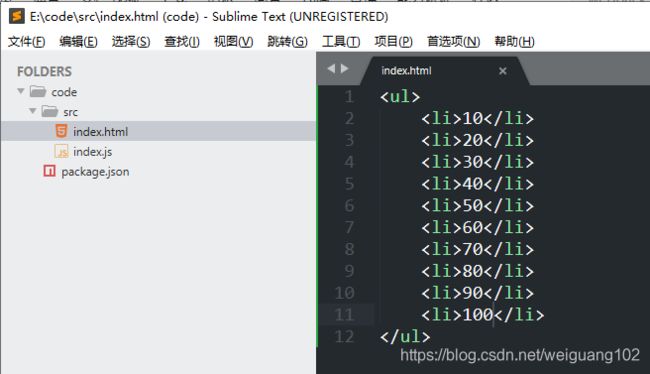
4.在 index.html 中编写 html 代码
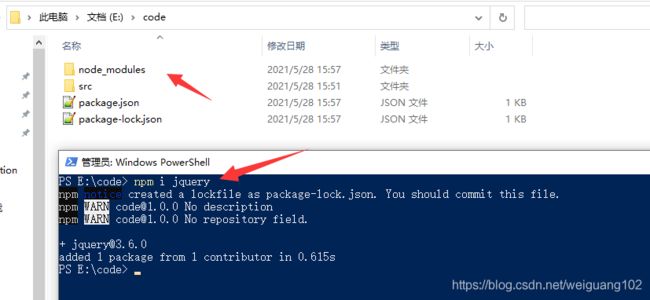
5.安装 jQuery
6.编写 index.js 文件并在 index.html 中直接引入
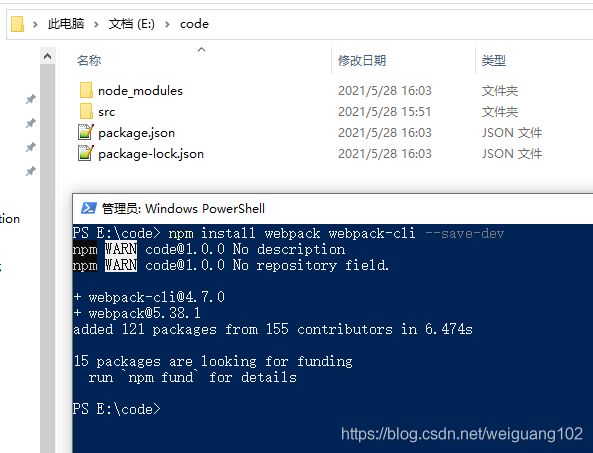
7.安装 webpack
上面 index.js 文件中使用了 ES6 模块化的语法,运行会提示浏览器无法识别 import 等 ES6 的新特性,所以需要安装 webpack。
npm install webpack webpack-cli --save-dev
8.配置 webpack
在根目录下新建 webpack.config.js 并进行如下编辑
module.exports={
    mode:'development' // 开发模式
}
9.配置启动命令
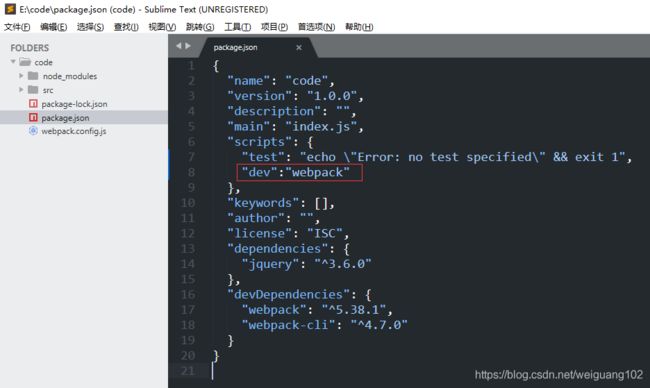
打开 package.json ,在 scripts 属性中加入如下代码
"dev":"webpack"
10.打包
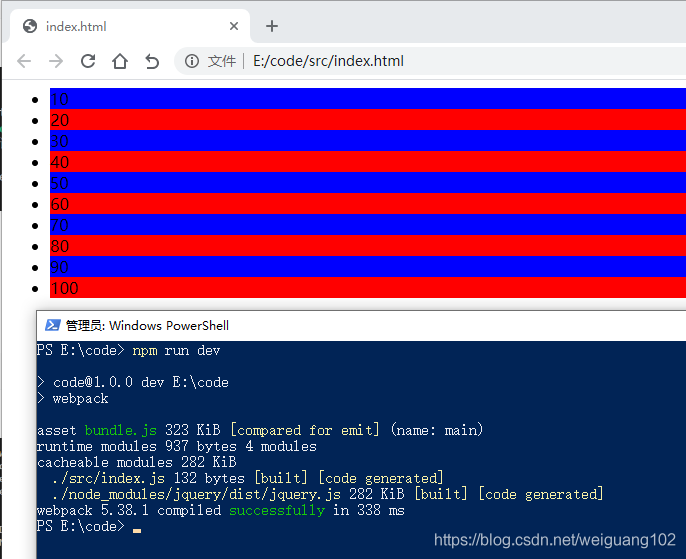
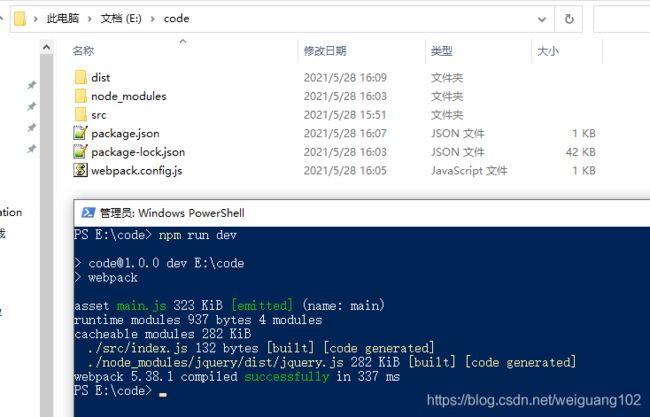
npm run dev
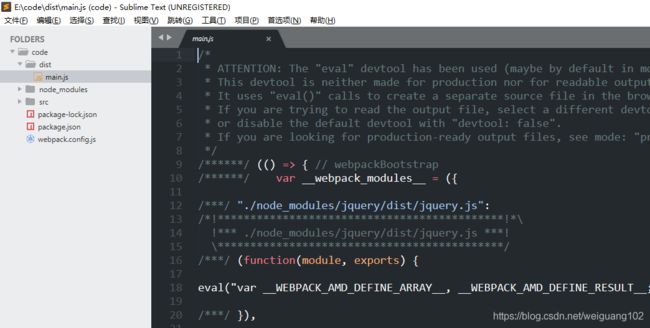
成功后会在跟目录创建 dist 目录,并生成一个 main.js 文件
11.运行
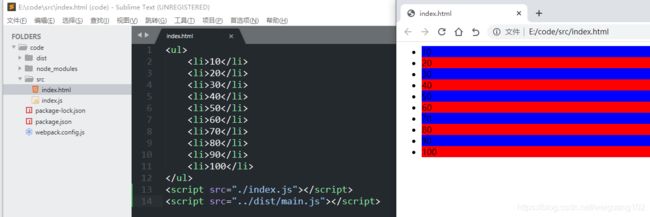
在 index.html 中,引入 main.js,再次运行 index.html 即可成功
三、打包入口和打包出口
1.入口文件
在当前项目中,index.html 是入口文件,因为我们请求的就是 index.html
但是对于 webpack 来说,打包的入口文件是 index.js,因为 index.js 中引入了其他程序需要的模块,并编写了相应的逻辑代码。
2.出口文件
打包之后的文件目录以及名称 /dist/main.js
3.在 webpack.config.js 中重新配置入口文件和出口文件
const path=require('path')
module.exports={

    mode:'development', // 开发模式
    entry:path.resolve(__dirname,'./src/index.js'),
    output:{

        path:path.resolve(__dirname,'./dist'),
        filename:"bundle.js" // 注意同时修改 index.html 中的引入文件为 bundle.js
    }
}
4.运行打包命令并查看打包结果
npm run dev
四、自动打包
1.安装
npm install --save-dev webpack-dev-server
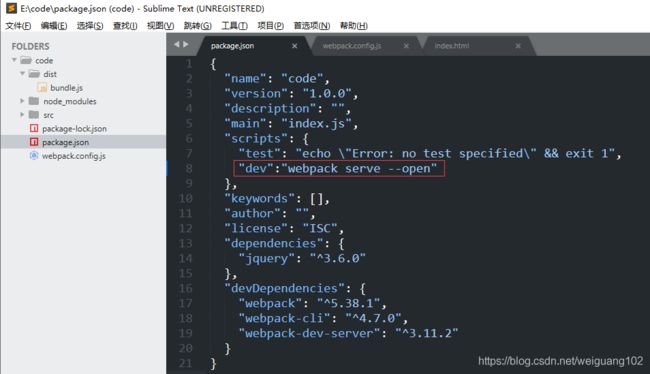
2.修改 pacjkage.json 中的启动命令
"dev":"webpack serve --open"
3.运行
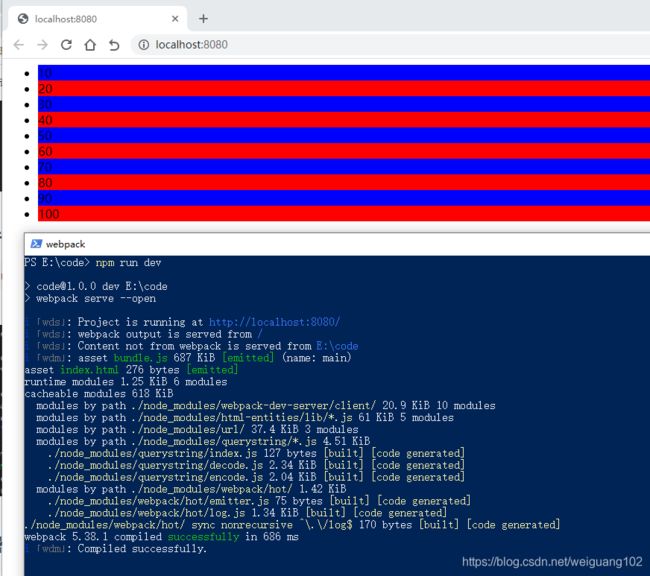
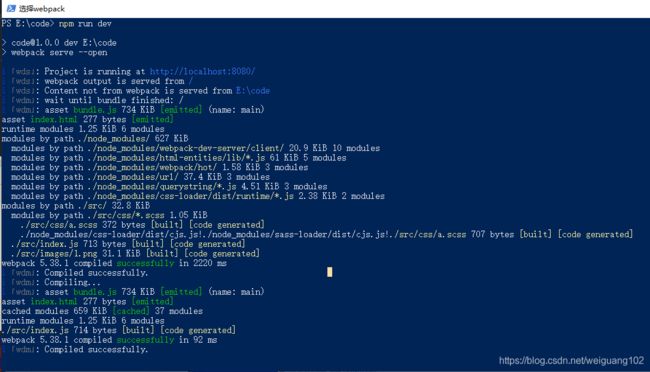
npm run dev

运行后会使用 webpack-dev-server 进行打包,成功后,会自动打开浏览器,地址为 localhost:8080。
打包后,webpack-dev-server 在编译之后不会写入到任何输出文件。而是将 bundle 文件保留在内存中,所以要修改src/index.html 的引入路径为。
<script src="/bundle.js">script>
五、生成预览页面
当前存在的问题:
localhost:8080 对应的是网站跟目录,index.html 在 src 目录下,访问起来比较麻烦。
解决方案:
可以将 src 目录下的 index.html 拷贝一份到根目录下,这样访问 localhost:8080 时,就会默认渲染 index.html。
但是如果修改完 index.html 后还需要手动拷贝比较麻烦,可以使用插件:HtmlWebpackPlugin。
1.安装
npm install --save-dev html-webpack-plugin
2.在 webpack.config.js 中编写代码
const path=require('path')

const HtmlWelpackPlugin=require('html-webpack-plugin');
const htmlPlugin=new HtmlWelpackPlugin({
	template:'./src/index.html', // 拷贝的源文件
	filename:'index.html' // 拷贝的目标文件
})

module.exports={
    mode:'development', // 开发模式
    entry:path.resolve(__dirname,'./src/index.js'),
    output:{
        path:path.resolve(__dirname,'./dist'),
        filename:"bundle.js" // 注意同时修改 index.html 中的引入文件为 bundle.js
    },
    plugins:[htmlPlugin]
}
3.重新运行
npm run dev
六、加载器
webpack 默认只能打包 .js 模文件,其他静态文件,如 .css,图片等默认不能处理,如果不加载对应的加载器,则会报错。
webpack 支持使用 loader 对文件进行预处理。可以构建包括 JavaScript 在内的任何静态资源。并且可以使用 Node.js 轻松编写自己的 loade。
1.处理css文件
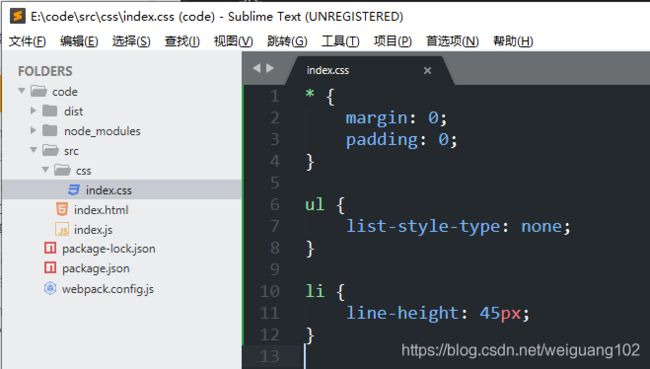
1.1 src 目录下新建 css 目录,新建 index.css
* {

    margin: 0;
    padding: 0;
}

ul {

    list-style-type: none;
}

li {

    line-height: 45px;
}
1.2 index.js 中导入 index.css
1.3 安装loader
npm install --save-dev css-loader style-loader
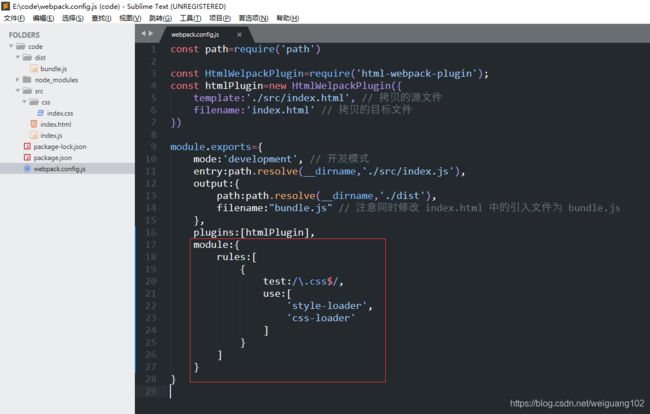
1.4 配置 webpack.config.js
const path=require('path')

const HtmlWelpackPlugin=require('html-webpack-plugin');
const htmlPlugin=new HtmlWelpackPlugin({
	template:'./src/index.html', // 拷贝的源文件
	filename:'index.html' // 拷贝的目标文件
})

module.exports={
    mode:'development', // 开发模式
    entry:path.resolve(__dirname,'./src/index.js'),
    output:{
        path:path.resolve(__dirname,'./dist'),
        filename:"bundle.js" // 注意同时修改 index.html 中的引入文件为 bundle.js
    },
    plugins:[htmlPlugin],
    module:{
    	rules:[
    		{
    			test:/\.css$/,
    			use:[
    				'style-loader',
    				'css-loader'
    			]
    		}
    	]
    }
}
2.处理less
2.1 安装
npm install less-loader less -D
2.2 配置 webpack.config.js
在 rules 中增加一条规则
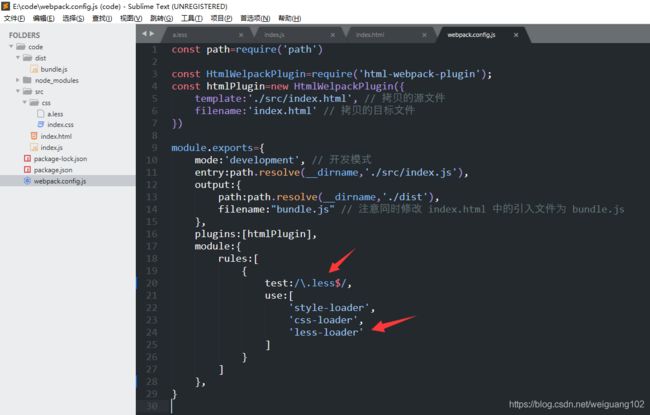
test:/\.less$/,
'less-loader'
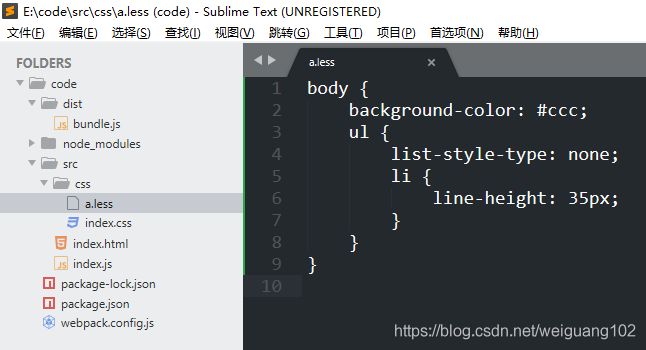
2.3 css 目录中新建 a.less
body {

    background-color: #ccc;
    ul {

        list-style-type: none;
        li {

            line-height: 35px;
        }
    }
}
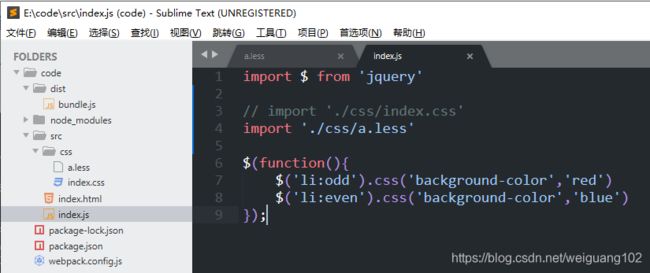
2.4 index.js 中引入 a.less
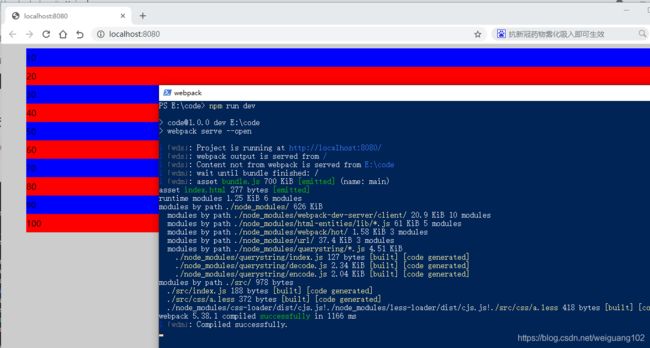
2.5 重新运行
npm run dev
3.处理 sass
Sass完全兼容所有版本的CSS。我们对此严格把控,所以你可以无缝地使用任何可用的CSS库。
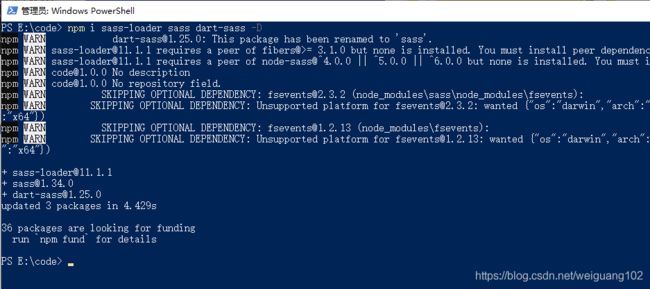
3.1 安装加载器
npm i sass-loader sass dart-sass -D
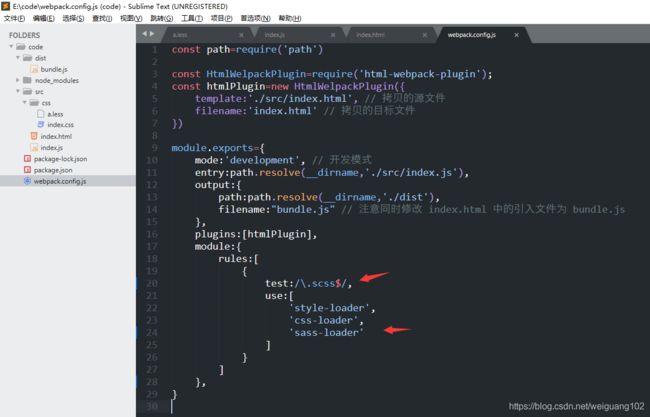
3.2 配置 webpack.config.js
test:/\.scss$/,
'sass-loader'
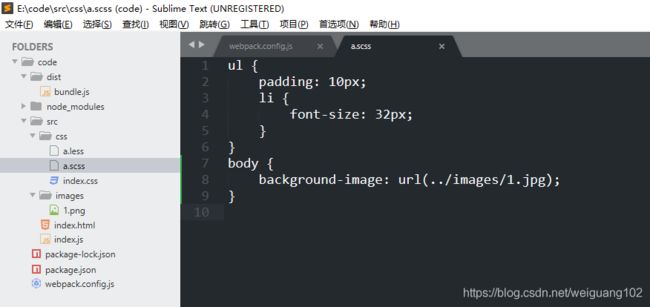
3.3 css 目录下新建 a.scss
ul {
    padding: 10px;
    li {
        font-size: 32px;
    }
}
3.4 index.js 中引入 a.scss
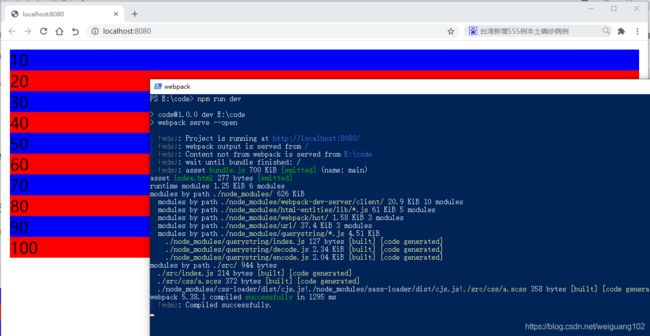
3.5 重新运行
npm run dev
4.处理图片
4.1 安装
npm i url-loader url-loader -D
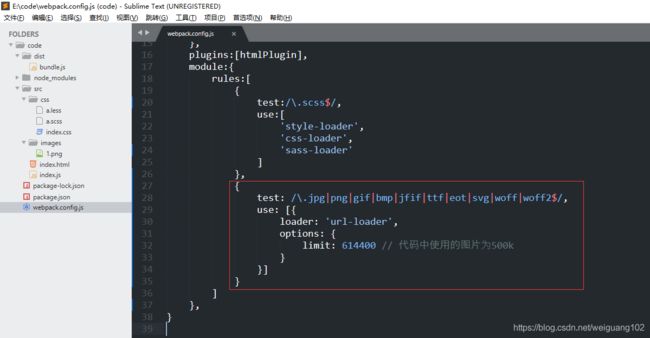
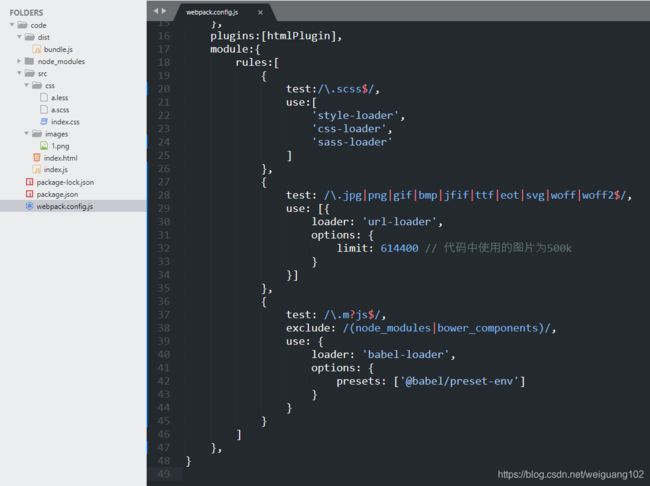
4.2 配置 webpack.config.js
{
    test: /\.jpg|png|gif|bmp|jfif|ttf|eot|svg|woff|woff2$/,
    use: [{
        loader: 'url-loader',
        options: {
            limit: 614400 // 代码中使用的图片为500k
        }
    }]
}
4.3 src 目录中新建 images文件夹并加入 1.jpg 文件
4.4 在 css 中为 body 设置背景图片
body {
    background-image: url(../images/1.jpg);
}
4.5 重新运行
5.处理 js 高级语法
babel 用于将js的新语法和特性转换为浏览器支持的语法
5.1 安装babel转换器相关包
npm install -D babel-loader @babel/core @babel/preset-env
5.2 配置 webpack.config.js
{
    test: /\.m?js$/,
    exclude: /(node_modules|bower_components)/,
    use: {
        loader: 'babel-loader',
        options: {
        	presets: ['@babel/preset-env']
        }
    }
}
5.3 在 index.js 中编写如下代码
class Person {
    static age = 20
}
console.log(Person.age);
5.4 安装babel 语法的相关插件
npm i -D @babel/plugin-proposal-class-properties
5.5 在上面规则的 option 属性中添加配置
添加代码
plugins: ['@babel/plugin-proposal-class-properties'] // 新加的配置
5.6 重新运行
npm run dev
七、源代码下载
点击下载源码
