如下图所示,iPhoneX由于多了大圆角、传感器(齐刘海)以及底部访问主屏幕的指示遮挡,所以需要注意原有这部分内容的设计。
iOS11前导航栏的高度是64,其中statusBar的高度为20,而iPhoneX的statusBar高度变为了44,如果是自定义的NaviBar,这部分需要做相应的适配。
另外,iPhoneX的底部增加了虚拟Home区,由于安全区域的原因默认tabBar的高度由49变为83,增高了34,所以自定义的底部TabBar也需要需改其适配方案。

iPhoneX.png
对此,我自己封装过一些方法来适配iPhone,今天分享给大家
首先我们得判断是否为iPhoneX,最简单的就是根据屏幕大小判断
//iPhoneX大小
const X_width = 375;
const X_height = 812;
const isIPhoneX = Platform.OS === 'ios' && ( (height === X_height && width ===X_width) || (height === X_width && width ===X_height) );

//这里如果isIPhoneX===1,则为iPhoneX,否则不是
其次我们封装两个函数分别处理头部和底部的样式
// iphoneX 顶部留白的兼容处理
export function isIPhoneXPaddTop(number) {
    number = isNaN(+number) ? 0 : +number;
    return number + (isIPhoneX ? 44 : 20)
}
//iPhoneX 底部高度兼容处理
export function isIPhoneXFooter(number){
    number = isNaN(+number) ? 0 : +number;
    return number + (isIPhoneX ? 34 : 0 )
}
这样我们在封装头部组件和底部bar组件的时候,就可以使用这两个函数
先展示一下我的项目结构
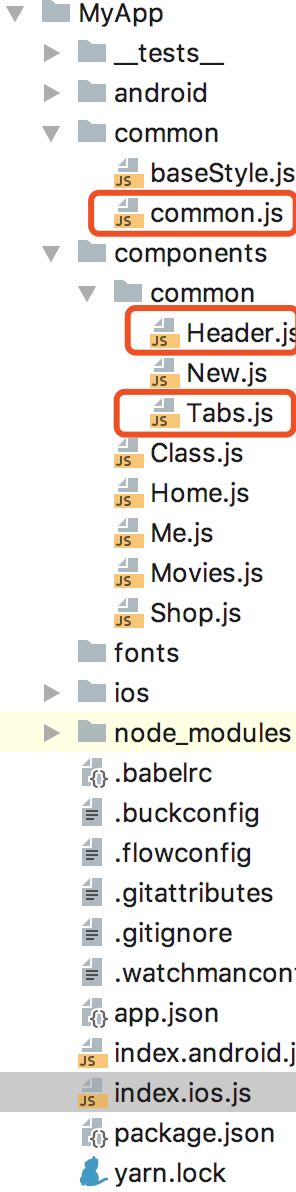
项目结构.png
import React, { Component } from 'react';

import {
    StyleSheet,
    Text,
    View,
    Dimensions,
    TouchableOpacity
} from 'react-native';

//  isIPhoneXPaddTop函数引入
import { getPixel, isIPhoneXPaddTop } from "../../common/common"

//获取当前屏幕的大小
let {height,width} =  Dimensions.get('window');


class Header extends Component {
    render() {
        return (


                    返回

                    标题

                        分享


        )
    }
}

const styles = StyleSheet.create({
    header: {
        width: width,
        backgroundColor: "#fff",
        //  iPhoneX头部兼容处理
        paddingTop: isIPhoneXPaddTop(0),
        borderBottomWidth: StyleSheet.hairlineWidth,
        borderColor: "#E0E0E0",

        position: "absolute",
        top: 0,
    },
    headerCon: {
        height: getPixel(44),
        flexDirection: "row",
        alignItems: "center",
        justifyContent: "space-between",

    },
    HeaderBtn: {
        width: getPixel(44),
        height: getPixel(44),
        justifyContent: "center",
        alignItems: "center",
    },
    return: {
        fontSize: getPixel(16),
        color: "#333",
    },
    share: {
        fontSize: getPixel(16),
        color: "#333",
    },
    title: {
        fontSize: getPixel(18),
        color: "#222",
    }
})


export default Header;
同理:底部的bar也是这样处理,我就展示关键代码了
import { getPixel, isIPhoneXFooter } from "../../common/common";

.....

return  (


        )

......

tabs: {
        flex:1,
        width:width,
        position: "absolute",
        bottom:0,
        paddingBottom: isIPhoneXFooter(0)
    },
    tabbarContainer:{
        height:getPixel(60),
        flexDirection: "row",
        alignItems:"center",
        justifyContent:"center",
        backgroundColor: "#FF9913",
    },
最后看一张图片,对比下兼容处理之后的效果

适配iPhoneX.png
希望对大家有帮助哦,一起加油⛽️