Fiori在意大利语中是“花”的意思,因此我们也可以看到SAP Fiori Launchpad的官方登录页面背景是一朵花。Fiori是针对SAP S/4 HANA推出的,可以在电脑、平板、手机上显示SAP美观的前端界面。

这里将Fiori Launchpad配置出来的方法总结如下,这里我们采用手动配置的方法:
1. 在ABAP前端系统激活SAP NetWeaver Gateway。
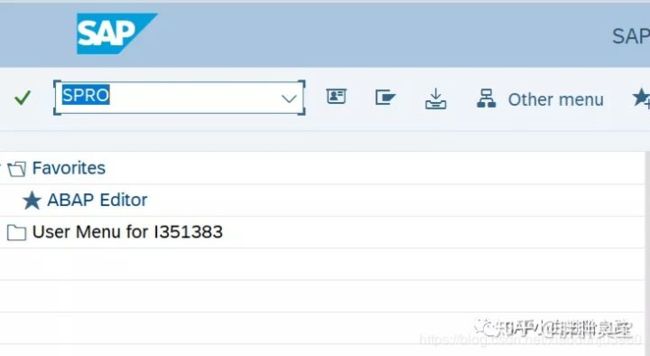
登录前端系统——输入t-code SPRO——SAP NetWeaver——SAP Gateway——Odata Channel——Configuration——Activate or deactivate SAP Netweaver Gateway这里选择激活NetWeaver Gateway

2. 在ABAP前端系统建立一个到后端系统的RFC Destination
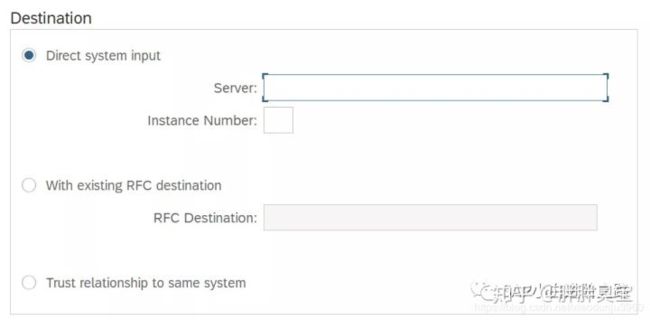
登录前端系统——输入t-code SM59——Create——输入RFC Destination,Connection Type选择3,输入Description——Technical Settings中, Load Balancing Statue选择no,输入Target Host和Instance Number——Logon&Security中,Language选择EN,输入Client,User选择Current User, Trust Relationship选择Yes——点击Save。

3. 从后端系统建立到前端系统的信任
登录后端系统——输入t-code SM59——Create——输入RFC Destination,Connection Type选择3,输入Description——Technical Settings中, Load Balancing Statue选择no,输入Target Host和Instance Number——Logon&Security中,Language选择EN,输入Client,User选择Current User——点击save——输入t-code SMT1——一路点continue,与前端系统建立信任。
4. 在前端系统创建System Alias
登录前端系统——输入t-code SPRO——SAP NetWeaver——SAP Gateway——Odata Channel——Configuration——Connetion Settings——SAP Gateway to SAP System——Manage SAP System Aliases——New Entries
5. 在前端系统激活Launchpad Odata Services
登录前端系统——输入t-code SPRO——SAP Netweaver——SAP Gateway—— Odata Channel——Administration——General Settings——Activate and Maintain Services——Add Service
6.在前端系统配置ICF Nodes
登录前端系统——输入t-code SICF——Execute——激活各个service
7.为Launchpad和Launchpad Designer配置登录界面
登录前端系统——输入t-code SICF——Execute——double click on the node /sap/bc/ui2/flp——display——error pages——configuration设置一系列选项。
到这里,我们的Fiori Launchpad界面就配置出来啦。此时就可以访问配置好的界面。
文章中可能有很多地方理解的不是很深,有理解不对的地方欢迎批评指正以及进行讨论,本文的内容仅代表个人观点,也欢迎关注我的微信公众号:SAP小白进阶之路 一起交流与讨论。