在刚开发的项目之中,在移动端/PC端,需要一个富文本编辑器,要求:简单-轻量-实用。比较了几种编辑器后,选择了wangEditor。
移动端的截图(手机效果好些):
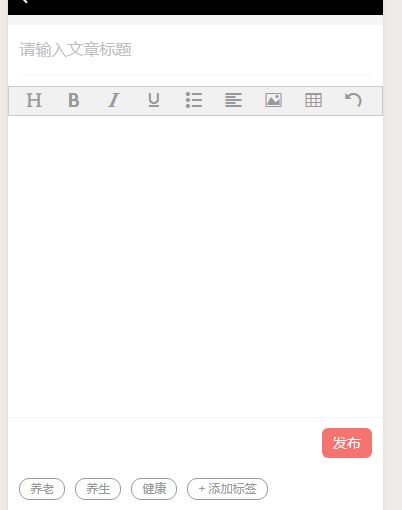
image.png
PC端的截图:
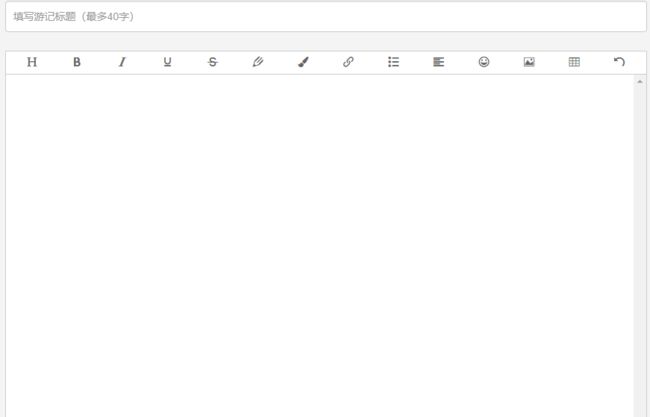
image.png
在wangEditor的官网(http://www.wangeditor.com/)中,提供了一些常用的工具,可以按需来配置,还可以自己二次封装:
image.png
。
先说配置:在PC端直接引入 wangEditor.js来创建,在移动端用的vue.js模块开发,所以用的:npm install wangeditor来安装。
移动端:
1 . import wangeditor from 'wangeditor'来引入
2 . this.editor = new wangeditor ('#div1')
-
this.editor.customConfig.onchange = (html) => { this.editorContent = html };editor改变时,将里面的内容放进editorContent
4 .配置需要的选项,具体的到官网查看
 this.editor.customConfig.menus = [
        'head',//
        'bold',//
        'list',  // 列表
        'justify',  // 对齐方式
        'image',  // 插入图片
        'undo',  // 撤销
      ];
5.常用的配置:
    //关闭粘贴样式的过滤
      this.editor.customConfig.pasteFilterStyle = false;
      //忽略粘贴内容中的图片
      this.editor.customConfig.pasteIgnoreImg = true;
     // 使用 base64 保存图片
      this.editor.customConfig.uploadImgShowBase64 = true;
      // 隐藏“网络图片”tab
      this.editor.customConfig.showLinkImg = false;
      //改变z-index
      this.editor.customConfig.zIndex = 10;
     // 最大300M
      this.editor.customConfig.uploadImgMaxSize = 300 * 1024 * 1024
      this.editor.customConfig.customUploadImg = function (files, insert) {
      // files 是 input 中选中的文件列表
      // insert 是获取图片 url 后,插入到编辑器的方法

      // 上传代码返回结果之后,将图片插入到编辑器中
      insert(imgUrl)
    }
6 . this.editor.create();//创建编辑器,到这里创建就完成了。
7 . 但是你去发现在移动端,会不怎么适配,这时候就需要用 rem 来做适配。
如果:想要自己改变样式,那么直接在node_moudles/wangwditor 下找到 wangEditor.js,来自行修改。
PC端:在确保引入wangEditor.js之后,在之后的js中,写入:
    var editor = new E('#editor');
    editor.create();//就创建好了编辑器
    //说说里面的配置,PC端常用的未以下这些
     // 自定义菜单配置---选中你想要的来配置,
    editor.customConfig.menus = [
        'head',  // 标题
        'bold',  // 粗体
        'fontSize',  // 字号
        'fontName',  // 字体
        'italic',  // 斜体
        'underline',  // 下划线
        'strikeThrough',  // 删除线
        'foreColor',  // 文字颜色
        'backColor',  // 背景颜色
        'link',  // 插入链接
        'list',  // 列表
        'justify',  // 对齐方式
        'emoticon',  // 表情
        'image',  // 插入图片
        'table',  // 表格
        'undo',  // 撤销
    ];
    //插入链接
    editor.customConfig.linkCheck = function (text, link) {
        console.log(text) // 插入的文字
        console.log(link) // 插入的链接
        return true // 返回 true 表示校验成功
        // return '验证失败' // 返回字符串,即校验失败的提示信息
    };
    //处理图片,我用的是自定义的方式来选图,
 //如果想完全自己控制图片上传的过程,可以使用如下代码
editor.customConfig.customUploadImg = function (files, insert) {
    // files 是 input 中选中的文件列表
    // insert 是获取图片 url 后,插入到编辑器的方法

    // 上传代码返回结果之后,将图片插入到编辑器中
    insert(imgUrl)
}