本篇博客参考Laravel China 吴坷麟的文章人人为我,我为人人!向社区发布自己的 Composer 包
主要讲解如何上传Composer包到Packagist,并在Thinkphp5.0中使用。
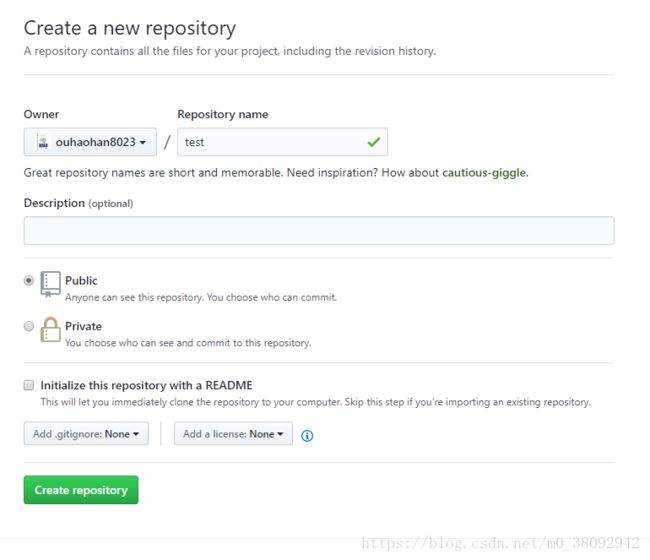
1.Github上创建仓库,并pull至本地。
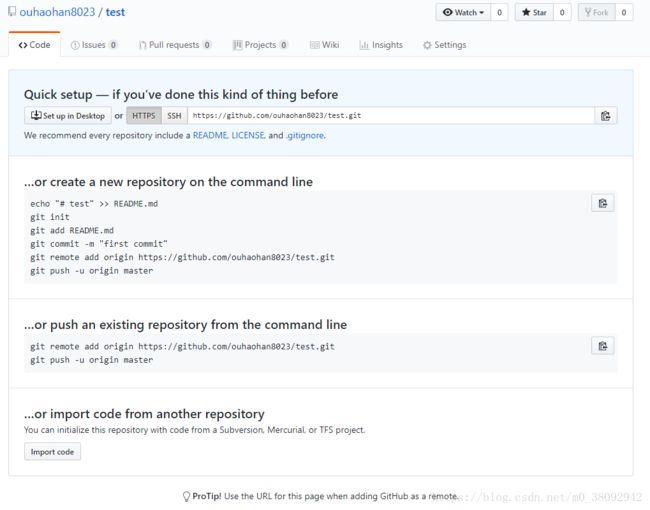
在本地cmd运行:
git clone https://github.com/ouhaohan8023/test.git
出现如下提示,运行成功

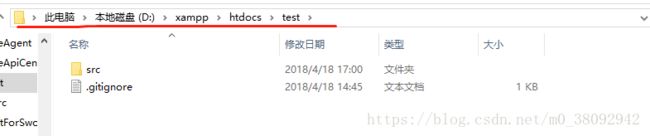
2.初始化项目,生成Composer包描述文件
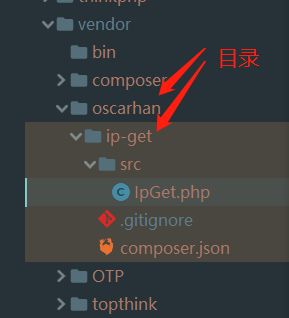
在生成的文件夹中,按照下图示目录结构创建文件(也可不按照图示,我没有尝试)

初始化composer包描述文件:
(1)cmd定位到项目根目录,在此案例中,为D:\xampp\htdocs\test
(2)composer init
(3)初始化开始,如图:
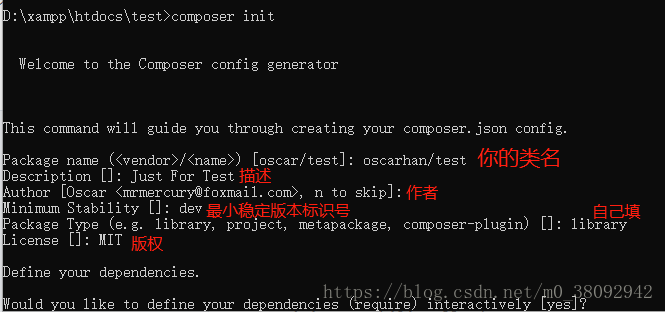
(4)接下来填写此文件的依赖,因为这个为测试,没有依赖,所以填no:

后期也可以在composer.json中修改添加
(5)接下来直接回车:

(6)至此,composer.json文件生成
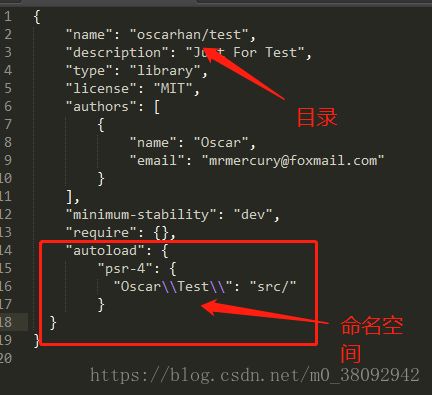
(7)打开新生成的composer.json,增加自动加载配置,主要是对命名空间和本地代码目录之间的映射
3.提交项目至github
git add.
git commit -m 'test'
git push

4.向Packagist提交包
Packagist传送门
可以用github注册,具体不说了,注册登陆成功以后:
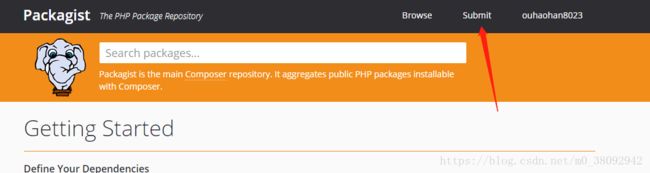
1.点击Submit:
2.在输入框中填入github上的仓库地址,如图:
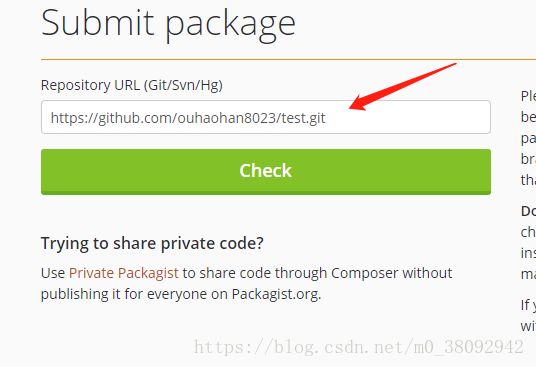
点击Check
注意事项:
(1)如果composer.json中的name和Packagist上已有的包重复了,比方说博主一开始的name为oscar/a,在这边提交的时候,系统提示,已经有oscar/school这个包,意思是我不能创建oscar开头的包了(具体提示什么我忘了),所以在本案例中,我改成了oscarhan。
(2)第二种情况是,composer.json文件有问题,一般都是语法问题,自己排查。
check成功的话:
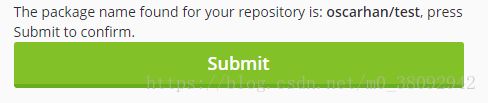
点击Submit,上传,然后跳转到如下页面,即成功。
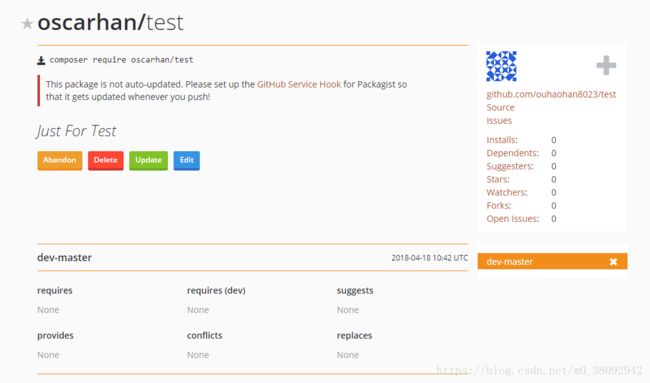
3.为此包设置版本号
在本地cmd中运行:
git tag 1.0.0
git push --tag

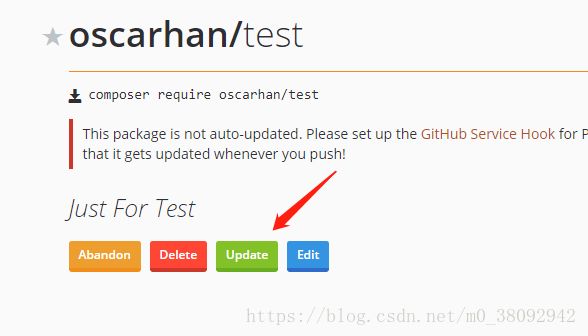
然后在Packagist上点击Update:
刷新页面后(在这边还没有设置github的自动推送钩子,所以需要手动点击),右边会变成:
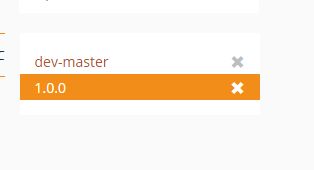
这样子,版本号设置成功,可以在项目中直接运行
composer require oscarhan/test
4.在Thinkphp5中使用
composer包创建完毕,可以在Thinkphp5.0中进行使用了
进入Thinkphp5.0的根目录,运行
composer require oscarhan/test
(以下截图中,oscarhan/test会用oscarhan/ipget替换,因为是实际使用的项目,所以不想加载无用包,偷懒了,各位见谅。)
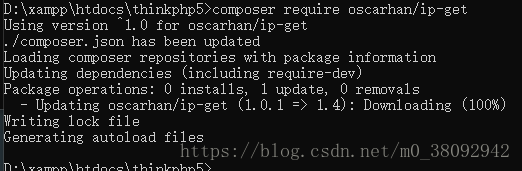
注意:如果使用的是国内镜像,由于同步不及时的问题,需要等待1-5分钟左右。
下载完成后,即可在项目中进行使用
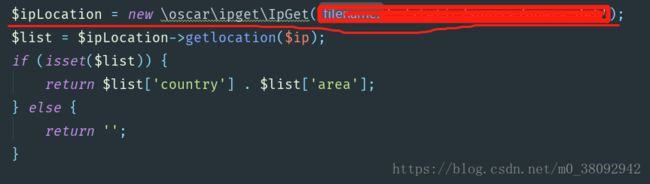
再次提醒,目录和上面截图中使用的命名空间不同,请注意区分
以上,实现了上传Composer包到Packagist,并在Thinkphp5.0中使用。
懒得小伙伴可以不用往下看了
懒得小伙伴可以不用往下看了
懒得小伙伴可以不用往下看了
设置github钩子,实现git push的同时,自动更新Packagist,免去了手动Update的烦恼
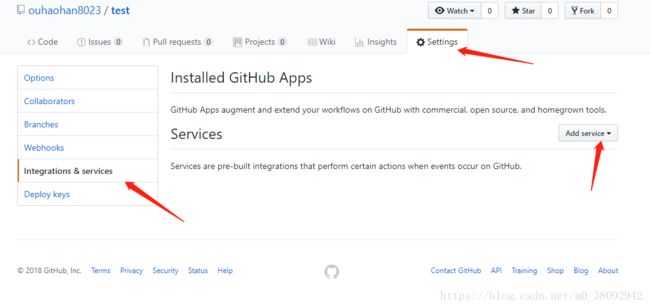
(1)在github,项目中,如图
2.选择packagist,然后输入密码,进入如下页面
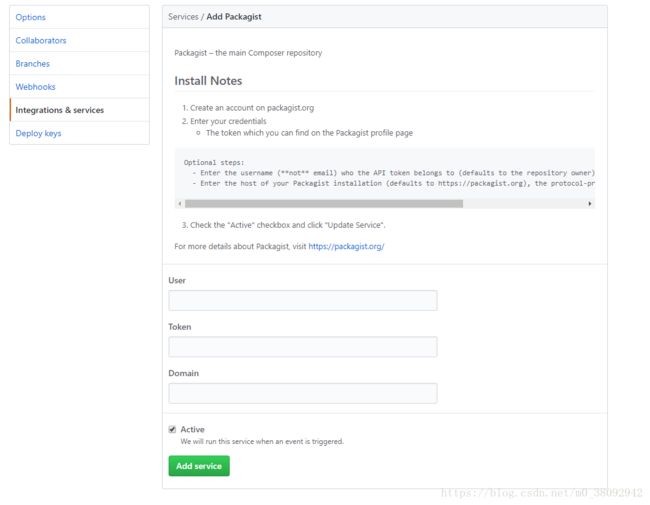
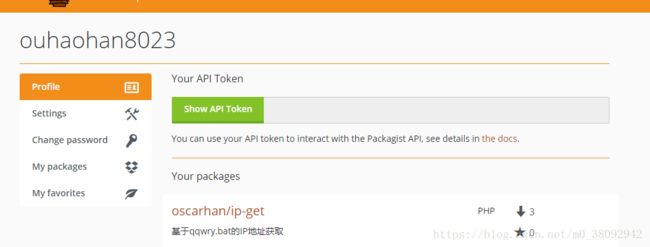
User为Packagist中的username
Token在Packagist中的如图位置找:
新增成功后,进入,点击Test Service

如上所示,即设置成功。
结尾:
正向吴坷麟的文章人人为我,我为人人!向社区发布自己的 Composer 包中写到的那样,人人为我,我为人人。博主一直从各个平台获取知识,却从未贡献任何笔记,让人很是惭愧。本篇文章只是对人人为我,我为人人!向社区发布自己的 Composer 包 的一个学习笔记,如果能在各位迷途的时候,起到一丝丝的帮助,我便很欣慰了。