前情介绍:
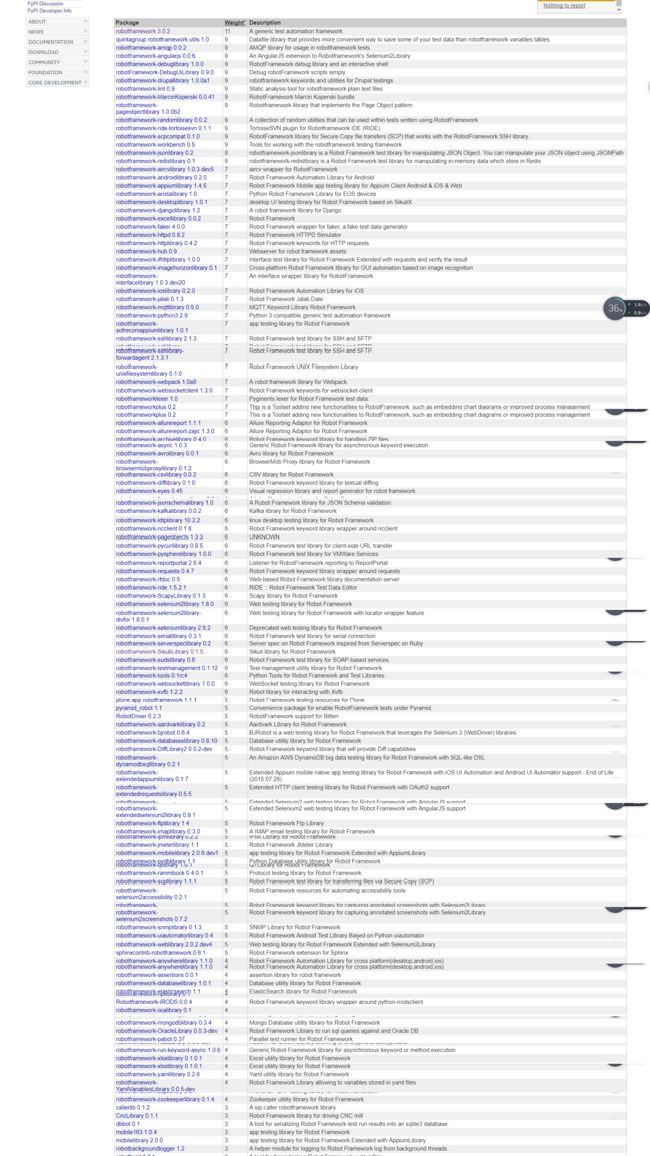
写上一个练习的时候去搜索了一下PYPI上面RF相关的资源,结果一不小心就推开了世界的新大门,放张图让你们感受下:
也就是说,只要你想用的,想得到的库在上面几乎都可以找到对应的测试库.
问题来了,如果下载的各种测试库,因为各种原因总是不能完美的实现你想要的测试功能怎么办呢?现在来学习一下怎么自定义一个RFS库吧!
比如我们想新建一个Requests相关做接口的测试库。
1 . 首先给自定义库起名,如MyRequestsLibrary。在python安装目录下的 ..\Lib\site-packages 建立文件夹 MyRequestsLibrary
2 . 在MyRequestsLibrary文件夹中新建1个version.py文件,用于描述自定义测试库的版本信息。代码如下:
'''
Created on 2017/08/13
Author: by cc sensei
'''
VERSION = '0.0.1'
版本号是你自己定义的,刚开头,低调一点是对的。如果想装一下呢,从10.0.0开始也没什么不可以。
- 在MyRequestsLibrary文件夹中新建1个 _init_.py ,用于定义自定义库的相关信息。和需要用到的keywords调用继承和声明。代码如下:
'''
Created on 2017/08/13
Author: by cc sensei
'''
from .RequestsKeywords import RequestsKeywords
from .version import VERSION

_version_ = VERSION


class MyRequestsLibrary(RequestsKeywords):
    """ RequestsLibrary is a HTTP client keyword library that uses
    the requests module


        Examples:
        | Create Session | google | http://www.google.com |
        | Create Session | github  | http://github.com/api/v2/json |
        | ${resp} | Get  google  |  / |
        | Should Be Equal As Strings |  ${resp.status_code} | 200 |
        | ${resp} | Get  github  | /user/search/bulkan |
        | Should Be Equal As Strings  |  ${resp.status_code} | 200 |
        | ${jsondata}  | To Json |  ${resp.content} |
        | Dictionary Should Contain Value | ${jsondata['users'][0]} | Bulkan Savun Evcimen |

    """
    ROBOT_LIBRARY_SCOPE = 'GLOBAL'
- 在MyRequestsLibrary文件夹中新建1个RequestsKeywords类(用于完成想封装的各项功能)。比如为:RequestsKeywords.py。部分代码如下:
class RequestsKeywords(object):
  def __init__(self):
        self._cache = robot.utils.ConnectionCache('No sessions created')
        self.builtin = BuiltIn()
        self.debug = 0

  def get_request(
            self,
            alias,
            uri,
            headers=None,
            json=None,
            params=None,
            allow_redirects=None,
            timeout=None):
        """ Send a GET request on the session object found using the
        given `alias`

        ``alias`` that will be used to identify the Session object in the cache

        ``uri`` to send the GET request to

        ``params`` url parameters to append to the uri

        ``headers`` a dictionary of headers to use with the request

        ``json`` json data to send in the body of the :class:`Request`.

        ``allow_redirects`` Boolean. Set to True if POST/PUT/DELETE redirect following is allowed.

        ``timeout`` connection timeout
        """
        session = self._cache.switch(alias)
        redir = True if allow_redirects is None else allow_redirects

        response = self._get_request(
            session, uri, params, headers, json, redir, timeout)

        logger.info(
            'Get Request using : alias=%s, uri=%s, headers=%s json=%s' %
            (alias, uri, headers, json))

        return response
keywords类中使用的其实就是你想在这个库里所使用的关键字所对应的代码。里面的代码都可以自行去实现。在此不一一解释。
启动ride程序在setting部分添加library库信息,添加库名为MyRequestsLibrary,即可成功导入自定义库。这时候也可以拷给其它人随意使用了。
注意:库文件夹名称一定要和类名称相同(MyRequestsLibrary),否则导入自定义库时会出错。
CC先生说:自定义测试库也适合在其它大神写的库上做一定的修改来完成。依据官网的写法,刚做的这个小实验是属于静态自定义测试库,还有动态传入参数的方法,比如上一个练习中的Sikuli库的写法则是动态的,有机会继续研究研究。
- 练习环境配置
- 实例1(UI自动化-百度搜索)
- 实例2(有效登录)
- 实例3(无效登录)
- 实例4 ( Appium )
- 实例5 ( 连接mysql数据库)
- 实例6 ( GET/POST请求)
- 实例7(接口API测试)
- 实例8 (数据驱动)
- 实例9 (行为驱动)
- 实例10(接口加密)
- 实例11(Jenkins集成)
- 实例12(C/S架构-AutoIt)
- 实例13 (Sikuli-所见即所得)
- Appium Error总结
- robotframework Error总结

