【Springboot】第四章 ORM (MyBatis) 操作 MySQL
第四章 ORM (MyBatis) 操作 MySQL
使用MyBatis框架操作数据, 在SpringBoot框架集成MyBatis。
使用步骤:
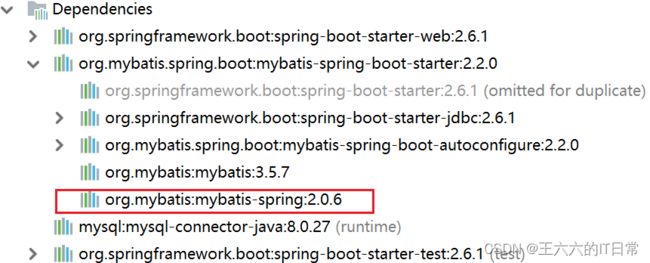
- mybatis起步依赖 : 完成
mybatis对象自动配置, 对象放在容器中 - pom.xml 指定把
src/main/java目录中的xml文件包含到classpath(类路径)中 - 创建实体类
Student - 创建
Dao接口StudentDao, 创建一个查询学生的方法 - 创建
Dao接口对应的Mapper文件(xml文件), 写sql语句 - 创建
Service层对象, 创建StudentService接口和它的实现类,去调用dao对象的方法,完成数据库的操作 - 创建
Controller对象,访问Service。 - 写
application.properties文件,配置数据库的连接信息。
讲解 MyBatis 框架,读写 MySQL 数据。
通过 SpringBoot +MyBatis 实现对数据库学生表的查询操作。
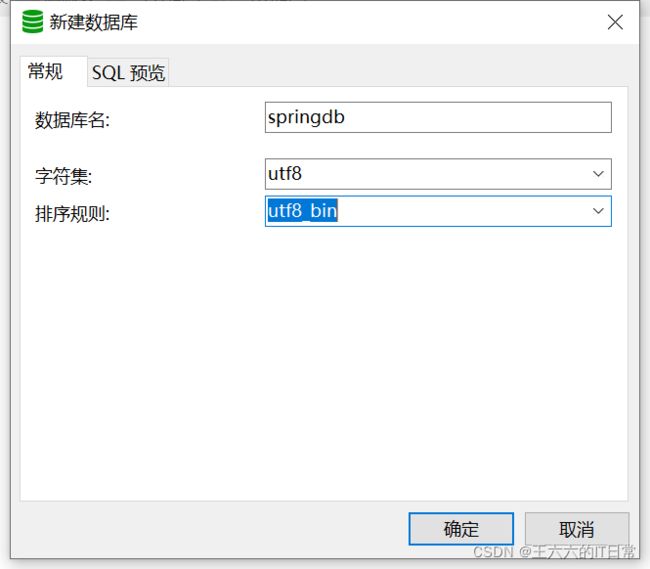
1.使用Navicat新建数据库:
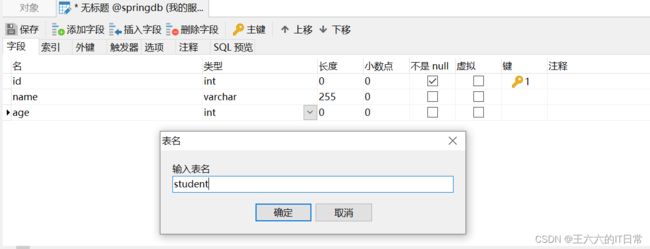
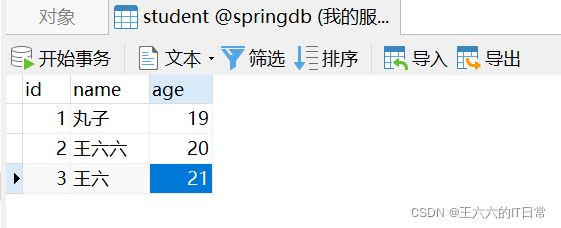
2.新建student表:
第一种方式 : @Mapper
@Mapper:放在dao接口的上面, 每个接口都需要使用这个注解。
@Mapper:告诉MyBatis这是dao接口,创建此接口的代理对象
public class Student {


    //属性跟student表的列名保持一致
    private Integer id;
    private String name;
    private Integer age;

    public Integer getId() {

        return id;
    }

    public void setId(Integer id) {

        this.id = id;
    }

    public String getName() {

        return name;
    }

    public void setName(String name) {

        this.name = name;
    }

    public Integer getAge() {

        return age;
    }

    public void setAge(Integer age) {

        this.age = age;
    }

    @Override
    public String toString() {

        return "Student{" +
                "id=" + id +
                ", name='" + name + '\'' +
                ", age=" + age +
                '}';
    }
}
创建Dao接口 StudentDao , 创建一个查询学生的方法 :

/**
 * @Mapper:告诉MyBatis这是dao接口,创建此接口的代理对象。
 *     位置:在类的上面
 */
@Mapper
public interface StudentDao {

    Student selectById(@Param("stuId") Integer id);
}
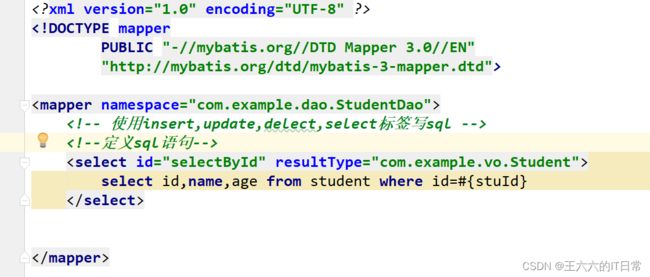
创建Dao接口对应的Mapper文件(xml文件)-- 有模板 , 写sql语句:
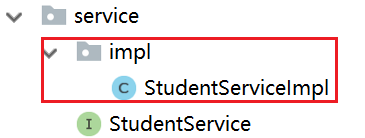
创建Service层对象, 创建StudentService接口和它的实现类,去调用dao对象的方法,完成数据库的操作:



创建Controller对象,访问Service:
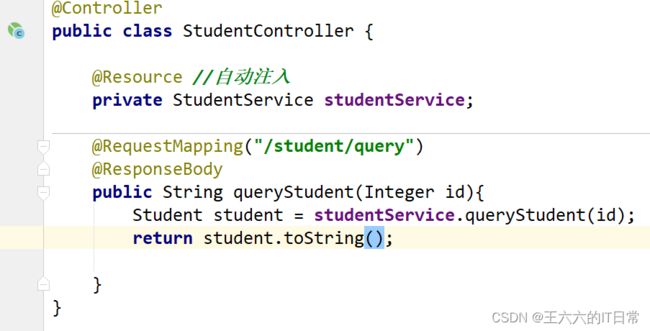
配置文件:

写application.properties文件,配置数据库的连接信息:

测试:执行主函数在浏览器输入访问地址:


第二种方式 @MapperScan
在 Dao 接口上面加入@Mapper,需要在每个接口都加入注解。 当 Dao 接口多的时候不方便。
可以使用如下的方式解决:
主类上添加注解包扫描:@MapperScan(“com.example.dao”)
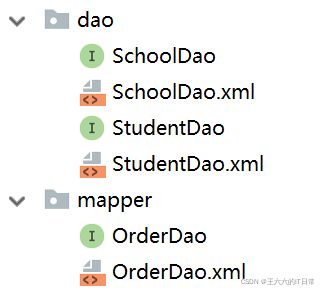
/**
 * @MapperScan: 找到Dao接口和Mapper文件
 *     basePackages:Dao接口所在的包名
 */
@SpringBootApplication
@MapperScan(basePackages = {
     "com.example.dao","com.example.mapper"})
public class Application {

}
第三种方式: Mapper文件和Dao接口分开管理
现在把Mapper(xml文件)文件放在resources目录下:
1)在resources目录中创建子目录 (自定义的) 例如mapper
2)把mapper文件放到 mapper目录中
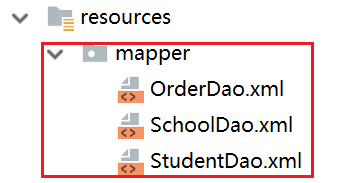
3)在application.properties文件中,指定mapper文件的目录
#指定mapper文件的位置
mybatis.mapper-locations=classpath:mapper/*.xml
#指定mybatis的日志
mybatis.configuration.log-impl=org.apache.ibatis.logging.stdout.StdOutImpl
需要在pom.xml中指定 把resources目录中的文件 , 编译到目标目录中:
<resources>
   <resource>
      <directory>src/main/resourcesdirectory>
      <includes>
         <include>**/*.*include>
      includes>
   resource>
resources>
第四种方式 事务
Spring Boot 使用事务非常简单,底层依然采用的是 Spring 本身提供的事务管理
Spring框架中的事务:
1)管理事务的对象: 事务管理器(接口, 接口有很多的实现类)
例如:使用Jdbc或mybatis访问数据库,使用的事务管理器:DataSourceTransactionManager
2 ) 声明式事务: 在xml配置文件或者使用注解说明事务控制的内容
控制事务: 隔离级别、传播行为、超时时间
3)事务处理方式:
- Spring框架中的@Transactional
- aspectj框架可以在xml配置文件中,声明事务控制的内容
SpringBoot中使用事务,上面的两种方式都可以:
1)在业务方法的上面加入@Transactional , 加入注解后,方法有事务功能了。
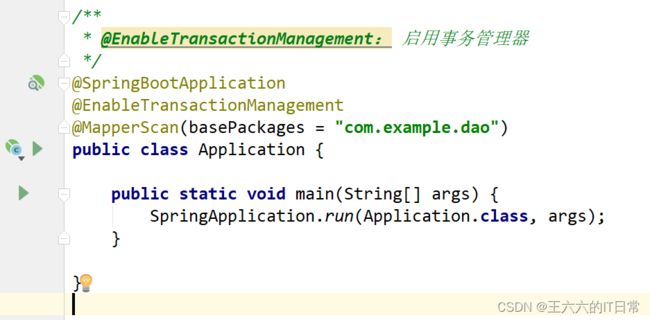
2)明确的在 主启动类的上面 加入@EnableTransactionManager
例子:
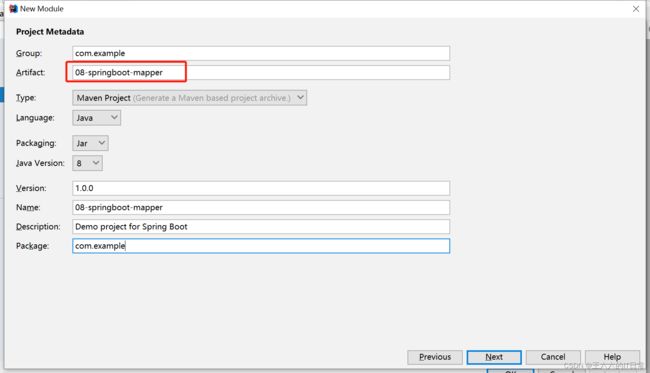
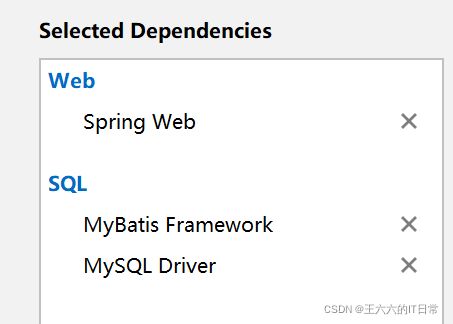
新建一个项目,选择依赖:
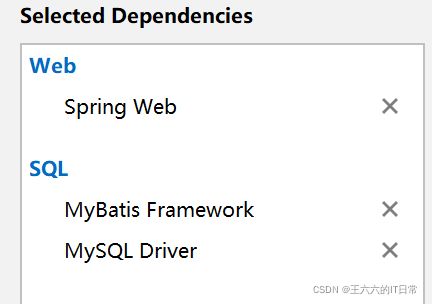
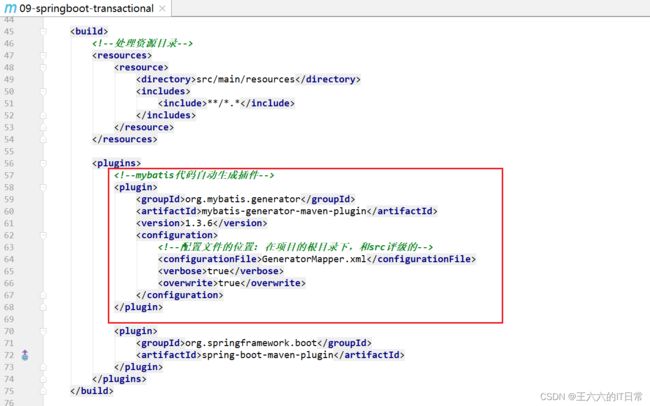
查看GeneratorMapper.xml文件:
指定连接数据库的JDBC驱动包所在位置,指定到你本机的完整路径 :

将这个jar包放到G:\JavaTools,修改配置文件:
![]()


![]()


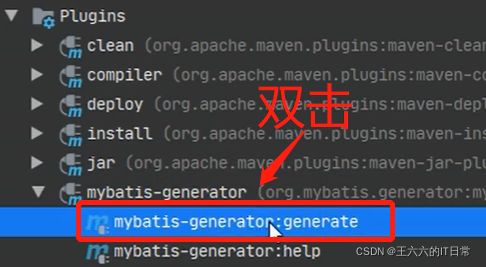
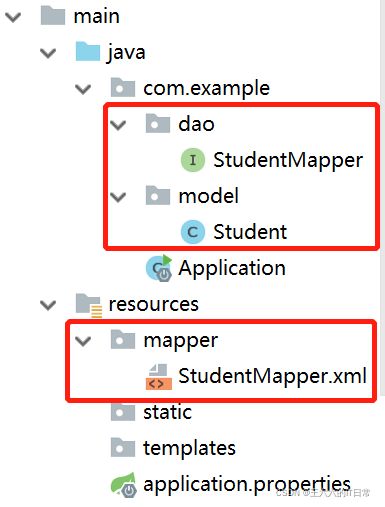
application.properties配置文件:

业务层service:


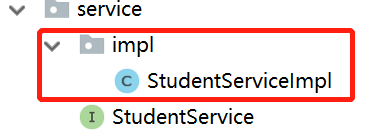

/**
 * @Transactional: 表示方法的有事务支持
 *       默认:使用库的隔离级别, REQUIRED 传播行为; 超时时间  -1
 *       抛出运行时异常,回滚事务
 */
@Transactional
@Override
public int addStudent(Student student) {

    System.out.println("业务方法addStudent");
    int rows  =  studentDao.insert(student);
    System.out.println("执行sql语句");
    //抛出一个运行时异常, 目的是回滚事务
    //int m   = 10 / 0 ;
    return rows;
}
