这里写目录标题
- 常用标签.html
- 区块与布局
- iframe框架
- H5新标签
- CSS盒子模型
- position定位
- overflow属性
- Float浮动
- CSS 布局-水平&垂直对齐
- CSS 导航栏
- CSS导航栏-水平导航栏
- Opacity图片透明
- CSS3 渐变(Gradients)
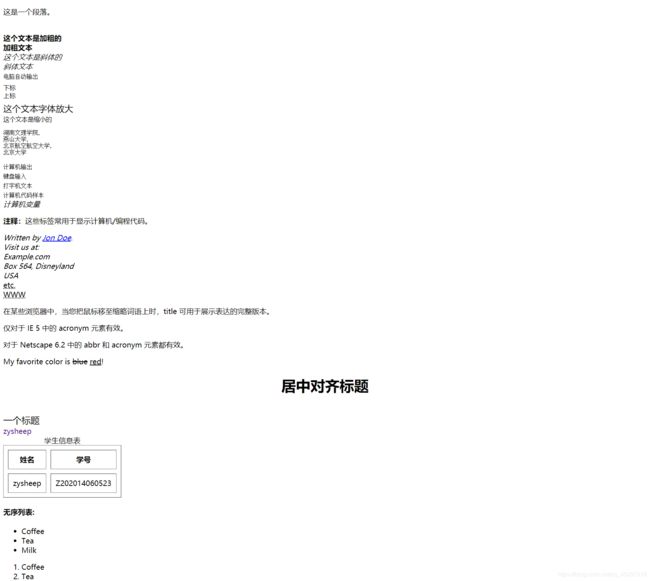
常用标签.html
<body>
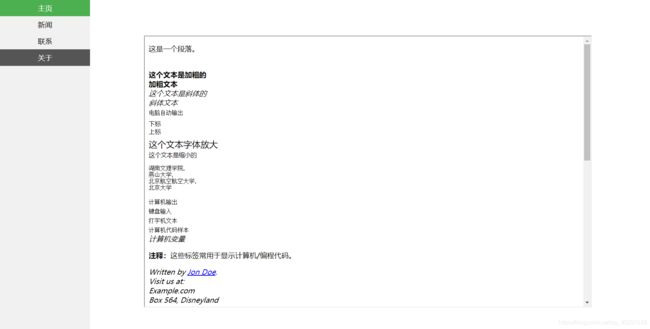
	<p>这是一个段落。p><br>
	<strong>这个文本是加粗的strong><br>
	<b>加粗文本b><br>
	<em>这个文本是斜体的em><br>
	<i>斜体文本i><br>
	<code>电脑自动输出code><br>
	<sub>下标sub><br>
	<sup>上标sup><br>

	<big>这个文本字体放大big><br>
	<small>这个文本是缩小的small><br>
	<pre>
湖南文理学院,
燕山大学,
北京航空航空大学,
北京大学
pre>


	<code>计算机输出code>
	<br />
	<kbd>键盘输入kbd>
	<br />
	<tt>打字机文本tt>
	<br />
	<samp>计算机代码样本samp>
	<br />
	<var>计算机变量var>
	<br />

	<p>
		<b>注释:b>这些标签常用于显示计算机/编程代码。
	p>

	<address>
		Written by <a href="mailto:[email protected]">Jon Doea>.<br>
		Visit us at:<br>
		Example.com<br>
		Box 564, Disneyland<br>
		USA
	address>

	<abbr title="etcetera">etc.abbr>
	<br />
	<acronym title="World Wide Web">WWWacronym>
	<p>在某些浏览器中,当您把鼠标移至缩略词语上时,title 可用于展示表达的完整版本。p>
	<p>仅对于 IE 5 中的 acronym 元素有效。p>
	<p>对于 Netscape 6.2 中的 abbr 和 acronym 元素都有效。p>
	<p>My favorite color is <del>bluedel> <ins>redins>!p>


	<h1 style="text-align: center;">居中对齐标题h1><br>
	<span style="font-size: 20px;">一个标题span>
	<br />

	<a href="http://www.zysheep.cn" style="text-decoration: none;" target="_blank">zysheepa>

	<table border="1px" cellpadding="10" cellspacing="10">
		<caption>学生信息表caption>
		<tr>
			<th>姓名th>
			<th>学号th>
		tr>
		<tr>
			<td>zysheeptd>
			<td>Z202014060523td>
		tr>
	table>


	<h4>无序列表:h4>
	<ul>
		<li>Coffeeli>
		<li>Teali>
		<li>Milkli>
	ul>

	<ol>
		<li>Coffeeli>
		<li>Teali>
		<li>Milkli>
	ol>
body>
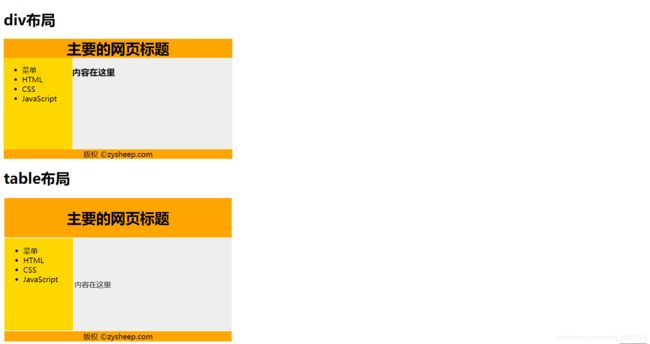
区块与布局
<body>

<h1>div布局h1>
<div id="container" style="width: 500px">
	<div id="header" style="background-color: #FFA500;text-align: center;cursor: pointer;">
		<h1 style="margin-bottom: 0;">主要的网页标题h1>
	div>
	<div id="menu" style="background-color: #FFD700;height: 200px;width: 150px;float: left;">
		<ul>
			<li>菜单li>
			<li>HTMLli>
			<li>CSSli>
			<li>JavaScriptli>
		ul>
	div>
	<div id="content" style="background-color: #EEEEEE;height: 200px;width: 350px;float: left;">
		<h3>内容在这里h3>
	div>
    <div id="footer" style="background-color: #FFA500;text-align: center;">
    	版权 ©zysheep.com
    div>
div>


<h1>table布局h1>
<table width="500" border="0">
	<tr>
		<td style="background-color:#FFA500;text-align: center;" colspan="2">
			<h1>主要的网页标题h1>
		td>
	tr>

	<tr >
		<td style="background-color:#FFD700;width:150px;height: 100px;vertical-align: top;">
			<ul>
				<li>菜单li>
				<li>HTMLli>
				<li>CSSli>
				<li>JavaScriptli>
			ul>
		td>
		<td style="background-color:#eeeeee;height:200px;width:350px;">内容在这里td>
	tr>

	<tr>
		<td style="background-color: #FFA500;text-align: center;" colspan="2">
			版权 ©zysheep.com
		td>
	tr>
table>
body>
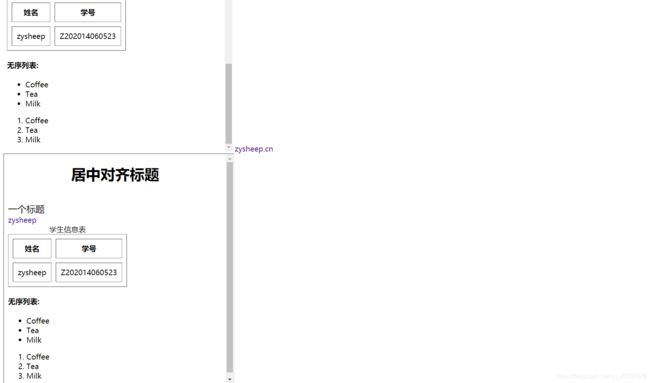
iframe框架
<body>
	<div>
		<iframe src="day01.html" width="500" height="500" frameborder="0" name="iframe_1">iframe>
		<a href="http://www.zysheep.cn" target="iframe_1" style="text-decoration: none;">zysheep.cna>
	div>

	<div>
		<iframe src="day02.html" width="500" height="500">iframe>
	div>
body>
H5新标签
<head>
	<title>H5新标签title>
	<style type="text/css">
		header,
		section,
		footer,
		aside,
		nav,
		article,
		figure {

			display: block;
			margin: auto;
		}
	style>
head>

<body>


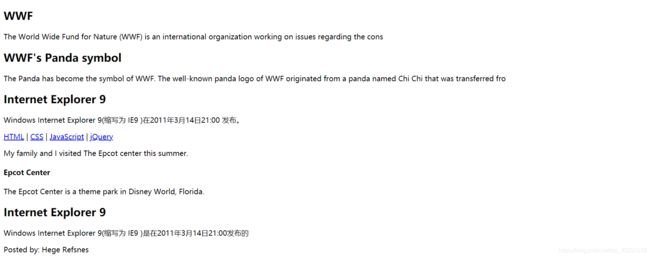
	<section>
		<h1>WWFh1>
		<p>The World Wide Fund for Nature (WWF) is an international organization working on issues regarding the cons
		p>
	section>

	<section>
		<h1>WWF's Panda symbolh1>
		<p>The Panda has become the symbol of WWF. The well-known panda logo of WWF originated from a panda named Chi
			Chi that was transferred frop>
	section>


	<article>
		<h1>Internet Explorer 9h1>
		<p>Windows Internet Explorer 9(缩写为 IE9 )在2011年3月14日21:00 发布。p>
	article>


	<nav>
		<a href="/html/">HTMLa> |
		<a href="/css/">CSSa> |
		<a href="/js/">JavaScripta> |
		<a href="/jquery/">jQuerya>
	nav>


	<p>My family and I visited The Epcot center this summer.p>

	<aside>
		<h4>Epcot Centerh4>
		<p>The Epcot Center is a theme park in Disney World, Florida.p>
	aside>


	<article>
		<header>
			<h1>Internet Explorer 9h1>
			<p><time pubdate datetime="2011-03-15">time>p>
		header>
		<p>Windows Internet Explorer 9(缩写为 IE9 )是在2011年3月14日21:00发布的p>
	article>


	<footer>
		<p>Posted by: Hege Refsnesp>
		<p><time pubdate datetime="2012-03-01">1time>p>
	footer>
body>
CSS盒子模型
<head>
<title>CSS盒子模型title>
<style type="text/css">
#box1 {
margin: auto;
width: 150px;
height: 150px;
border: 5px solid blue;
}
#box2 {
background-color: blue;
margin-left: 40px;
margin-top: 20px;
width: 50px;
height: 50px;
border: 5px solid red;
text-align: center;
padding: 5px;
outline: green dotted thick;
}
style>
head>
<body>
<div id="box1">
<div id="box2">
A
div>
div>
body>

position定位
<head>
<title>position定位title>
<style type="text/css">
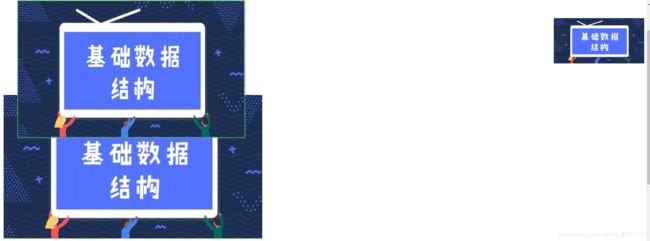
img.img1 {
top: 0px;
position: sticky;
width: 500px;
height: 300px;
margin-left: 30px;
border: 2px solid #4CAF50;
}
img.img2 {
position: fixed;
width: 200px;
height: 100px;
top: 30px;
right: 5px;
}
img {
display: block;
margin-top: 10px;
}
style>
head>
<body>
<img class="img1" src="http://cdn.panyucable.cn/zysheep/al1_top.jpg">
<img src="http://cdn.panyucable.cn/zysheep/al1_top.jpg">
<img class="img2" src="http://cdn.panyucable.cn/zysheep/al1_top.jpg">
<img src="http://cdn.panyucable.cn/zysheep/al1_top.jpg">
<img src="http://cdn.panyucable.cn/zysheep/al1_top.jpg">
<img src="http://cdn.panyucable.cn/zysheep/al1_top.jpg">
body>
overflow属性
<head>

	<title>overflow属性title>
	<style type="text/css">
		div{

			border: 2px solid blue;
			background-color:#00FFFF;
			width: 150px;
			height: 100px;
			overflow: auto;
		}

	style>
head>
<body>
<div>
当你想更好的控制布局时你可以使用 overflow 属性。尝试修改 overflow 属性为: visible, hidden, scroll, 或 inherit 并查看效果。 默认值为 visible。
div>
body>

Float浮动
<head>
<title>Float浮动title>
<style type="text/css">
img {
float: left;
width: 110px;
height: 90px;
margin: 10px;
}
h2 {
clear: both;
margin-left: 10px;
}
style>
head>
<body>
<img src="http://cdn.panyucable.cn/zysheep/al1_top.jpg">
<img src="http://cdn.panyucable.cn/zysheep/al1_top.jpg">
<h2>高清美女图片h2>
<img src="http://cdn.panyucable.cn/zysheep/al1_top.jpg">
<img src="http://cdn.panyucable.cn/zysheep/al1_top.jpg">
<img src="http://cdn.panyucable.cn/zysheep/al1_top.jpg">
body>

CSS 布局-水平&垂直对齐
<head>
<title>CSS 布局-水平&垂直对齐title>
<style type="text/css">
.center{
margin:auto;
border: 2px solid #73AD21;
width: 50%;
padding: 10px;
text-align: center;
}
img{
display: block;
margin:auto;
}
style>
head>
<body>
<div class="center">
div元素是居中的
div>
<img src="http://cdn.panyucable.cn/zysheep/al1_top.jpg">
body>

CSS 导航栏
<head>
<title>CSS 导航栏title>
<style type="text/css">
body {
margin: 0;
}
ul {
list-style-type: none;
margin: 0px;
padding: 0px;
width: 200px;
height: 100%;
background-color: #f1f1f1;
position: absolute;
overflow: auto;
}
li {
text-align: center;
}
li a {
text-decoration: none;
color: #000000;
padding: 8px 16px;
display: block;
}
li a.active {
background-color: #4CAF50;
color: white;
}
li a:hover:not(.active) {
background-color: #555;
color: white;
}
style>
head>
<body>
<div>
<ul>
<li><a class="active" href="day01.html" target="iframe_main">主页a>li>
<li><a href="#news">新闻a>li>
<li><a href="#contact">联系a>li>
<li><a href="#about">关于a>li>
ul>
div>
<div style="position: fixed;margin:80px 320px;height:100%;">
<iframe width="990px" height="600px" name="iframe_main">iframe>
div>
body>
CSS导航栏-水平导航栏
<head>
    <title>day11-CSS导航栏-水平导航栏title>
    <style type="text/css">
        body {

            margin: 0;
            padding: 0;
        }
        ul {

            text-align: center;
            list-style-type: none;
            margin: 0;
            padding: 0;
        }
        li {

            display: inline;
        }

        li a {

            margin: 10px 20px;
            padding: 10px;
            text-decoration: none;
        }
        .active {

            background-color: #4CAF50;
            color: white;
        }

        a:hover {

            background-color: #555;
            color: white;
        }
        a:active {

            background-color: #4CAF50;
            color: white;
        }
    style>
head>

<body>
    <div>
        <ul>
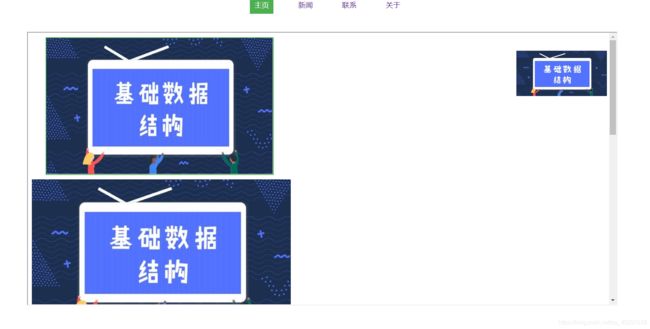
            <li><a class="active" href="day07-position.html" target="iframe_name">主页a>li>
            <li><a href="day08-overflow.html" target="iframe_name">新闻a>li>
            <li><a href="day09-Float浮动.html" target="iframe_name">联系a>li>
            <li><a href="#about">关于a>li>
        ul>
    div>

    <div>
        <iframe width="1300px" height="600px" name="iframe_name"
            style="margin: 50px 60px;text-decoration: none;">iframe>
    div>
body>
Opacity图片透明
<head>
	<title>Opacity图片透明title>
	<style type="text/css">
		img{

			opacity: 0.4;
			width: 150px;
			height: 113px;
		}
		img:hover{

			opacity: 1.0;
		}
	style>


head>
<body>


<img class="img1" src="http://cdn.panyucable.cn/zysheep/al1_top.jpg">
<img src="http://cdn.panyucable.cn/zysheep/al1_top.jpg">
body>

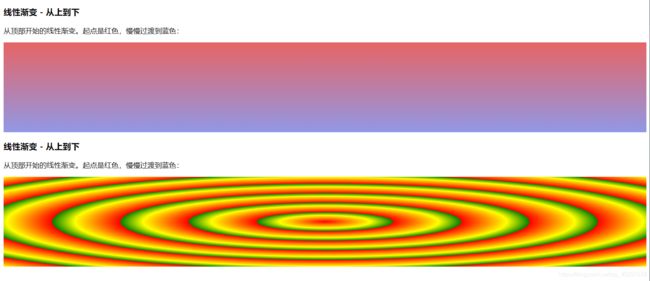
CSS3 渐变(Gradients)
<head>
	<title>CSS3 渐变(Gradients)title>
	<style type="text/css">
		#grad1{

			height: 200px;
			background-color: red;
			background-image: linear-gradient(#e66465, #9198e5);

		}
		#grad2{

			height: 200px;
			background-color: red;
			background-image: repeating-radial-gradient(red, yellow 10%, green 15%);

		}
	style>
head>
<body>
<h3>线性渐变 - 从上到下h3>
<p>从顶部开始的线性渐变。起点是红色,慢慢过渡到蓝色:p>
<div id="grad1">div>

<h3>线性渐变 - 从上到下h3>
<p>从顶部开始的线性渐变。起点是红色,慢慢过渡到蓝色:p>
<div id="grad2">div>
body>
