【Flask教程】Flask开发基础与入门
一、Flask中的Hello World
from flask import Flask
app = Flask(__name__)

@app.route('/') //路由
def hello_world():
    return 'Hello World!'

if __name__ == '__main__':
    app.run()
二、Flask的路由与反向路由
1)自定义路由
需要导入request
添加路由:
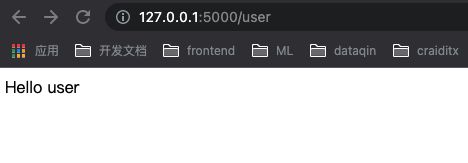
@app.route('/user')
def hello():
    return 'Hello user'
@app.route('/login', methods=['GET', 'POST'])
def hello():
    return 'Hello user'
路由上参数的传递:
@app.route('/user/' )
def show_post(post_id):
return 'Post %d' % post_id
@app.route('/user/query_user')
def hello_getid():
    id=request.args.get('id')
    return 'Hello user!'+id
2)反向路由
通过视图函数反向推导路由。
需要导入url_for
@app.route('/user/query_user')
def hello_getid():
    id=request.args.get('id')
    return 'Hello user!'+id

@app.route('/query_url')
def query_url():
    return 'query url:'+url_for('hello_getid')
三、Flask的模版
用 Python 生成 HTML 十分无趣,而且相当繁琐,因为你必须手动对 HTML 做转 义来保证应用的安全。为此,Flask 配备了 Jinja2 模板引擎。
你可以使用 render_template() 方法来渲染模板。你需要做的一 切就是将模板名和你想作为关键字的参数传入模板的变量。
1)基础示例
mian.py
from flask import Flask,render_template
app = Flask(__name__)

@app.route('/')
def hello_world():
    return render_template("index.html")

if __name__ == '__main__':
    app.run()
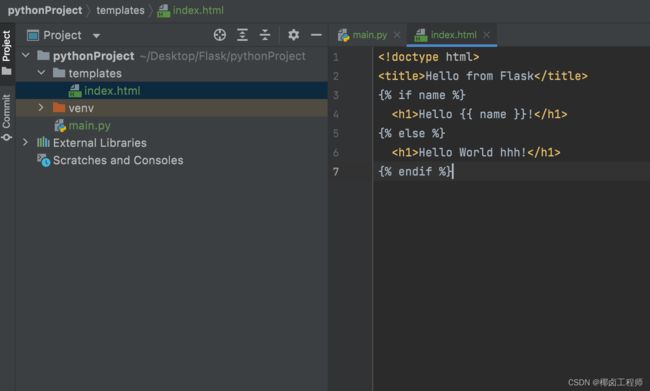
Flask 会在 templates 文件夹里寻找模板。所以,如果你的应用是个模块,这 个文件夹应该与模块同级;如果它是一个包,那么这个文件夹作为包的子目录:
/templates/index.html
<!doctype html>
<title>Hello from Flask</title>
{
     % if name %}
  <h1>Hello {
     {
      name }}!</h1>
{
     % else %}
  <h1>Hello World hhh!</h1>
{
     % endif %}
2)将需要的数据传到模版中
app.py
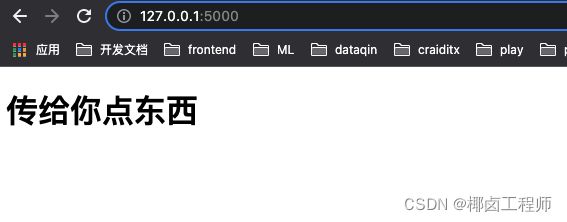
@app.route('/')
def hello_world():
    content = "传给你点东西"
    return render_template("index.html",content=content)
/templates/index.html
<!doctype html>
<title>Hello from Flask</title>
{
     % if name %}
  <h1>Hello {
     {
      name }}!</h1>
{
     % else %}
  <h1>{
     {
     content}}</h1>
{
     % endif %}
3)将更复杂的数据传给模版:user类
models.py
class User(object):
    def __init__(self,user_id,user_name):
        self.user_id=user_id
        self.user_name=user_name
templates/user_index.html
<!doctype html>
<title>Hello from Flask</title>
{
     % if name %}
  <h1>hello {
     {
      user.user_name }}!</h1>
{
     % else %}
  <h1>hello {
     {
     user.user_id}}</h1>
{
     % endif %}
main.py
from flask import Flask,request,url_for,render_template
from models import User
app = Flask(__name__)

@app.route('/')
def hello_world():
    content = "传给你点东西"
    return render_template("index.html", content=content)

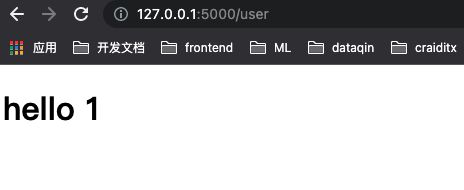
@app.route('/user')
def user_index():
   user = User(1,'hhhh')
   return render_template("user_index.html",user=user)

if __name__ == '__main__':
    app.run()
4)条件模版渲染
main.py
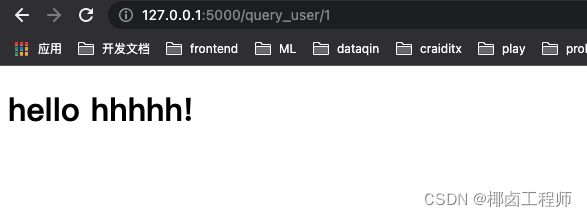
@app.route('/query_user/' )
def query_user(user_id):
user = None
if int(user_id)==1:
user =User(1,'hhhhh')
return render_template("user_id.html",user=user)
user_id.html
<!doctype html>
<title>Hello from Flask</title>
{
     % if user %}
  <h1>hello {
     {
      user.user_name }}!</h1>
{
     % else %}
  <h1>no this user</h1>
{
     % endif %}
四、Flask的消息提示与异常提醒
Flask中提供消息闪现机制,可以简单地给用户反馈。消息闪现系统通常会在请求结束时记录信息,并在下一个(且仅在下一个)请求 中访问记录的信息。展现这些消息通常结合要模板布局。
使用 flash() 方法可以闪现一条消息。要操作消息本身,请使用 get_flashed_messages() 函数,并且在模板中也可以使用。
1)消息提示
main.py
from flask import Flask,request,url_for,render_template, flash
app = Flask(__name__)
app.secret_key = '123'

@app.route('/')
def hello_world():
    flash("hello")
    return render_template("index.html")
if __name__ == '__main__':
    app.run()
index.html
<!doctype html>
<title>Hello from Flask</title>
  <h1>Hello !</h1>
  <h2>{
     {
     get_flashed_messages()[0]}}</h2>
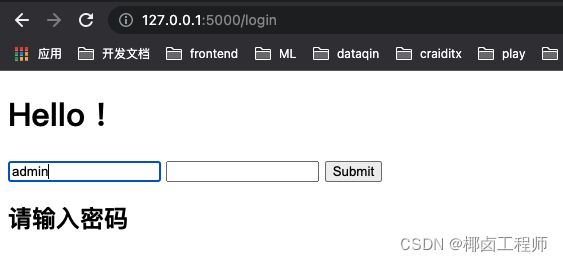
2)举个例子:登陆消息提示
index.html
<!doctype html>
<title>Hello from Flask</title>
  <h1>Hello !</h1>
    <form action="/login" method="post">
      <input type="text" name="username">
      <input type="password" name="password">
      <input type="submit" value="Submit">
    </form>
  <h2>{
     {
     get_flashed_messages()[0]}}</h2>
mian.py
def login():
    form = request.form
    username = form.get('username')
    password = form.get('password')

    if not username:
        flash('请输入用户名')
        return render_template("index.html")
    if not password:
        flash('请输入密码')
        return render_template('index.html')
    if username == 'admin' and password== 'admin':
        flash('登陆成功')
        return render_template('index.html')
    else:
        flash('用户名或密码错误')
        return render_template('index.html')
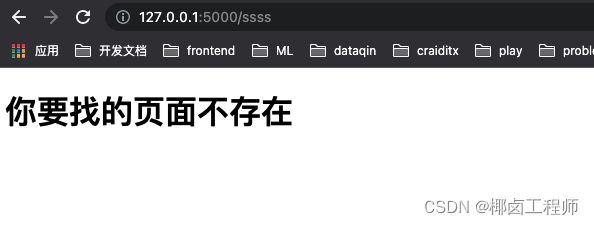
3)异常处理
mian.py
@app.errorhandler(404)
def not_found(e):
    return render_template('404.html')
404.html
<!doctype html>
<html>
<head>
  <meta charset="UTF-8">
  <title>404</title>
</head>
<body>
<h1>你要找的页面不存在</h1>
</body>
</html>
