一、环境部署
1、确认python安装 :官网安装
2、确认pytest安装:pip install pytest
3、确认allure安装:pip install allure-pytest
4、确认jenkins安装:官网下载war,执行java -jar jenkins.war --httpPort=9090
如果要在本地看到生成的报告,需要安装客户端allure commandline
- 下载地址: https://github.com/allure-framework/allure2/releases
- 下载zip包解压,进入bin目录运行,把bin目录加入path路径
- 官网:http://allure.qatools.ru/
二、脚本开发
1、以一个单元测试脚本为例
在pycharm中编写脚本
# Author: lindafang
# File: test_case_twostr.py
# 单元测试
import logging
import allure
import pytest

# 通过format机制自动获取函数值

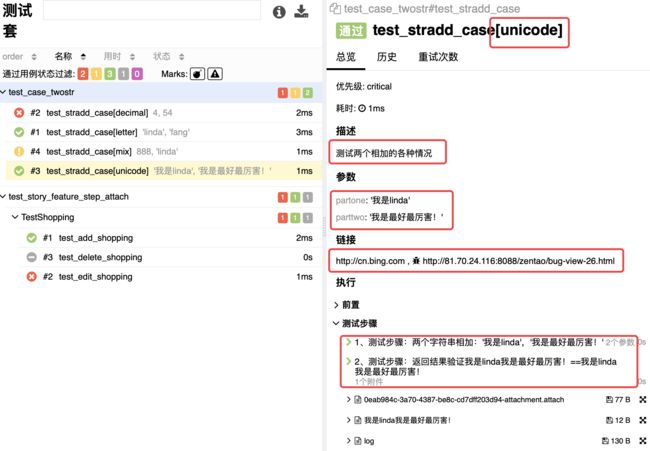
@allure.step("1、测试步骤:两个字符串相加:{0},{1}")
def str_add(str1, str2):
   print('hello', str1, str2)
   if not isinstance(str1, str):
       return f"{str1}不是字符串"
   if not isinstance(str2, str):
       return f"{str2}不是字符串"
   return str1 + str2


'''
serverity:是严重级别:blocker,critical(严重级),normal(正常),minor,。。
'''
@allure.description("测试两个相加的各种情况")
@allure.severity("critical")
@allure.issue("http://81.70.24.116:8080/zentao/bug-view-26.html")
@allure.testcase("http://cn.bing.com")
@pytest.mark.parametrize("partone,parttwo",
                        [('linda', 'fang'),
                         (4, 54),
                         ("我是linda", "我是Linda"),
                         (888, 'linda')
                         ],
                        ids=["letter",
                             "decimal",
                             "unicode",
                             "mix"
                        ])
def test_stradd_case(partone, parttwo):

   logging.warning("我们要进行两个东西的相加,把相加可能遇到的情况都测试一遍")
   # 把对象转成字典
   paras=vars()
   # allure.attach("用例参数","{0}".format(paras))
   allure.attach(f"用例参数{paras}")
   # 这个是调用,有用的步骤
   res =str_add(partone,parttwo)

   allure.attach("返回结果","{0}".format(res))

   with allure.step(f"2、测试步骤:返回结果验证{res}=={partone+parttwo}"):
       allure.attach('这是个网页,页面显示结果信息可能',
                     '这是报错信息',allure.attachment_type.HTML)
       # 是断言,有用的步骤
       assert res==partone+parttwo
2、UI脚本-demo,主要以学习allure功能为主
import allure
import pytest

@allure.feature("购物车模块")
class TestShopping(object):

    @allure.story("添加购物车")
    def test_add_shopping(self):
        login('linda','123456')
        with allure.step("第一步:浏览商品"):
            allure.attach('商品一','树')

            allure.attach('商品二','山药')
        with allure.step("第二步:点击商品添加"):
            pass
        with allure.step("第三步:验证商品添加成功"):
            allure.attach('期望结果','树添加到购物车中')
            allure.attach('期望结果','山药添加到购物车中')
            assert 'success' !='failed'

    @allure.story("编辑购物车")
    def test_edit_shopping(self):
        allure.attach('商口已下架','无法进行编辑')
        assert False

    @pytest.mark.skip(reason='本次不执行')
    @allure.story("清空购物车")
    def test_delete_shopping(self):
        pass

@allure.step("用户先登陆")
def login(user,pwd):
    print(user,pwd)
三、在本地运行的命令
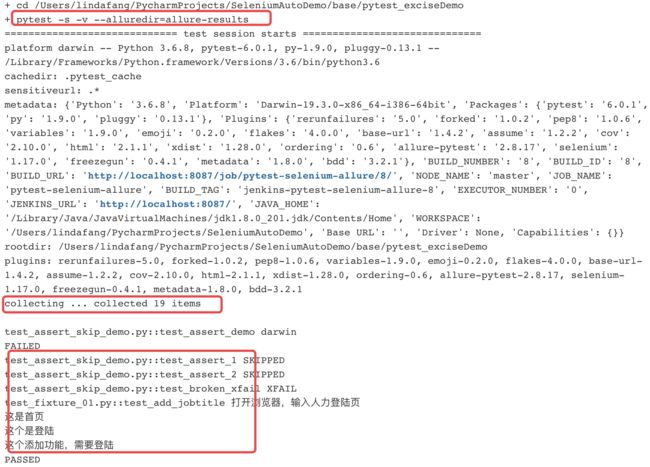
pytest -s -v test_case_twostr.py --alluredir=./result
pytest -s -v test_story_feature_step_attach.py --alluredir=./result
allure serve ./result
四、在jenkins中的配置及运行
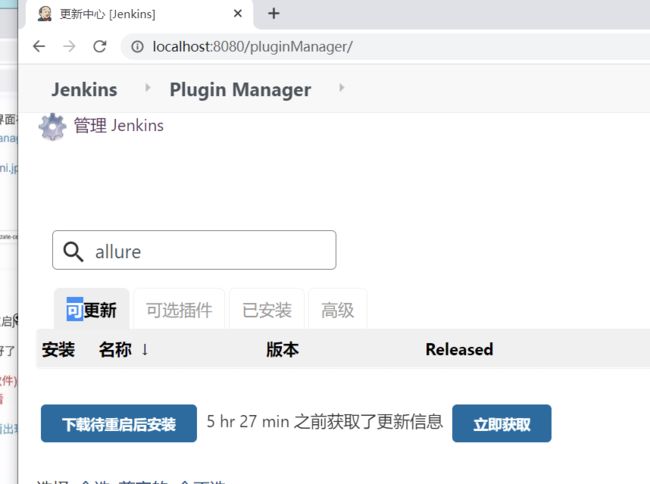
1、在管理插件的可选插件中搜索allure,并安装Allue插件
安装完成
2、新建item
a、选择自由风格的创建任务
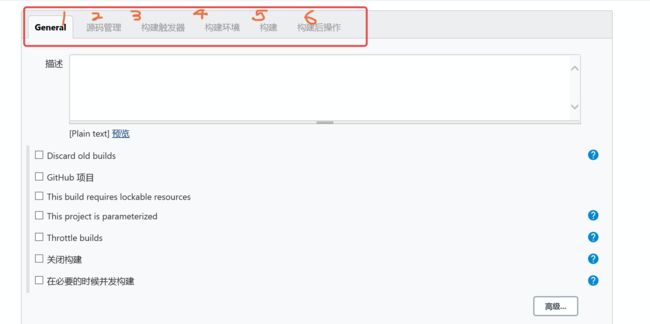
- 在1 general中右下角选择高级配置python工作空间
mac下的配置
win 下的配置
略
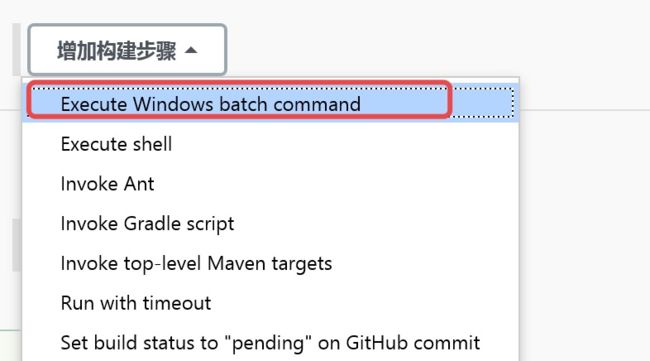
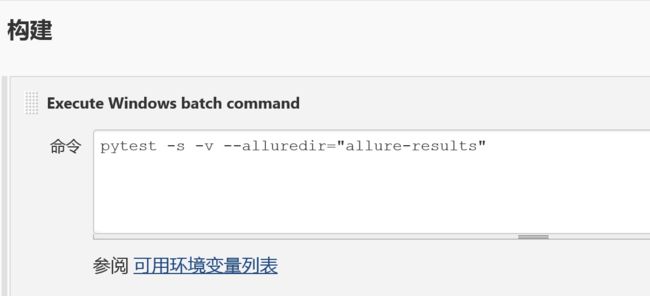
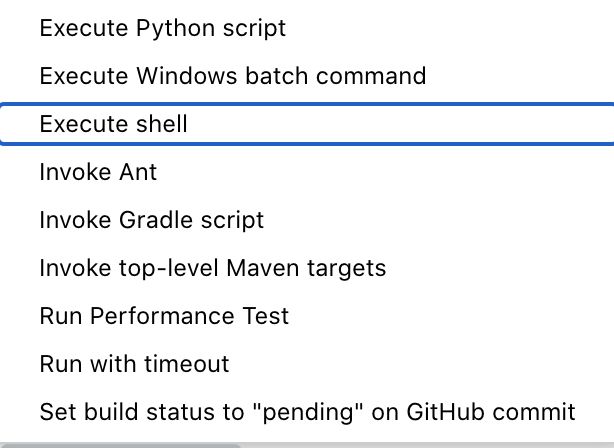
- 5 在构建中配置执行的命令
windows下配置:
mac下配置:
如果执行报错,在插件中添加python插件。
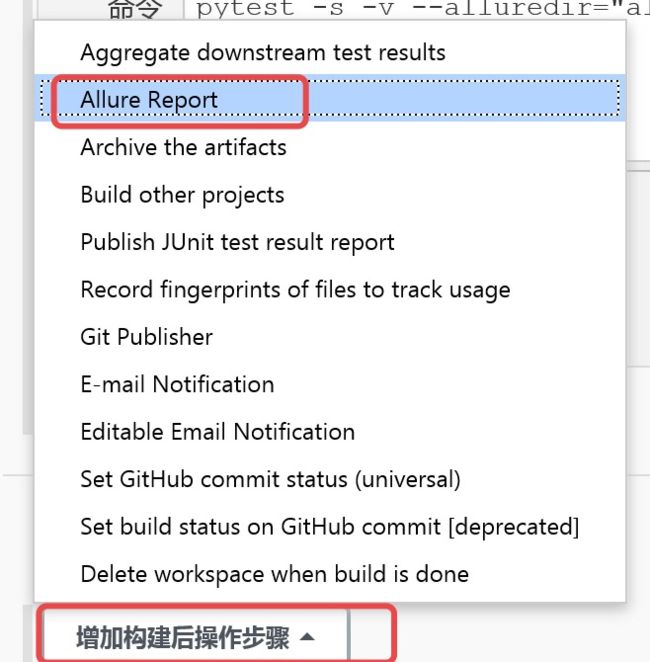
- 6构建后操作中添加allure-report
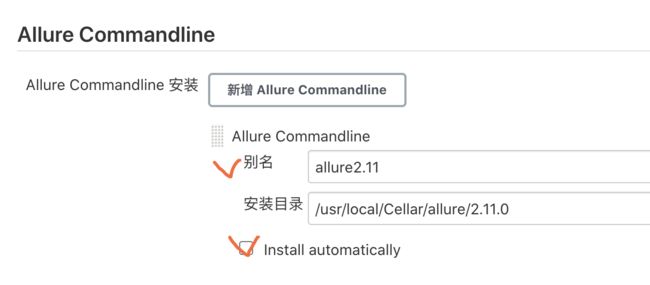
可以需要配置allure commandline。配置时会提示。
进入Global Tool Configuration,最后添加allure.
四、执行构建
加入主页面,点击右边构建:
五、查看构建过程
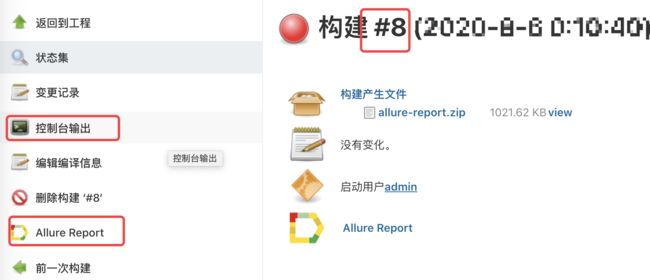
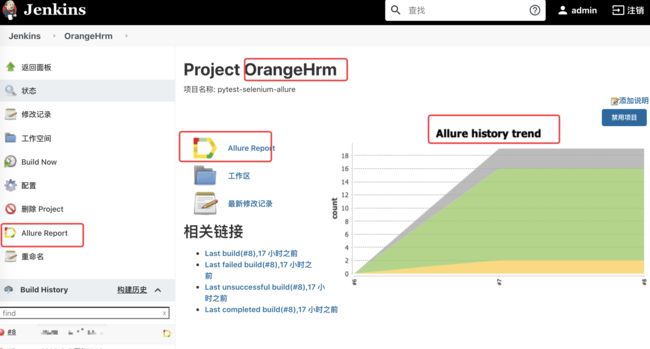
点击任务名orangeHrm进入,在构建历史中点击进入,比如#8。
查看控制台输出
查看allure的报告,点击进入
在项目页面中可查看趋势
