PowerShell 2.0 实践(七)管理活动目录(上)
上一次我们对Windows日志进行了深入的研究与测试,重在设置不同的条件来查询我们感兴趣的日志,精确的条件可以快速找到问题的症状,方便管理员及时排错。本次我们来重点关注一下Windows Server,以Windows Server 2008 R2 DataCenter为例,对活动目录进行一些测试。对于活动目录,计划写三篇博文:上中下,本次为第一篇,主要来测试域用户的编辑等。
本系列所有脚本均在Windows Server 2008 R2 DataCenter (PowerShell 2.0) + PowerGUI Script Editor Free Edition x64中测试通过。
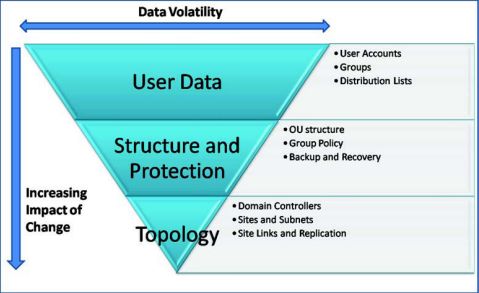
活动目录(Active Directory)是Windows操作系统下的一种企业资源解决方案。其体系结构如下:
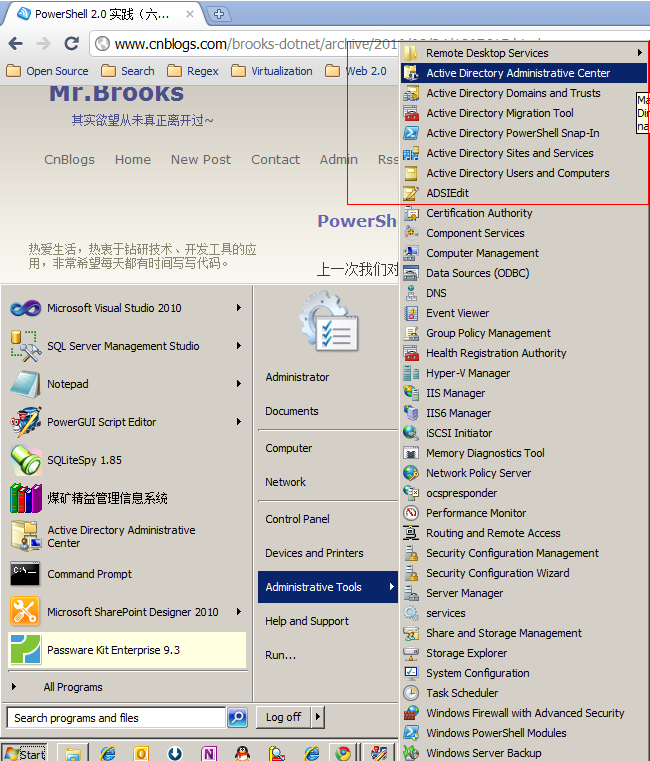
在Windows Server 2008 R2上安装了活动目录角色后,会有如下一些管理工具:
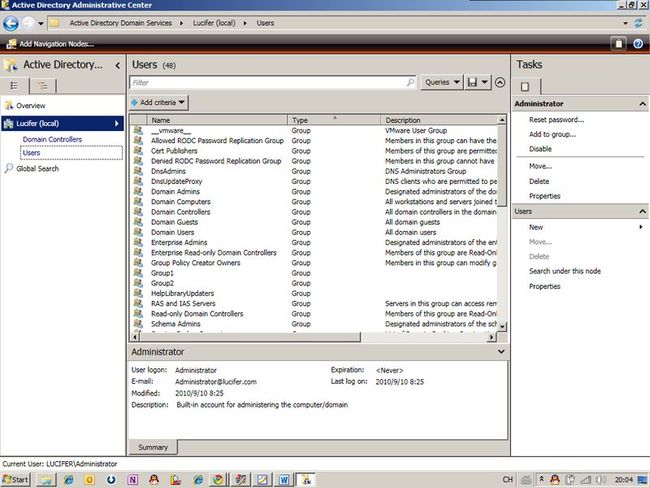
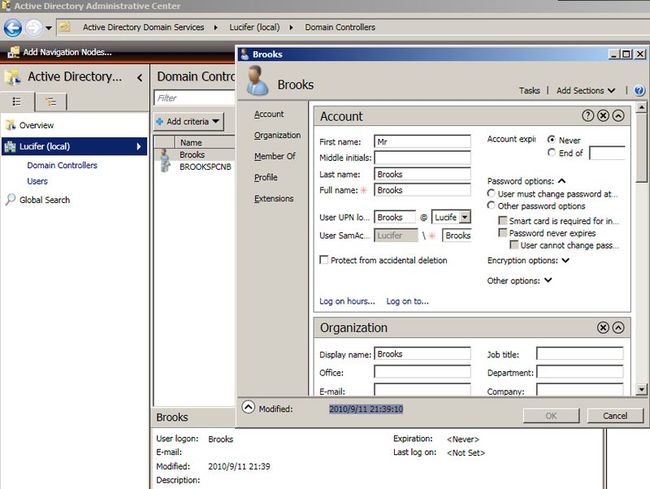
Active Directory Administrator Center是一个很有用的工具:
界面全部用WPF设计:
- 管理用户账户
对于活动目录来说,用户、组的管理是一个核心内容。在PowerShell 2.0中,可以使用如下方法管理用户、组:
ADSI(Active Directory Service Interfaces,活动目录服务接口):WinNT Provider、LDAP Provider
System.DirectoryServices
System.DirectoryServices.AccountManagement
Microsoft Active Directory Cmdlets(微软提供的PowerShell扩展)
Quest Active Directory Comlets(Quest公司提供的PowerShell扩展)
在创建域用户、域组之前,先创建一些本地用户和组。
2、使用.NET类创建一个本地用户:
#创建一个本地用户
Clear-Host
[void][reflection.assembly]::Load("System.DirectoryServices.AccountManagement, Version=3.5.0.0, Culture=neutral, PublicKeyToken=b77a5c561934e089")
#PowerShell 2.0中还可以这样添加程序集
#Add-Type -AssemblyName System.DirectoryServices.AccountManagement
$password = Read-Host "Password" -AsSecureString #作为密码
$cred = New-Object -TypeName System.Management.Automation.PSCredential -ArgumentList "userid", $password
$ctype = [System.DirectoryServices.AccountManagement.ContextType]::Machine #本地用户
$context = New-Object -TypeName System.DirectoryServices.AccountManagement.PrincipalContext -ArgumentList $ctype, "BrooksPCNB" #替换为你自己的机器名
$usr = New-Object -TypeName System.DirectoryServices.AccountManagement.UserPrincipal -ArgumentList $context
$usr.SamAccountName = "Newuser1"
$usr.SetPassword($cred.GetNetworkCredential().Password)
$usr.DisplayName = "New User"
$usr.Enabled = $true
$usr.ExpirePasswordNow() #下次登录时必须修改密码
$usr.Save()
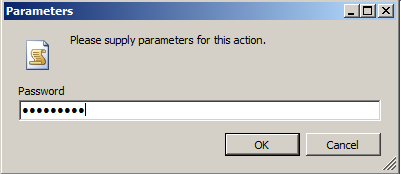
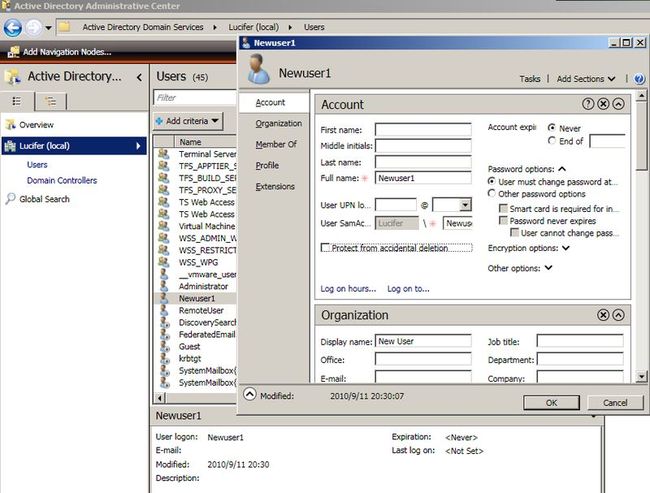
首先会提示输入待创建用户的密码,注意密码强度要符合策略,运行结果:
3、创建本地组:
#创建一个本地组
Clear-Host
[void][reflection.assembly]::Load("System.DirectoryServices.AccountManagement, Version=3.5.0.0, Culture=neutral, PublicKeyToken=b77a5c561934e089")
$ctype = [System.DirectoryServices.AccountManagement.ContextType]::Machine
$context = New-Object -TypeName System.DirectoryServices.AccountManagement.PrincipalContext -ArgumentList $ctype, "BrooksPCNB"
$gtype = [System.DirectoryServices.AccountManagement.GroupScope]::Local
$grp = New-Object -TypeName System.DirectoryServices.AccountManagement.GroupPrincipal -ArgumentList $context, "Group1"
$grp.IsSecurityGroup = $true
$grp.GroupScope = $gtype
$grp.Save()
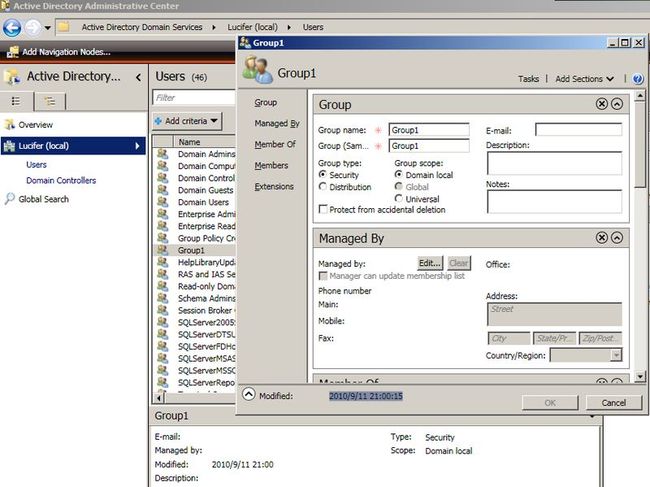
运行结果:
4、将用户添加进组:
Clear-Host
[void][reflection.assembly]::Load("System.DirectoryServices.AccountManagement, Version=3.5.0.0, Culture=neutral, PublicKeyToken=b77a5c561934e089")
$ctype = [System.DirectoryServices.AccountManagement.ContextType]::Machine
$context = New-Object -TypeName System.DirectoryServices.AccountManagement.PrincipalContext -ArgumentList $ctype, "BrooksPCNB"
$idtype = [System.DirectoryServices.AccountManagement.IdentityType]::SamAccountName
$grp = [System.DirectoryServices.AccountManagement.GroupPrincipal]::FindByIdentity($context, $idtype, "Group1")
$grp.Members.Add($context, $idtype, "Newuser1")
$grp.Save()
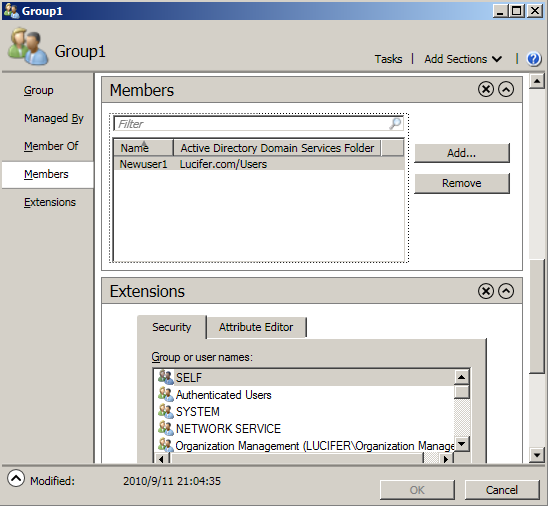
运行结果:
5、使用Microsoft Active Directory Cmdlets创建域用户:
New-ADUser -Name "Brooks" -SamAccountName "Brooks" `
-GivenName "Brooks" -Surname "Brooks" `
-Path "OU=Domain Controllers,DC=Lucifer,DC=com" -DisplayName "Mr.Brooks" `
-AccountPassword (Read-Host -AsSecureString "AccountPassword") -CannotChangePassword $false `
-ChangePasswordAtLogon $true -UserPrincipalName [email protected]
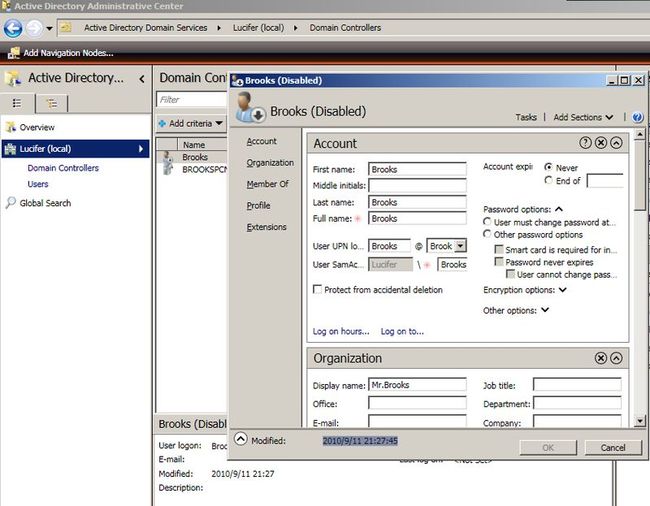
运行结果:
6、使用Quest Active Directory Cmdlets创建域用户:
若你还没有添加Snapin,则需要先添加:
Add-PSSnapin Quest.ActiveRoles.ADManagement
New-QADUser -Name "Brooks" -FirstName "Mr" -LastName "Brooks" `
-DisplayName "Brooks" -SamAccountName "Brooks" `
-UserPassword (Read-Host -AsSecureString) -UserPrincipalName "[email protected]" `
-ParentContainer "OU=Domain Controllers,DC=Lucifer,DC=com"
运行结果:
7、关于ADSI适配器的WinNT和LDAP Provider,其语法我不太熟悉,故不再举例,感兴趣的朋友可以查查相关资料。
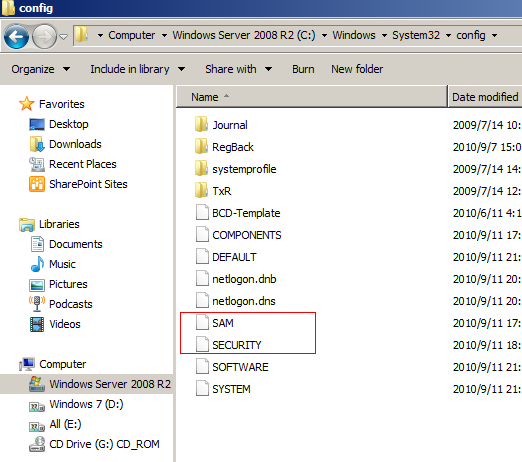
不过ADSI有个注意点,ADSI适配器直接操作本地SAM(Security Accounts Manage,安全账户管理器数据库),其位于:%windir%\System32\config目录,包括两个文件 SAM、SECURITY:
SAM本地数据库存储了如下重要信息:
用户账户信息
组信息
计算机账户信息(仅适用于WindowsNT、Workstation)
受信任的账户关联
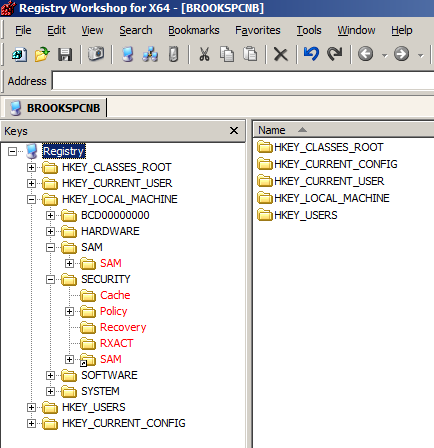
同时SAM本地数据库是注册表的一部分,其位于如下分支:
HKEY_LOCAL_MACHINE\SAM
HKEY_LOCAL_MACHINE\SECURITY
SAM本地数据库不能直接编辑,进入操作系统后即被锁定。可以通过第三方工具如saminside进行破解,注意,仅限于找回丢失的密码,不要尝试盗取别人密码等操作。
小结:
本次我们练习了使用.NET框架中的类以及微软与Quest的PowerShell扩展来创建域用户、组,部署时需要注意System.DirectoryServices
System.DirectoryServices.AccountManagement
需要.NET Framework 3.5或更新版本。
通过微软和Quest的PowerShell扩展可以很简洁的创建域用户、组,推荐使用这两种命令,要确保密码强度符合组策略。最后我们熟悉了下SAM数据库,SAM存储了很多用户账户信息,非常重要,理解SAM数据库可以更好地理解Active Directory体系结构。下一次我们将练习批量创建域用户、组,以及其他一些更高级的操作。
