Opencv -- 16多边形填充与绘制
与许多 API 函数不同的是多边形填充与绘制并不能一步(使用一个函数)就搞定,需要两步(使用两个函数)。
按照点的顺序依次进行。
#include "16_opencv_mat.h"

void QuickDemo::polyline_drawing_demo()
{
    // 先布置一块画布,512 x 512 个像素点,每个像素点数据大小为CV_8UC3(三通道)
    Mat canvas = Mat::zeros(Size(512,512),CV_8UC3);

    Point p1(100,100);
    Point p2(50, 200);
    Point p3(150, 200);
    Point p4(200, 100);

    std::vector<Point>pts;
    pts.push_back(p1);
    pts.push_back(p2);
    pts.push_back(p3);
    pts.push_back(p4);

    polylines(canvas,pts,true,Scalar(0,0,255),2,8,0);

	/*
     *  void polylines(InputOutputArray img, InputArrayOfArrays pts,
                            bool isClosed, const Scalar& color,
                            int thickness = 1, int lineType = LINE_8, int shift = 0 );

        参数:
        img       -- 画布
        pts       -- 多边形曲线的数组。
        isClosed  -- isClosed标志,指示绘制的折线是否关闭。
                    如果它们是闭合的,函数从每条曲线的最后
                    一个顶点到它的第一个顶点画一条直线。
        color     -- 多边形线段的颜色。
        thickness -- 多边形线段的粗细。不能填写负数。
        lineType  -- 多边形线段的类型。LINE_4、LINE_8、LINE_AA(抗锯齿)
        shift     -- 顶点坐标中的小数位数
     *
     */

    imshow("多边形绘制", canvas);
}
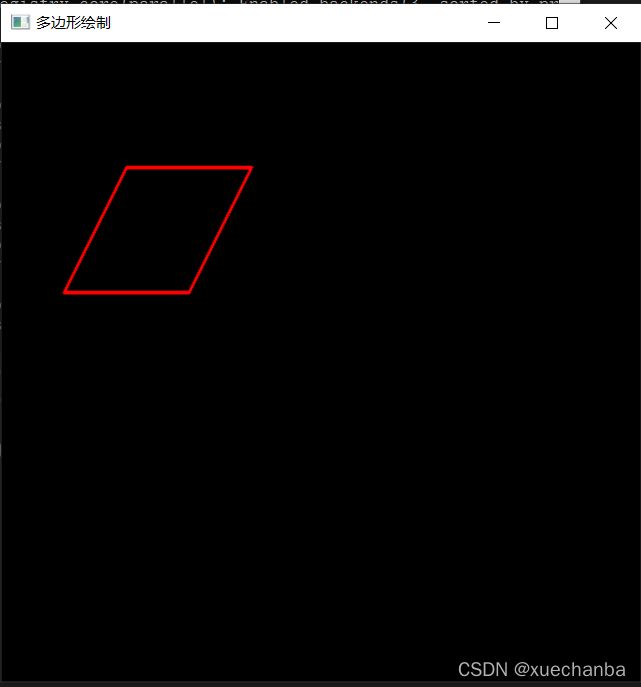
代码运行结果如下:

polylines 这个函数不能用来设置多边形的填充颜色。如果想要设置多边形的填充颜色,就需要使用另外一个函数 fillPoly。
#include "16_opencv_mat.h"

void QuickDemo::polyline_drawing_demo()
{
    // 先布置一块画布,512 x 512 个像素点,每个像素点数据大小为CV_8UC3(三通道)
    Mat canvas = Mat::zeros(Size(512, 512), CV_8UC3);

    Point p1(100, 100);
    Point p2(50, 200);
    Point p3(150, 200);
    Point p4(200, 100);

    std::vector<Point>pts;
    pts.push_back(p1);
    pts.push_back(p2);
    pts.push_back(p3);
    pts.push_back(p4);

    polylines(canvas, pts, true, Scalar(0, 0, 255), 4, LINE_AA, 0);
    fillPoly(canvas, pts, Scalar(0, 255, 0), LINE_AA, 0);
   // fillPoly(canvas,pts,Scalar(0, 255, 0), LINE_4,0,p2);
    /*
     *  void fillPoly(InputOutputArray img,
                      InputArrayOfArrays pts,
                      const Scalar& color,
                      int lineType = LINE_8,
                      int shift = 0,
                      Point offset = Point() );

       参数:
       img       -- 画布
       pts       -- 多边形曲线的数组。
       color     -- 给多边形填充的颜色。
       lineType  -- 多边形边界的线型类型。
       shift     -- 顶点坐标中的小数位数
       offset    -- 可选偏移的所有点的轮廓。
    *
    */
    imshow("多边形绘制", canvas);
}
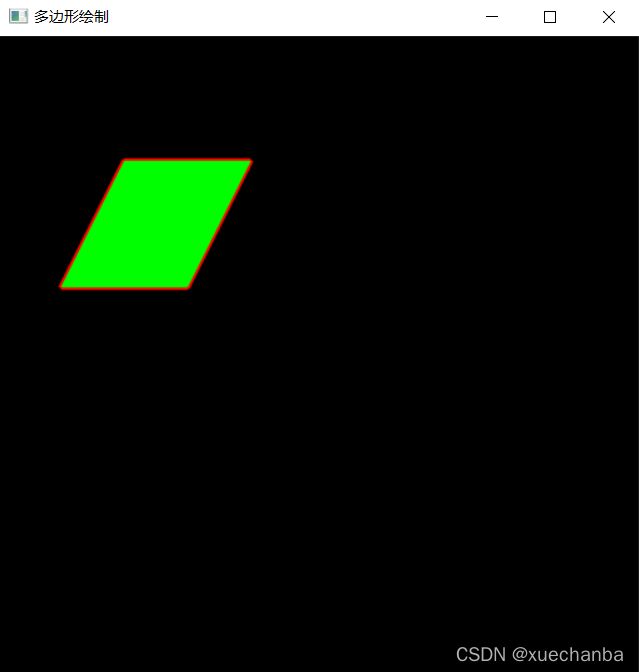
输出结果如下:

经过实验,暂时没有发现先调用填充函数还是先调用绘制函数时,输出的结果有什么区别。(视频中先调用的是填充函数,后调用的是绘制函数。)
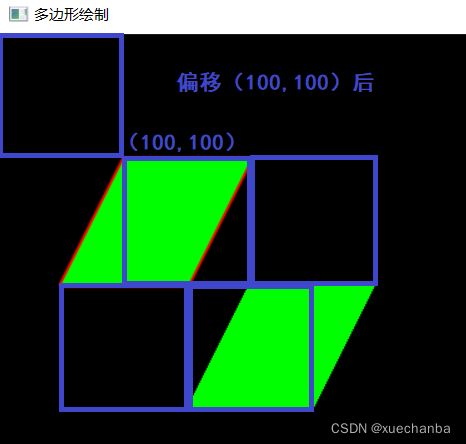
说明一下偏移这个参数 offset ,
polylines(canvas, pts, true, Scalar(0, 0, 255), 4, LINE_AA, 0);
fillPoly(canvas, pts, Scalar(0, 255, 0), LINE_AA, 0);

fillPoly(canvas,pts,Scalar(0, 255, 0), LINE_4,0,p1);
对比下输出结果如下,

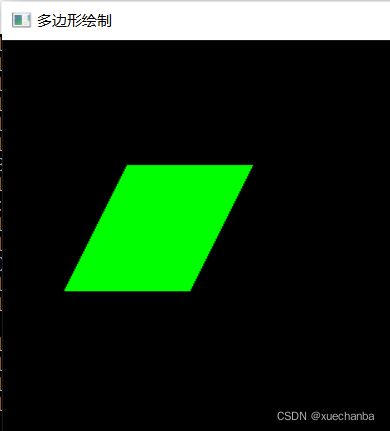
实际上,按照上述的写法有一些啰嗦,完全可以使用一个API函数就可以完成,那就是使用函数 drawContours 。
#include "16_opencv_mat.h"

void QuickDemo::polyline_drawing_demo()
{
    // 先布置一块画布,512 x 512 个像素点,每个像素点数据大小为CV_8UC3(三通道)
    Mat canvas = Mat::zeros(Size(512, 512), CV_8UC3);

    Point p1(100, 100);
    Point p2(50, 200);
    Point p3(150, 200);
    Point p4(200, 100);

    std::vector<Point>pts;
    pts.push_back(p1);
    pts.push_back(p2);
    pts.push_back(p3);
    pts.push_back(p4);
	std::vector<std::vector<Point>>contours;
    contours.push_back(pts);
   /*
   *
   void drawContours(InputOutputArray image, InputArrayOfArrays contours,
                     int contourIdx, const Scalar& color, int thickness=1,
                     int lineType=8, InputArray hierarchy=noArray(), int maxLevel=INT_MAX,
                     Point offset=Point() )

    功能:用于绘制轮廓或填充轮廓。
    这里暂且介绍用到的几个参数。
    image      -- 画布
    contours   -- 所有的输入轮廓。每个轮廓被存储为点向量。(可以支持多个多边形)
    contourIdx -- 指明绘制哪一个轮廓。如果它是负的,所有的轮廓都将被画出来。第一个轮廓的下标从0开始。
    color      -- 轮廓的颜色。
    thickness  -- 如果它是负的(例如,thickness=CV_FILLED),则绘制轮廓内部。
    lineType   -- 多边形边界的线型类型。
   */
    drawContours(canvas, contours,0, Scalar(0, 255, 0),-1, LINE_AA);

    imshow("多边形绘制", canvas);
}
