搭建个人博客
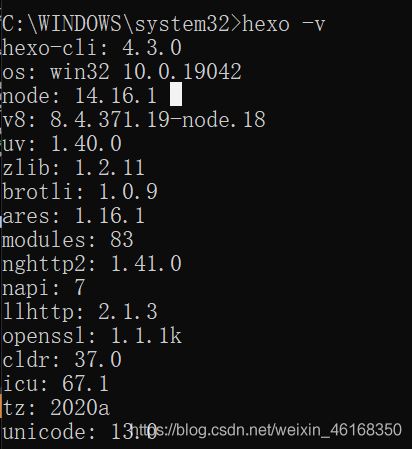
前置

![]()
搭建
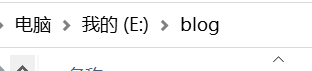
创建文件夹
进入,初始化

访问
hexo server
部署
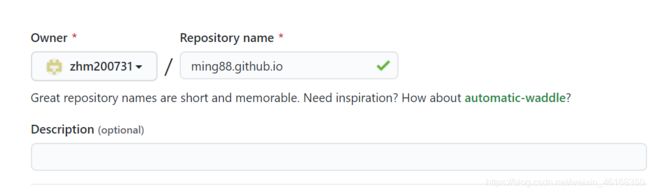
先创建仓库
注意一定要
username.github.io
不然会出现404
安装
npm install hexo-deployer-git --save
配置
deploy:
  type: git
  repo: [email protected]:hongming88/hongming88.github.io.git
  branch: master
先配置ssh(略)
可参考
https://blog.csdn.net/weixin_46168350/article/details/116310549
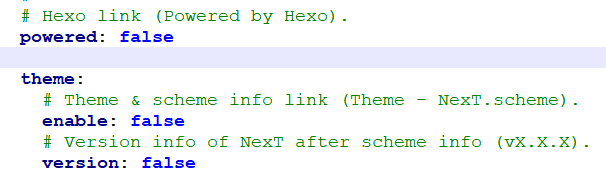
主题
git clone https://github.com/iissnan/hexo-theme-next themes/next
也可以
git clone https://github.com.cnpmjs.org/iissnan/hexo-theme-next themes/next
修改站点的配置文件

增加标签页和分类页
E:\blog\themes\next\_config.yml文件下
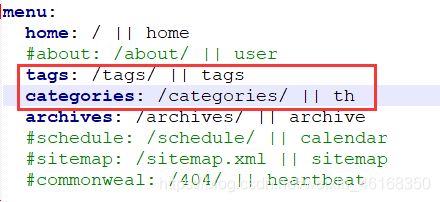
注意空格消除,上面没有消除
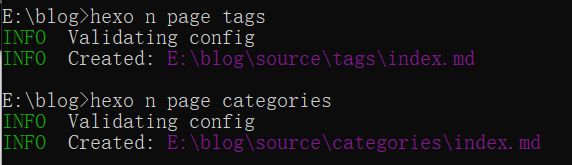
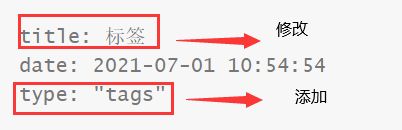
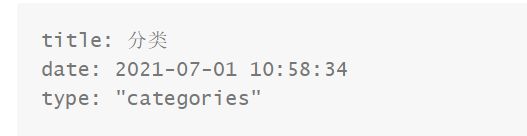
创建分类标签
13113@ming MINGW64 /e/学习/笔记/blog
$ hexo n page tags
INFO  Validating config
INFO  Created: E:\学习\笔记\blog\source\tags\index.md

13113@ming MINGW64 /e/学习/笔记/blog
$ hexo n page categories
INFO  Validating config
INFO  Created: E:\学习\笔记\blog\source\categories\index.md

13113@ming MINGW64 /e/学习/笔记/blog
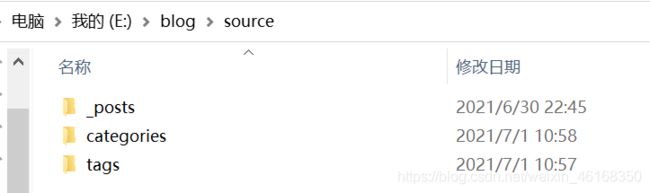
修改里面的index文件
参考
https://blog.csdn.net/jessieeeeeee/article/details/118935409
设置

修改中文
添加统计功能注意
找到Next/layout/_third-party/analytics/busuanzi-counter.swing下的
把域名改成:https://busuanzi.ibruce.info/busuanzi/2.3/busuanzi.pure.mini.js
注意
之间不能有空格

隐藏底部
问题
hexo使用theme出现“ {% extends ‘_layout.swig‘ %} {% import ‘_macro/post.swig‘ as post_template %}“问题
原因是hexo在5.0之后把swig给删除了需要自己手动安装
npm i hexo-renderer-swig
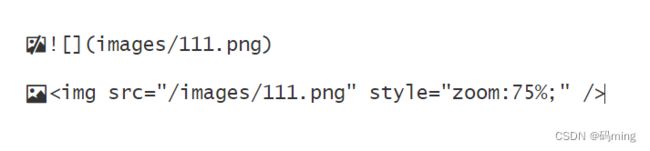
写文章
为了可以上传图片

安装插件
npm install hexo-asset-image --save
source创建文件夹images
npm i --save hexo-wordcount
创建文章
hexo n t
写文章
部署发布
在站点文件夹中打开 git bash,输入如下命令部署和发布文章
$ hexo g -d
建议:在使用 hexo g ,可以先使用 hexo s 运行本地站点,然后在浏览器输入地址 http://lacolhost:4000/ 查看运行结果,检查无误后再使用 hexo d 发布
hexo generate(Hexo g) 命令执行完就可以生成静态文件
hexo deploy(hexo d) 部署
访问:
https://hongming88.github.io/