一.导入库
import matplotlib.pyplot as plt
二.设置文字
plt.title("double number", fontsize=24)
plt.xlabel("number", fontsize=14)
plt.ylabel("double", fontsize=14)
三.设置坐标轴参数
plt.axis([0, 15, 0, 30])
q前面两个数为x轴的始末,后面则为y
四.绘制点
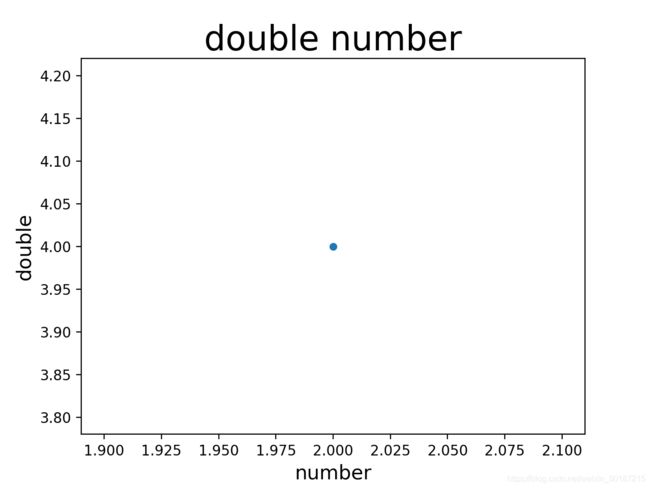
plt.scatter(2, 4, s=20) #s为点的大小
plt.show()
得到这样子的图
毕竟绘图时我们不可能只画一个点
所以还是应该引入数组来解决问题
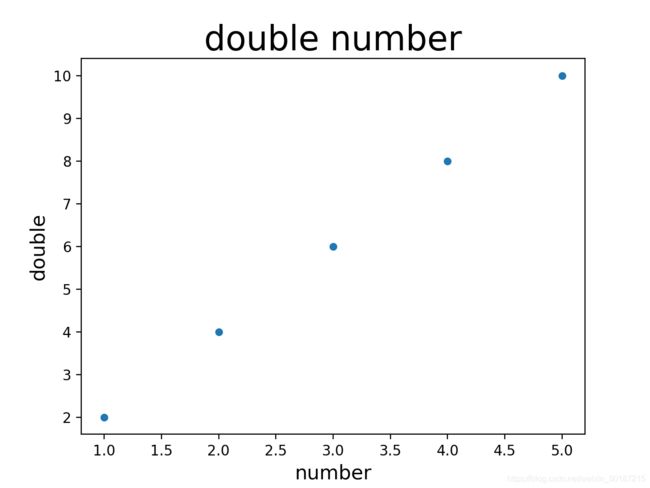
x = [1, 2, 3, 4, 5]
y = [2, 4, 6, 8, 10]
将原来的2,4分别替换为x,y
为了在数据量较大时,简化(偷懒)代码,可以使用range等函数或者列表解析的方法,这里就不赘述了,详见补充1
五.对点的继续处理
1.自定义颜色
plt.scatter(x, y, c='red', edgecolors='none', s=20)
用参数c设置点的颜色,用edgecolor设置边缘的颜色(在较新的matpoltlib版本中,edgecolors默认为none)有关颜色的详细资料,可见补充2
ps:将c设置为green,edgecolors设置为black,将引起极度生理不适,特别是点极度密集的曲线中,你懂的
言归正传,python的颜色设置通常为RGB,所以在scatter内也可以用RGB参数来设置颜色,格式如下:
plt.scatter(x, y, c=(0, 0, 0.6), edgecolors='none', s=20)
RGB小数模式详见补充3
2.颜色映射
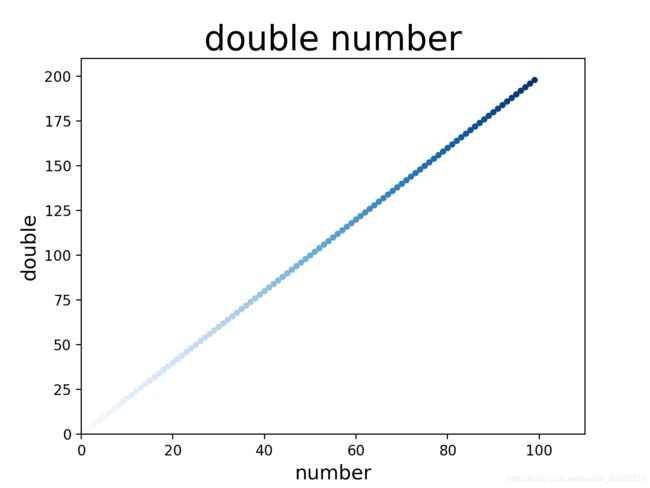
plt.scatter(x, y, c=y, edgecolors='none', cmap=plt.cm.Blues, s=20)
通过使用cmap,将c设置为一个数组,则可以达到颜色渐变的效果:
事实上并非所有的颜色都可以使用,仅有RGB三原色和Oranges等少数颜色可以…感觉官方文档上说的十个好像不太行,格式必须为头文字大写结尾加s
one of {‘tab:blue’, ‘tab:orange’, ‘tab:green’, ‘tab:red’, ‘tab:purple’, ‘tab:brown’, ‘tab:pink’, ‘tab:gray’, ‘tab:olive’, ‘tab:cyan’} which are the Tableau Colors from the ‘tab10’ categorical palette (which is the default color cycle);
That’s all,接下来为补充部分
补充1
偷懒法1:用list函数加range函数
x = list(range(1, 100, 2))
先用range(start, end, step)等到一组数,再用list转化为数组
偷懒法2:解析列表
y = [value * 2 for value in x]
其实就是把for循环写到了里面去
补充2
Matplotlib识别以下格式以指定颜色:
an RGB or RGBA tuple of float values in [0, 1] (e.g. (0.1, 0.2, 0.5)
or (0.1, 0.2, 0.5, 0.3)). RGBA is short for Red, Green, Blue, Alpha; a
hex RGB or RGBA string (e.g., ‘#0F0F0F’ or ‘#0F0F0F0F’);
速记十六进制RGB或RGBA字符串,相当于通过复制每个字符获得的十六进制RGB或RGBA字符串(例如,’#abc’,相当于’#aabbcc’,或’#abcd’,相当于’#aabbccdd’);
a string representation of a float value in [0, 1] inclusive for gray
level (e.g., ‘0.5’);
单个字母字符串,即{‘b’,‘g’,‘r’,‘c’,‘m’,‘y’,‘k’,‘w’}之一,它们是蓝色、绿色、红色、青色、品红色、黄色、黑色和白色阴影的速记号;
a X11/CSS4 (“html”) color name, e.g. “blue”; a name from the xkcd
color survey, prefixed with ‘xkcd:’ (e.g., ‘xkcd:sky blue’); a “Cn”
color spec, i.e. ‘C’ followed by a number, which is an index into the
default property cycle (rcParams[“axes.prop_cycle”] (default:
cycler(‘color’, [’#1f77b4’, ‘#ff7f0e’, ‘#2ca02c’, ‘#d62728’,
‘#9467bd’, ‘#8c564b’, ‘#e377c2’, ‘#7f7f7f’, ‘#bcbd22’, ‘#17becf’])));
the indexing is intended to occur at rendering time, and defaults to
black if the cycle does not include color. one of {‘tab:blue’,
‘tab:orange’, ‘tab:green’, ‘tab:red’, ‘tab:purple’, ‘tab:brown’,
‘tab:pink’, ‘tab:gray’, ‘tab:olive’, ‘tab:cyan’} which are the Tableau
Colors from the ‘tab10’ categorical palette (which is the default
color cycle);
补充3
RGB分为浮点数和整数两种,在Matplotlib中,使用的是浮点数,即范围在[0,1],而整数则是[0,255],若是要转化,将整数除以255即浮点数形式。
总结
到此这篇关于python matplotlib库绘图实战之绘制散点图的文章就介绍到这了,更多相关python matplotlib绘制散点图内容请搜索脚本之家以前的文章或继续浏览下面的相关文章希望大家以后多多支持脚本之家!


