CentOS 6安装Oracle 11gR2数据库
1. 安装前准备
[1] 安装软件包
yum -y install binutils compat-libcap1 compat-libstdc++.i686 compat-libstdc++.x86_64 elfutils-libelf elfutils-libelf-devel gcc gcc-c++ glibc.i686 glibc.x86_64 glibc-devel.i686 glibc-devel.x86_64 ksh libgcc.i686 libgcc.x86_64 libstdc++.i686 libstdc++.x86_64 libstdc++-devel.i686 libstdc++-devel.x86_64 libaio.i686 libaio.x86_64 libaio-devel.i686 libaio-devel.x86_64 libXext libXtst libX11 libXau libxcb libXi make sysstat unixODBC-devel.i686 unixODBC-devel.x86_64 unixODBC.i686 unixODBC.x86_64 compat-libstdc++-33.i686 compat-libstdc++-33.x86_64
安装软件包 pdksh-5.2.14-36.el5.i386.rpm (这个包yum源里没有,所以要手动安装,不装安装oracle时会有警告出现,但不影响最后的使用)
请下载这个包上传到CentOS后使用如下命令安装。(单击文件名称下载)
[root@localhost public_root]# rpm -ivh pdksh-5.2.14-36.el5.i386.rpm
[2] 更改kernel参数
[root@localhost var]# vi /etc/sysctl.conf


# Disable netfilter on bridges.

#net.bridge.bridge-nf-call-ip6tables = 0
#net.bridge.bridge-nf-call-iptables = 0
#net.bridge.bridge-nf-call-arptables = 0
# Controls the default maxmimum size of a mesage queue

kernel.msgmnb = 65536


# Controls the maximum size of a message, in bytes

kernel.msgmax = 65536


# Controls the maximum shared segment size, in bytes

kernel.shmmax = 4294967295


# Controls the maximum number of shared memory segments, in pages

kernel.shmall = 268435456


# 在文件末尾添加 net.ipv4.ip_local_port_range = 9000 65500
fs.file-max = 6815744
kernel.shmall = 10523004
kernel.shmmax = 6465333657
kernel.shmmni = 4096
kernel.sem = 250 32000 100 128
net.core.rmem_default=262144
net.core.wmem_default=262144
net.core.rmem_max=4194304
net.core.wmem_max=1048576
fs.aio-max-nr = 1048576
执行以下命令使更改生效
[root@localhost var]# sysctl -p
[3] 创建安装oracle所需用户与用户组
[root@localhost var]# groupadd -g 200 oinstall

[root@localhost var]# groupadd -g 201 dba

[root@localhost var]# useradd -u 440 -g oinstall -G dba -d /usr/oracle oracle

[root@localhost var]# passwd oracle
[root@localhost var]# vi /etc/pam.d/login

#%PAM-1.0

auth [user_unknown=ignore success=ok ignore=ignore default=bad] pam_securetty.so

auth       include      system-auth

account    required     pam_nologin.so

account    include      system-auth

password   include      system-auth

# pam_selinux.so close should be the first session rule

session    required     pam_selinux.so close

session    required     pam_loginuid.so

session    optional     pam_console.so

# pam_selinux.so open should only be followed by sessions to be executed in the user context

session    required     pam_selinux.so open

session    required     pam_namespace.so

session required pam_limits.so

session    optional     pam_keyinit.so force revoke

session    include      system-auth

-session   optional     pam_ck_connector.so
[root@localhost var]# vi /etc/security/limits.conf


# 在文件末尾添加 oracle soft nproc 2047

oracle hard nproc 16384

oracle soft nofile 1024

oracle hard nofile 65536
[root@localhost var]# vi /etc/profile


# 在文件末尾添加

if [ $USER = "oracle" ]; then

      if [ $SHELL = "/bin/ksh" ]; then

           ulimit -p 16384

           ulimit -n 65536

      else

           ulimit -u 16384 -n 65536

      fi

fi
[4] 切换到oracle用户,并进行配置
[root@localhost ~]# su - oracle

[oracle@localhost ~]$ chmod 755 /usr/oracle

[oracle@localhost ~]$ mkdir /usr/oracle/app

[oracle@localhost ~]$ chmod 755 /usr/oracle/app/

[oracle@localhost ~]$ mkdir /usr/oracle/oradata

[oracle@localhost ~]$ chmod 755 /usr/oracle/oradata/

[oracle@localhost ~]$ vi ./.bash_profile


# 在文件末尾添加 umask 022

export ORACLE_BASE=/usr/oracle/app
2. 安装oracle database
[1] 下载oracle安装文件(for linux x86),并上传到CentOS上
http://www.oracle.com/technetwork/database/enterprise-edition/downloads/index.html
[2] 解压安装文件
[root@localhost public_root]# unzip linux_11gR2_database_1of2.zip

[root@localhost public_root]# unzip linux_11gR2_database_2of2.zip
[3] 以oracle用户登陆,startx命令启动图形界面,打开一个终端窗口,进行到刚刚解压database的文件夹,运行以下命令
[oracle@localhost database]$ ./runInstaller
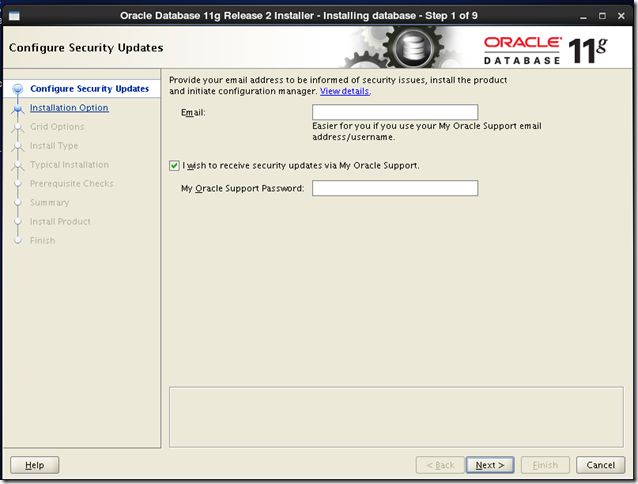
[4] oracle安装界面启动如下图所示,输入邮件地址及密码(oracle用户),以从oralce接收安全更新等信息
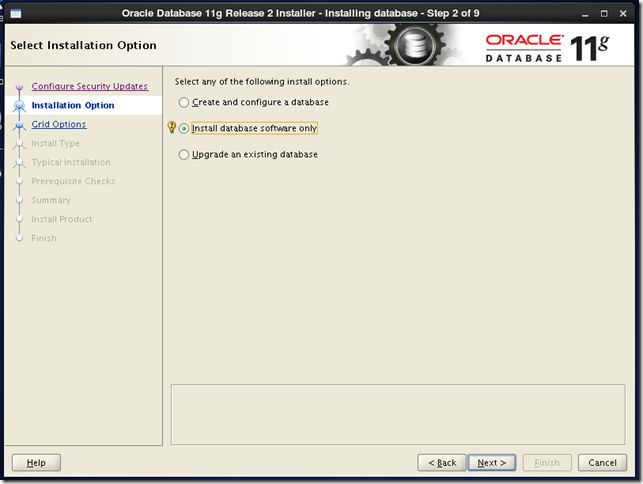
[5] 仅安装数据库软体
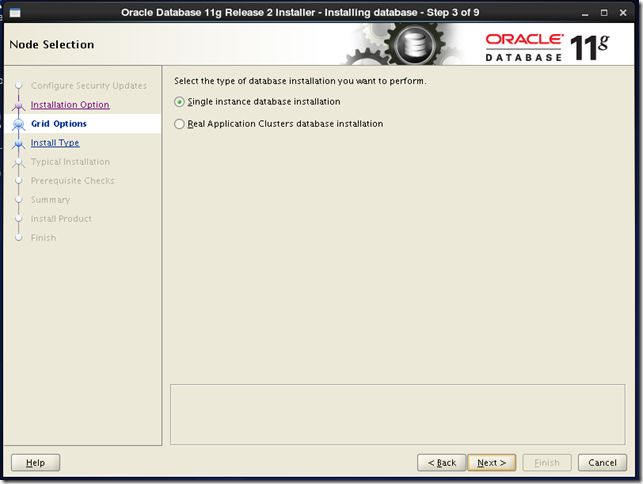
[6] 本实例中选择安装单实例数据库
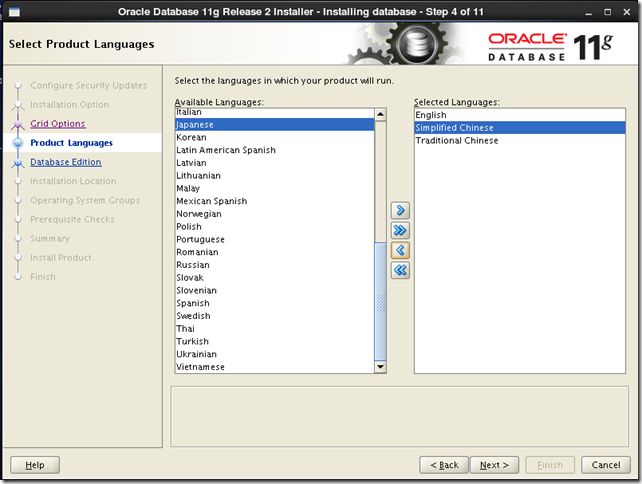
[7] 选择语言
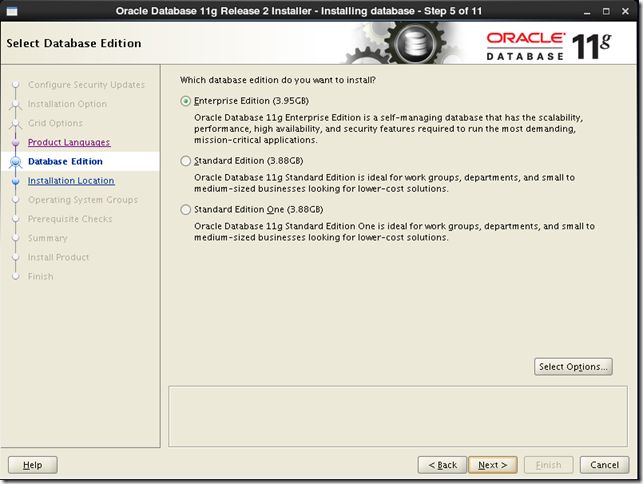
[8] 选择要安装的版本,这里选择 “Enterprise Edition”
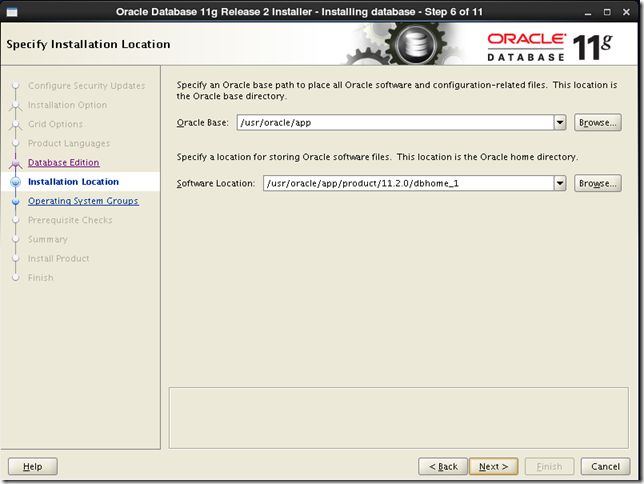
[9] 指定Oracle Base 与 Software Location, 我们在oracle用户的profile文件里已设置此环境变量,此处保持默认
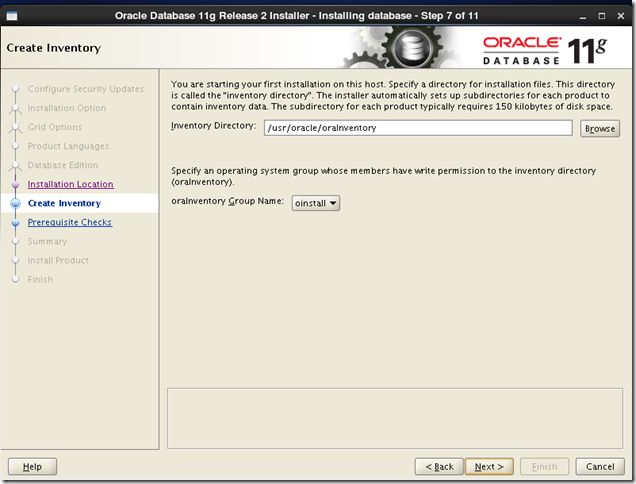
[10] 指定Inventory Directory, 本例保持默认
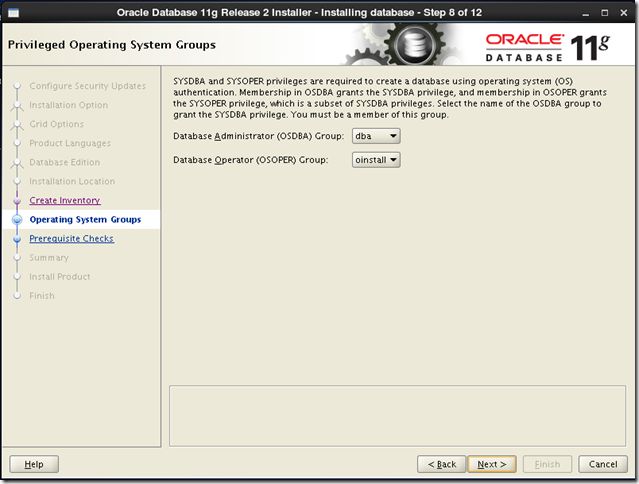
[11] 指定oralce特权用户组,本例保持默认
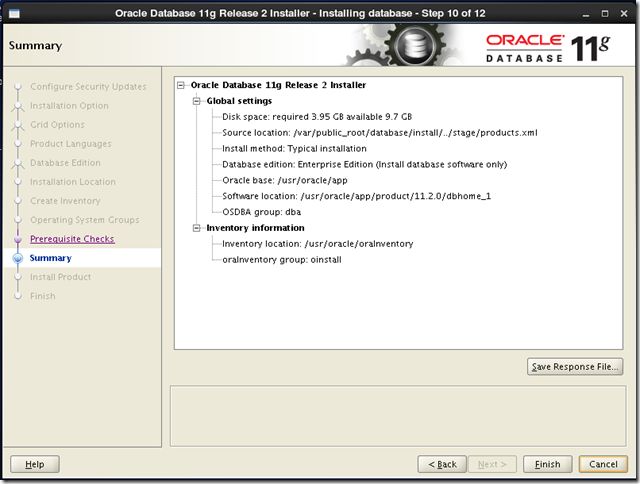
[12] 接下来,oralce安装程序会对安装环境进行检查,本例未检查到任何问题,显示安装信息如下。直接Finish, 开始安装。
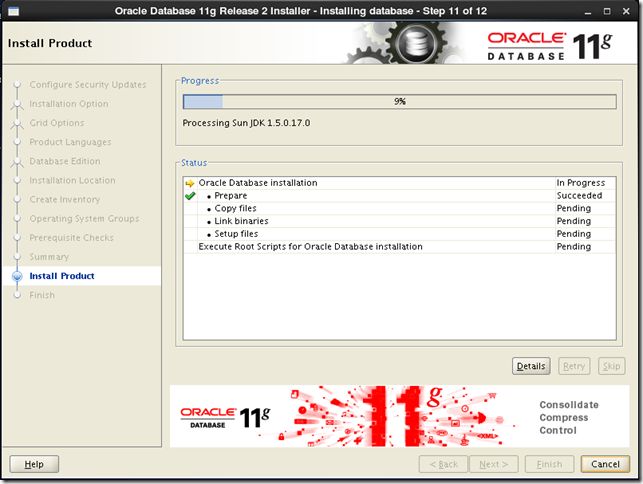
[13] 静待oracle安装
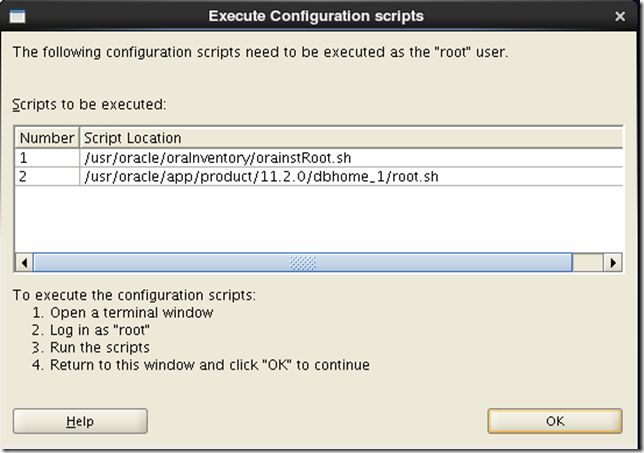
[14] 当出现以下窗口时,另开一个终端,以root用户登陆,并执行下面的命令。执行完毕后,点击OK
[root@localhost ~]# /usr/oracle/oraInventory/orainstRoot.sh

Changing permissions of /usr/oracle/oraInventory.

Adding read,write permissions for group.

Removing read,write,execute permissions for world.


Changing groupname of /usr/oracle/oraInventory to oinstall.

The execution of the script is complete.

[root@localhost ~]# /usr/oracle/app/product/11.2.0/dbhome_1/root.sh

Running Oracle 11g root.sh script...


The following environment variables are set as:

    ORACLE_OWNER= oracle

    ORACLE_HOME=  /usr/oracle/app/product/11.2.0/dbhome_1
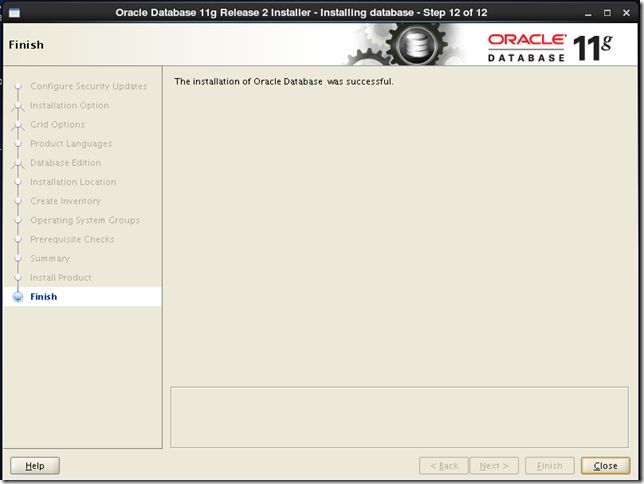
[15] 至此oracle 11g R2数据库安装完毕。
[16] 环境变量配置
[oracle@localhost ~]$ vi ~/.bash_profile


# 文件末尾增加

export ORACLE_HOME=$ORACLE_BASE/product/11.2.0/dbhome_1

export PATH=$PATH:$ORACLE_HOME/bin
[16] 其它注意事项
- 关闭SeLinux
- 配置好FTP以上传安装程序(也可以使用其它方式)
