SpringBoot 整合Mybatis-plus
小伙伴们!五一小长假回来了,玩的开不开心呢。利用五一小长假,总结了一下利用Spring-Boot工程整合mybatis-plus 。
希望可以帮助到大家!废话不多说,直接开始
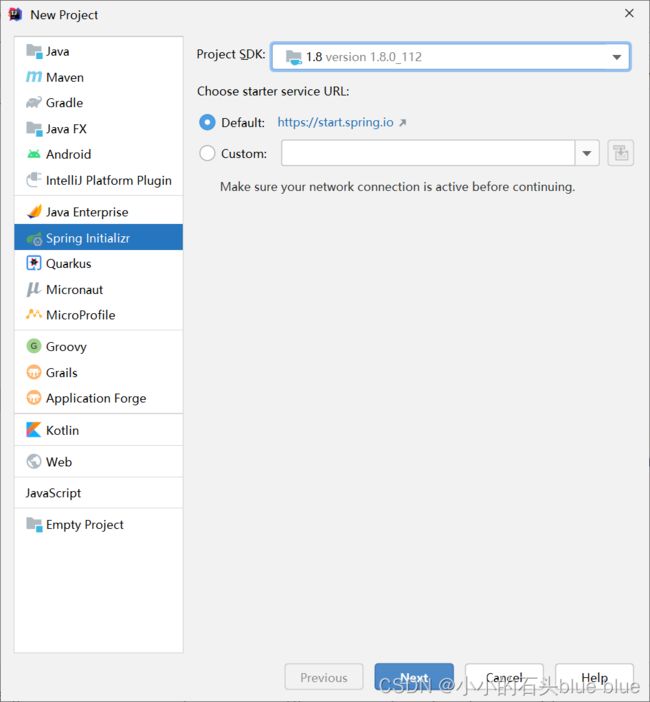
一:创建Spring-Boot工程
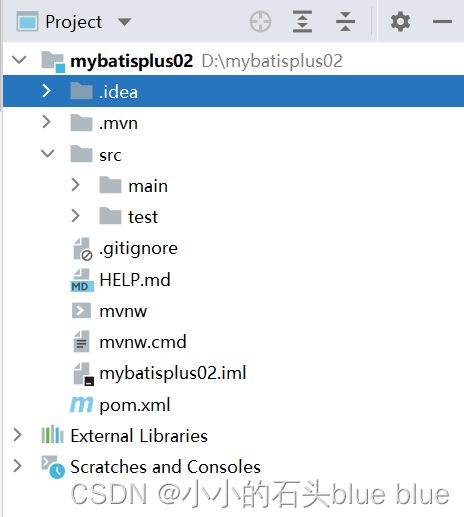
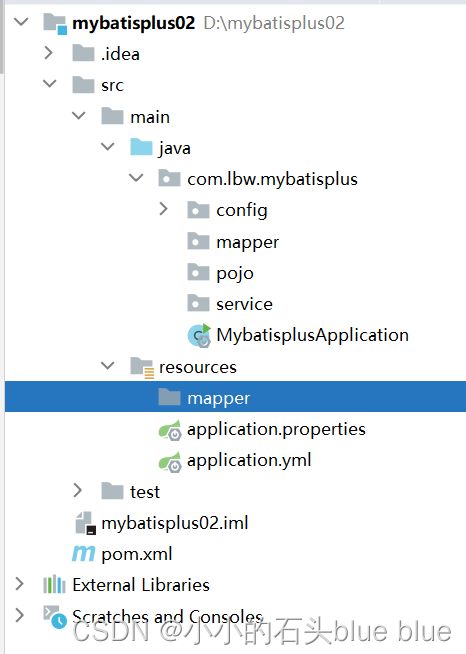
1:创建完了之后,删除一些不需要的东西,大家自定对照下图。
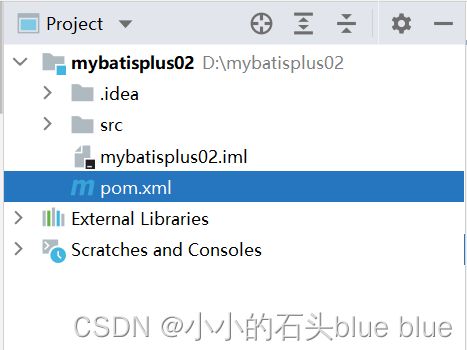
也可以不删,主要是看起来很不舒服。
2: 导入 坐标(pom.xml)
由于是在SpringBoot基础上创建,依赖很简单,先只有三个!
    mysql
    mysql-connector-java
    runtime
    com.baomidou
    mybatis-plus-boot-starter
    3.5.1
    org.projectlombok
    lombok
    true
3:配置yml 文件 (在resources里new一个file,文件名称为application.yml)
注:我这里使用的是mysql数据库
spring:
  #配置数据源信息
  datasource:
    #配置数据源类型
    type: com.zaxxer.hikari.HikariDataSource
    #配置连接数据库的各个信息
    driver-class-name: com.mysql.cj.jdbc.Driver
    #设置字符集
    url: jdbc:mysql://localhost:3306/db9?characterEncoding=utf-8&useSSL=false
    username: root
    password:

  #配置SQL输出语句
  mybatis-plus:
    configuration:
      log-impl: org.apache.ibatis.logging.stdout.StdOutImpl

  #配置类型别名所对应的包
  type-aliases-package: com.lbw.mybatisplus.pojo
这里配置,数据库连接,控制台输出SQL语句,和实体类所在的包名
兄弟们一定要写自己的数据库名称,密码,和自己的包名啊!
4:配置类 (就是用类的方式来写配置)
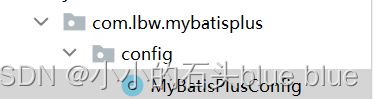
@Configuration//告诉spring他是一个配置类
@MapperScan("com.lbw.mybatisplus.mapper")//扫描mapper接口所在的包
public class MyBatisPlusConfig {

    @Bean
    public MybatisPlusInterceptor mybatisPlusInterceptor(){
        MybatisPlusInterceptor interceptor = new MybatisPlusInterceptor();
        //添加分页插件
        interceptor.addInnerInterceptor(new PaginationInnerInterceptor(DbType.MYSQL));
        return  interceptor;
    }
}
5:添加需要的包... 们
这个大家学过 mybatis的话就不用多解释了吧
6:实体类
/**
 * @Description:user实体类
 * @Author: 小小的石头
 * @Date:2022/5/6 17:46
 */
@TableName("user")//如果实体类和表名不一致 就需要这个注解,找到对应的表
@Data//这个注解来自lombok 写了这个注解,相当于写了,getter, sertter,tostring
public class User {

    @TableId(value = "user_id",type = IdType.AUTO)//这个用于主键上的注解,mybatis-plus默认注解是id
    //type = IdType.AUTO 这个是自动,但是数据库中需要自增
    //@TableId(value = "emp_id",type =IdType.ASSIGN_ID ) 这个是mybatis-plus利用雪花算法,产生主键
    // INPUT   insert 前自行 set 主键值
    private Long UserId;

    private String UserName;

    private Integer userAge;
}
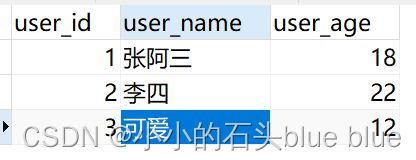
user表
//创建mapper
@Repository //注解 public interface UserMapper extends BaseMapper{ //mapper 接口 mybatis-plus之所以强,就在于他的再次封装,只做增强,不做修改 //自己写的mapper接口,继承他写的BaseMapper<泛型> 这里的泛型就是你要操作的实体类 //一些简单的增删改查 ,我们就可以利用他写好的方法,直接调用即可 }
mapper对应的映射文件
创建测试类
@SpringBootTest//springboot注解
public class UserTest01 {

    @Autowired
    private UserMapper userMapper;


    @Test
    public void selectById(){
        User user = userMapper.selectById(3);
        System.err.println(user);
    }

}
输出结果
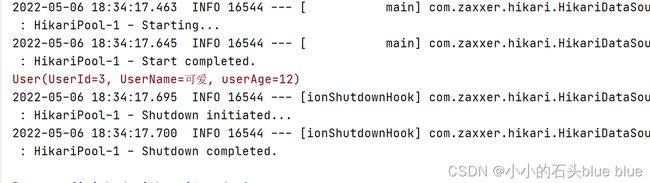
SQL语句

到了这里可以看到,我们只是继承了他们写好的类和接口,一条SQL没有写,实现了通过ID查询记录。
@Test
public void selectAll(){
        //查询全部
    List users = userMapper.selectList(null);
    users.forEach(g->{
        System.out.println(g);
    });

}


@Test
public void  deleteById(){
        //根据id删除
    int i = userMapper.deleteById(1);
    System.out.println(i);
}

@Test
public void savaBy(){
    User user = new User();
    user.setUserName("盛夏");
    user.setUserAge(22);
    boolean save = userService.save(user);
    System.out.println(save);
}
大家在这里可以看到 查删,来自于mapper,增改来自于service,我理解的是,在分层开发之后,增改的数据来自于我们前端的页面,这样就不用从mapper层在去调用,达到节省资源的意图。这个看个人理解吧。
今天分享到这里,明天继续哦!