准备工作
需要两个项目去实现路由
demo1为springboot项目用于接入网关,测试网关连通性
gateway为网关路由项目
网关搭建
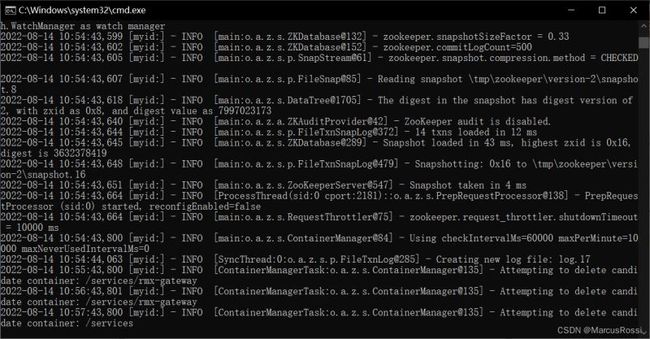
1.电脑安装好zookeeper,并且正常运行服务
Zookeeper官网
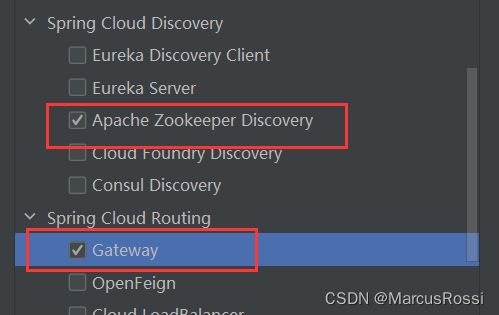
2.创建一个spring cloud gateway项目,并引入zookeeper功能
pom文件配置
            org.springframework.cloud
            spring-cloud-starter-gateway


            org.springframework.boot
            spring-boot-starter-test
            test


            org.springframework.cloud
            spring-cloud-starter-zookeeper-discovery


                    org.apache.zookeeper
                    zookeeper


            org.apache.zookeeper
            zookeeper
            3.8.0


                org.springframework.cloud
                spring-cloud-dependencies
                ${spring-cloud.version}
                pom
                import
创建好项目后,启动类要启用服务发现功能
@EnableDiscoveryClient
@SpringBootApplication
@EnableDiscoveryClient
public class GatewayApplication {

    public static void main(String[] args) {
        SpringApplication.run(GatewayApplication.class, args);
    }

}
为了方便配置,将application.properties改成yml
以下是第一部分配置,8080端口会与zookeeper服务冲突,二选一调整端口
server:
  port: 8090
spring:
  application:
    name: rmx-gateway
  cloud:
    zookeeper:
      connect-string: 127.0.0.1:2181
配置完以后,先启动zookeeper服务,再启动gateway项目,一定要有先后顺序(顺序反了,会导致项目无法启动)
当gateway项目启动完成以后,去zookeeper服务里面去查询是否成功接入该项目服务
以下是一种查看服务是否接入的方法
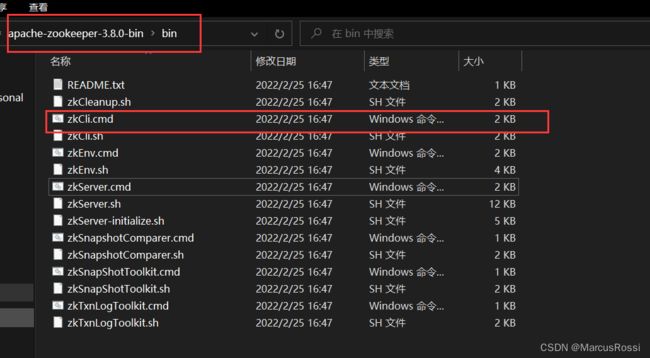
启动zkCli.cmd,这个是client端
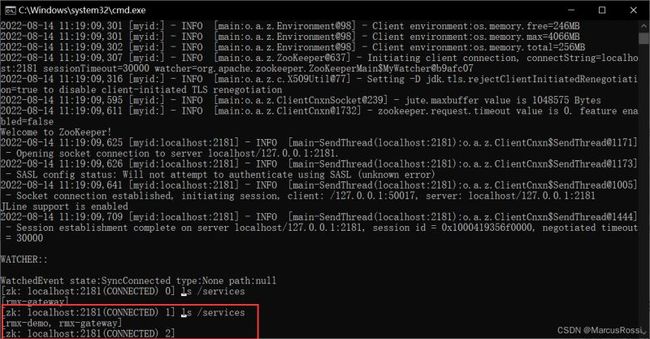
启动后,在控制台输入ls /services,查看到自己的gateway项目名字后,即可确定已经接入了
测试网关功能
这一步我们需要创建个springboot项目,并引入zookeeper服务发现
pom.xml文件
            org.springframework.boot
            spring-boot-starter-web


            org.springframework.cloud
            spring-cloud-starter-zookeeper-discovery
            3.1.2


            org.springframework.boot
            spring-boot-starter-test
            test
先配置测试项目的application
server.port=8091
spring.application.name=rmx-demo
spring.cloud.zookeeper.connect-string=127.0.0.1:2181
配置完以后,试着启动一下,启动完以后顺带进入zookeeper查看服务是否被接入
这时候zookeeper已经可以接入网关和测试项目了,但是网关和测试项目的路由还没有实现,我们需要停掉网关项目,把测试项目配置进入网关
回到网关的application.yml,并在里面加入路由配置
srping.cloud.gateway.routes就是路由的配置,这里使用路径配置,方便测试,Path后面输入对应的controller入口
yml的完整内容
server:
  port: 8090
spring:
  application:
    name: rmx-gateway
  cloud:
    zookeeper:
      connect-string: 127.0.0.1:2181
    gateway:
      routes:
        - id: demo1
          uri: http://localhost:8091
          predicates:
            - Path=/test
在测试项目中写一个测试controller,路径与配置的名称保持一致
@RestController
public class TestController {

    @PostMapping("/test")
    public String post(){
        return "端口接通";
    }
}
两者都弄好后,再将这两个项目启动,然后测试路由是否成功
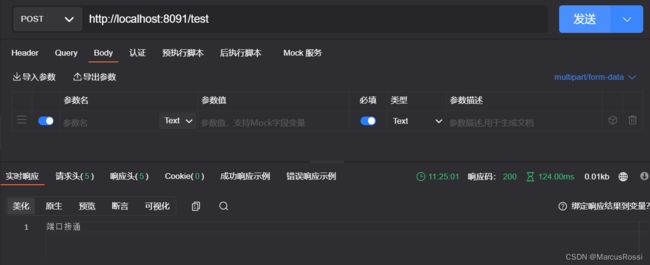
先测试直接用8091测试项目的端口去调用接口
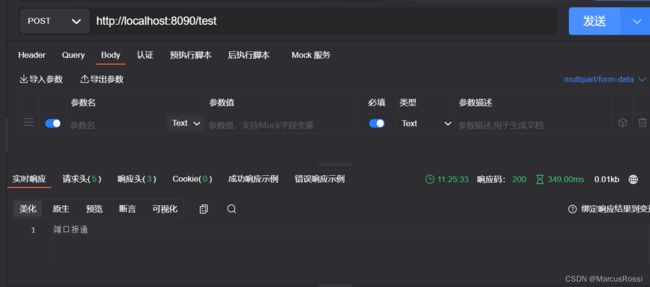
再测试用路由端口8090调用接口,看是否接通
如果都调用成功,则路由实现完成
到此这篇关于SpringCloud gateway+zookeeper实现网关路由的文章就介绍到这了,更多相关SpringCloud gateway zookeeper网关路由内容请搜索脚本之家以前的文章或继续浏览下面的相关文章希望大家以后多多支持脚本之家!

