带你搭一下你的第一个SpringBoot项目
文章目录
- 第一个SpringBoot项目
-
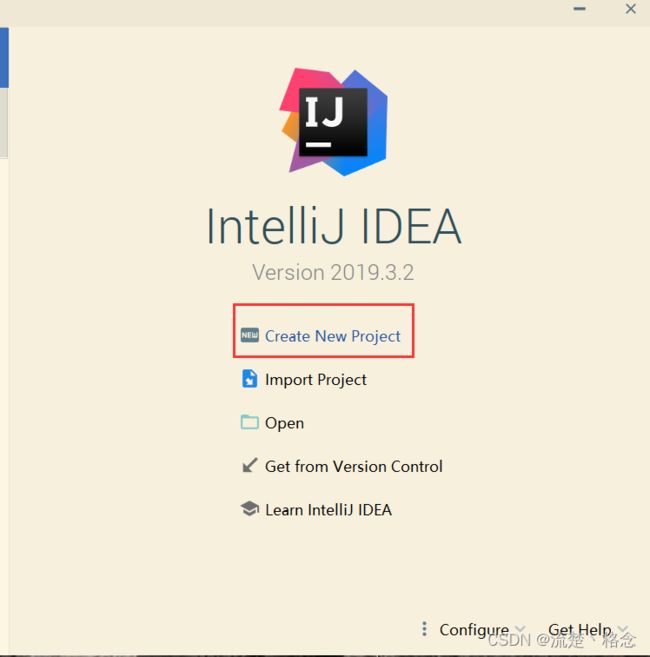
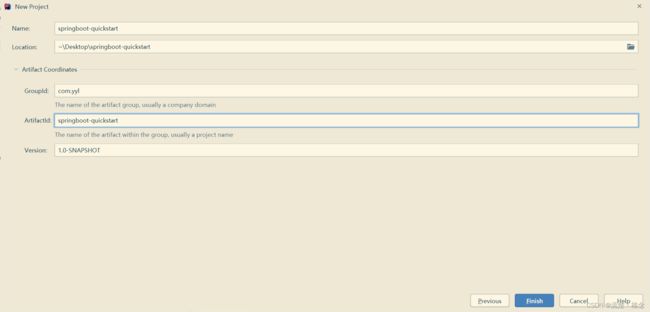
- maven创建SpringBoot工程
-
- 导入依赖
- 创建启动类
- 启动springBoot
- 打包部署
- 引导器快速创建
- 官网下载
看到大家整理、讲解Springboot的时候,都是已“搭建第一个项目”为开始,俺也来凑凑热闹,好像我还真没总结过,话不多说,开打开打
第一个SpringBoot项目
maven创建SpringBoot工程
导入依赖
<parent>
    <groupId>org.springframework.bootgroupId>
    <artifactId>spring-boot-starter-parentartifactId>
    <version>2.6.3version>
<relativePath>relativePath>
parent>

<dependencies>
    <dependency>
        <groupId>org.springframework.bootgroupId>
        <artifactId>spring-boot-starter-webartifactId>
    dependency>
dependencies>

<build>
    <plugins>
        <plugin>
            <groupId>org.springframework.bootgroupId>
            <artifactId>spring-boot-maven-pluginartifactId>
        plugin>
    plugins>
build>
创建启动类
创建启动类
package com.yyl;

import org.springframework.boot.SpringApplication;
import org.springframework.boot.autoconfigure.SpringBootApplication;

@SpringBootApplication
public class QuickStartApplication {
    public static void main(String[] args) {
        SpringApplication.run(QuickStartApplication.class, args);
    }
}
创建controller
创建com.yyl.controller包,在包下创建controller类
package com.yyl.controller;

import org.springframework.stereotype.Controller;
import org.springframework.web.bind.annotation.RequestMapping;
import org.springframework.web.bind.annotation.ResponseBody;

@Controller
public class QuickStartController {

    @RequestMapping("/hello")
    @ResponseBody
    public String hello(){
        return "Hello Spring Boot!";
    }
}
启动springBoot
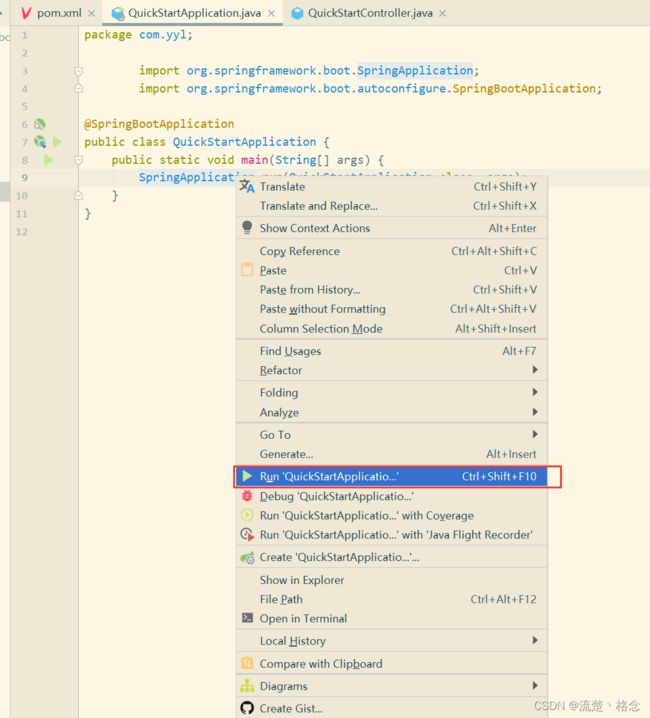
运行启动类的main方法
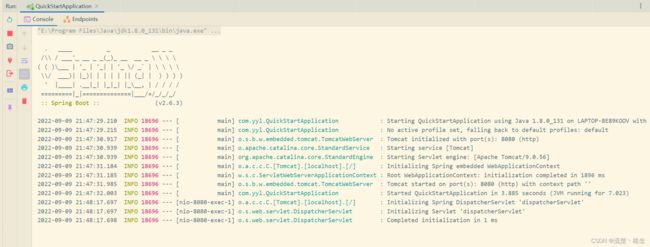
启动成功,端口号8080
我们访问controller
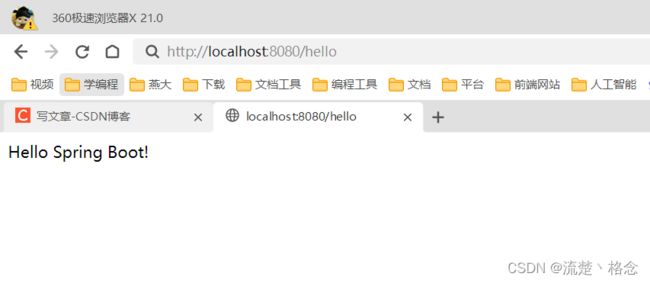
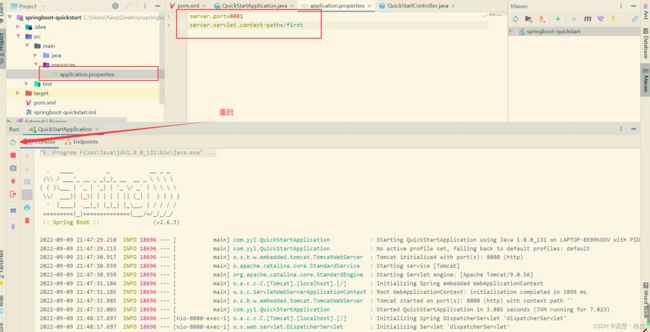
在resources下创建配置文件,application.properties,springboot启动以后,默认读取该配置文件。配置端口号与contextpath(路径前缀)

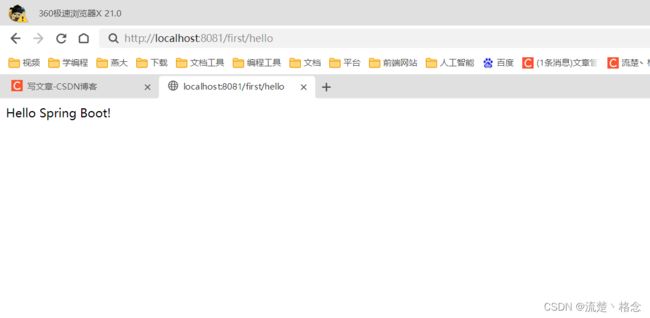
因为端口换到8081了,那么我们换8081,我们发现虽然能访问到服务器,但是服务器没有对应的请求处理,前端报了404
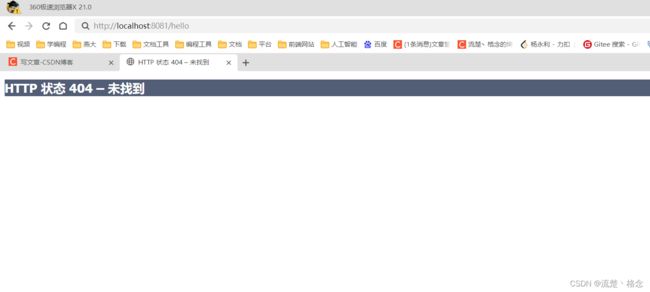
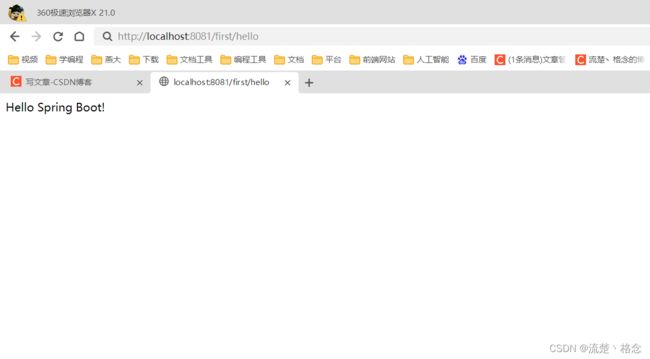
这是因为我们设置了请求前缀,在/hello前加上/first就OK了
打包部署
Springboot工程被打包成jar包,通过package命令打成jar包。
将当前的工程打成jar包,看到BUILD SUCCESS就是打包成功了,jar包放在了target下面。
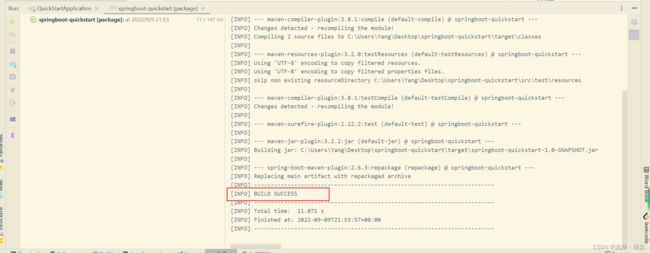
如下jar包位置
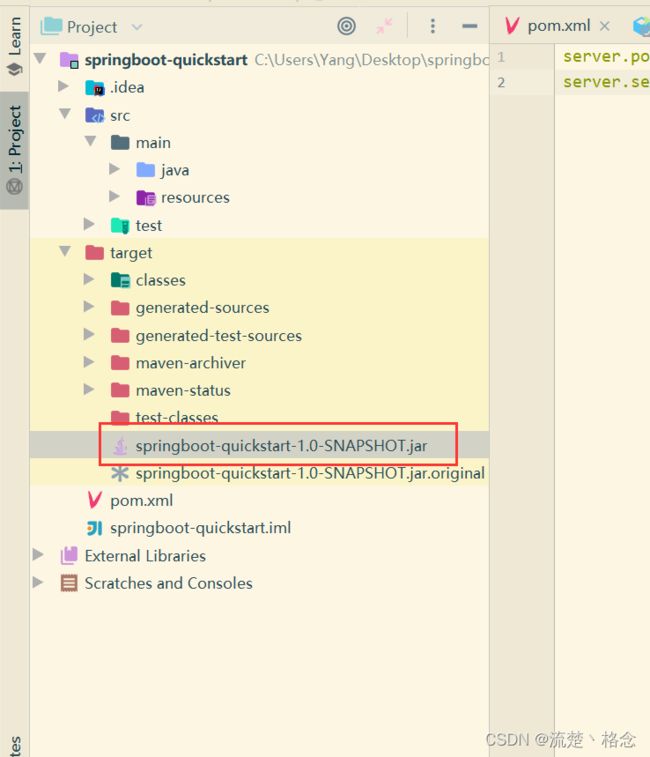
我们可以在文件管理器中查看

如下:

我们可以在当前的路径下打开cmd窗口,运行jar包:
运行格式如下:
java -jar jar包名称
以上就是使用maven快速搭建我们的Springboot项目,下面讲解使用引导器与官网下载
引导器快速创建
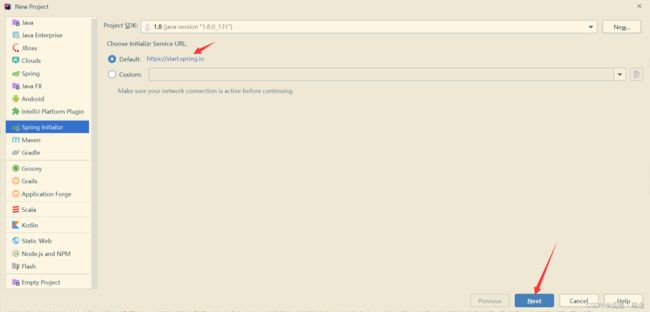
创建project,选择Spring Initliazer,点击next:
PS:如果点击下一步连接失败,可以使用Custom:阿里的镜像服务,选择Custom填入下面网址:
https://start.aliyun.com
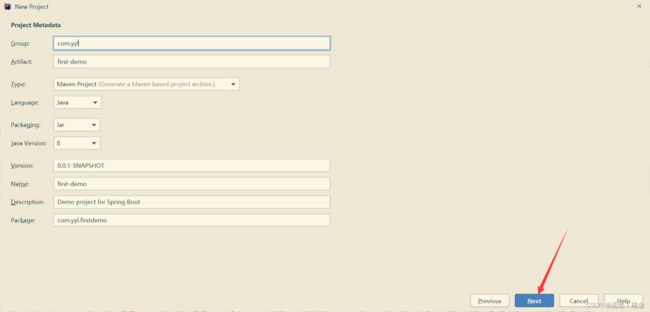
填写group和Artifact,确定打包方式,jdk版本,和package表示的启动类所在的包名,点击next。
选择依赖:创建web工程,只要选择web依赖即可,选择springboot版本,选择当前稳定版本。点击next。

确定module信息以后,点击finish
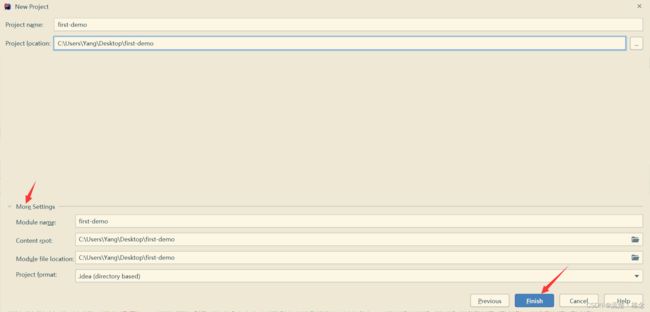
创建工程以后,查看工程的目录结构:

它给我们自动创建了包:com.yyl,并在包下创建了启动类和测试类。
同时在resources下创建了static,templates和springboot的主配置文件application.properties,在启动类启动时,会自动读取主配置文件中的数据。
Springboot内部集成了tomcat,默认端口号8080,可以在主配置文件中指定端口号:
在application.properties中添加如下代码:
# 指定端口号
server.port=8081
# 指定请求前缀
server.servlet.context-path=/second
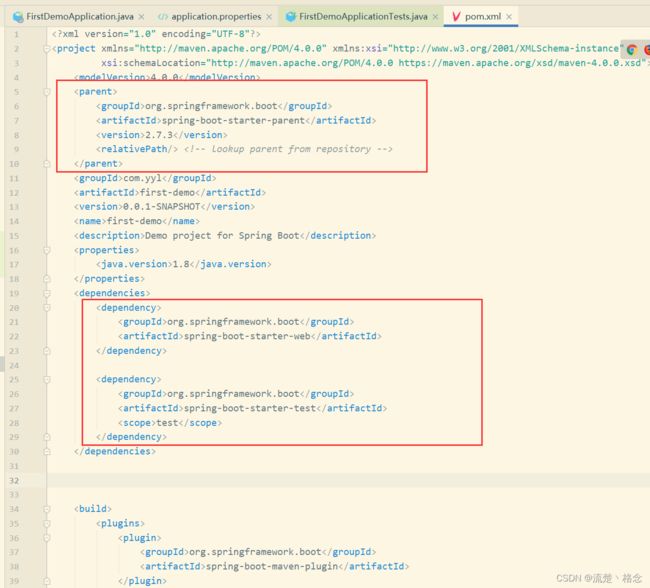
在pom.xml中导入了parent,web依赖和单元测试,以及打包工具。
<project xmlns="http://maven.apache.org/POM/4.0.0" xmlns:xsi="http://www.w3.org/2001/XMLSchema-instance"
         xsi:schemaLocation="http://maven.apache.org/POM/4.0.0 https://maven.apache.org/xsd/maven-4.0.0.xsd">
    <modelVersion>4.0.0modelVersion>
    <parent>
        <groupId>org.springframework.bootgroupId>
        <artifactId>spring-boot-starter-parentartifactId>
        <version>2.7.3version>
        <relativePath/>
    parent>
    <groupId>com.yylgroupId>
    <artifactId>first-demoartifactId>
    <version>0.0.1-SNAPSHOTversion>
    <name>first-demoname>
    <description>Demo project for Spring Bootdescription>
    <properties>
        <java.version>1.8java.version>
    properties>
    <dependencies>
        <dependency>
            <groupId>org.springframework.bootgroupId>
            <artifactId>spring-boot-starter-webartifactId>
        dependency>

        <dependency>
            <groupId>org.springframework.bootgroupId>
            <artifactId>spring-boot-starter-testartifactId>
            <scope>testscope>
        dependency>
    dependencies>


    <build>
        <plugins>
            <plugin>
                <groupId>org.springframework.bootgroupId>
                <artifactId>spring-boot-maven-pluginartifactId>
            plugin>
        plugins>
    build>
project>
启动springboot:此时端口号为8081。
官网下载
我们进入其官网,https://start.spring.io/
