springboot自定义starter实现及原理解析
前言
在看原理之前,我们得先学会怎么用,对吧。
一、自定义starter如何实现
1.1 新建一个springboot工程。
创建过程就不展示了,不会的可以度娘一下。
            <dependency>
                <groupId>org.springframework.boot</groupId>
                <artifactId>spring-boot-autoconfigure</artifactId>
            </dependency>
            <dependency>
                <groupId>org.springframework.boot</groupId>
                <artifactId>spring-boot-configuration-processor</artifactId>
                <optional>true</optional>
            </dependency>
这两个依赖是一定要加的springboot需要用到。
1.2 新建要被扫描进spring的bean
@Configuration
public class SpringbootConfig {

    @Bean("HelloService")
    @ConditionalOnMissingBean
    // 找不到HelloService bean的时候通过该方法,初始化bean
    HelloService startService() {
        return new HelloServiceImpl();
    }
}
1.3 写好接口及实现类
package com.test.demo.service;

public interface HelloService {
    public void sayHello();
}
package com.test.demo.service.impl;

import com.test.demo.service.HelloService;

public class HelloServiceImpl implements HelloService {

    @Override
    public void sayHello() {
        System.out.println("hello my name is AAA");
    }
}
1.4 配置需要初始化bean的位置
org.springframework.boot.autoconfigure.EnableAutoConfiguration=\
  com.test.demo.SpringbootConfig
1.5 修改原来springboot的打包配置
// 这里是指定生成的jar包部署到本地仓库,这样你新工程依赖的时候就可以直接
//通过《dependency》的方式依赖进来,如果是线上就deploy到仓库就行了。
    <distributionManagement>
        <repository>
            <id>localRepository</id>
            <url>file:E:\ecplise\maven-repository</url>
        </repository>
    </distributionManagement>
    <build>
        <plugins>
        //不要springboot本身的打包方式,如果按照这个方式打包里面的类在新工程无法识别出来
<!--            <plugin>-->
<!--                <groupId>org.springframework.boot</groupId>-->
<!--                <artifactId>spring-boot-maven-plugin</artifactId>-->
<!--            </plugin>-->
        </plugins>

    </build>
1.6 打包到本地仓库
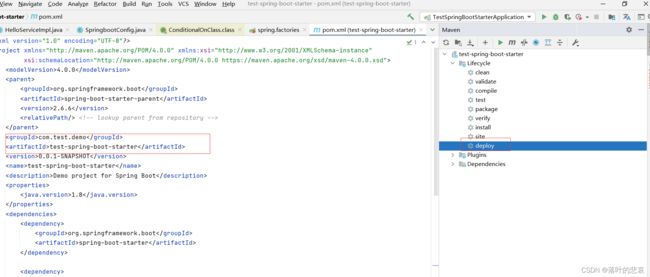
这里要注意着两个groupid和arttifactid的指定,新工程用这个来引进依赖。
1.7 再建一个springboot工程,把刚刚的starter包给依赖进来。
        <dependency>
            <groupId>com.test.demo</groupId>
            <artifactId>test-spring-boot-starter</artifactId>
            <version>0.0.1-SNAPSHOT</version>
        </dependency>
1.8 执行调用,看结果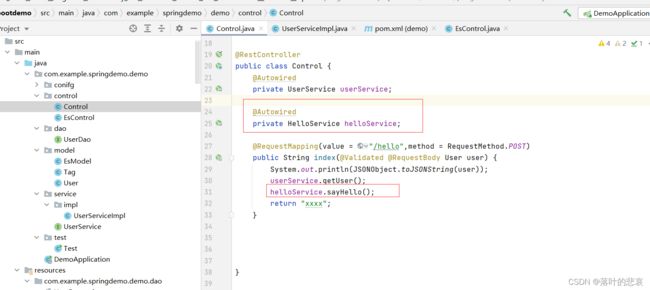

至此,我们就已经完成了一个starter的构建,这个starter的构建还是挺简单的。
二、源码解析
2.1 加载配置类
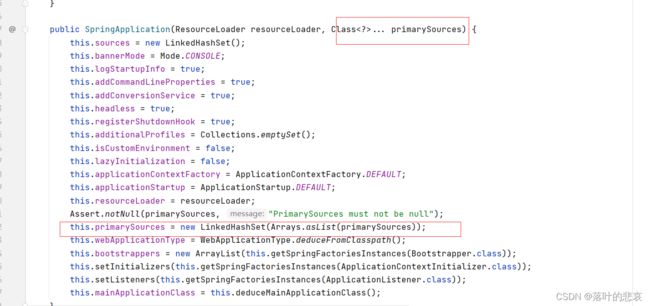
第一步先把springboot的主配置类传入SpringApplication中,并且传入上下文。

2.2 进入run方法,
进入preparecontext,这里完成对main函数类beandefinition的加载。
这里的getAllresource就是刚刚setprimaryresource的地方,就是从这里
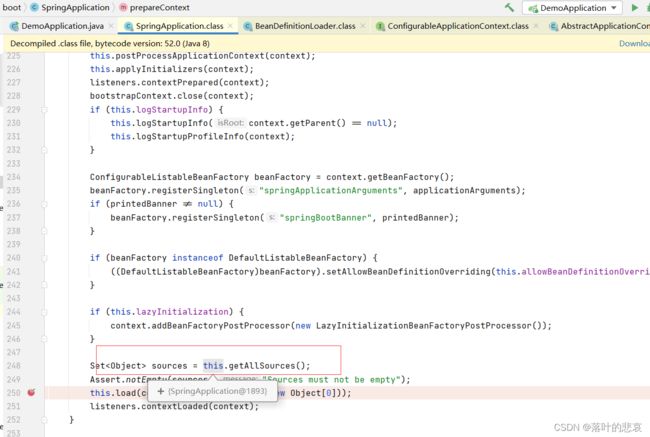
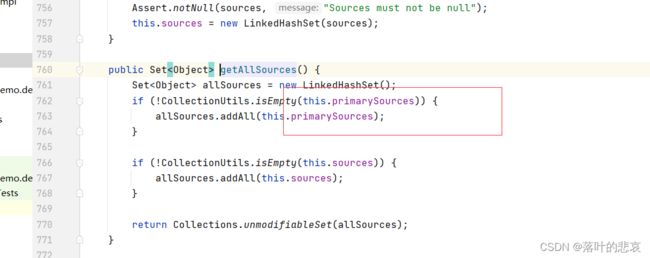
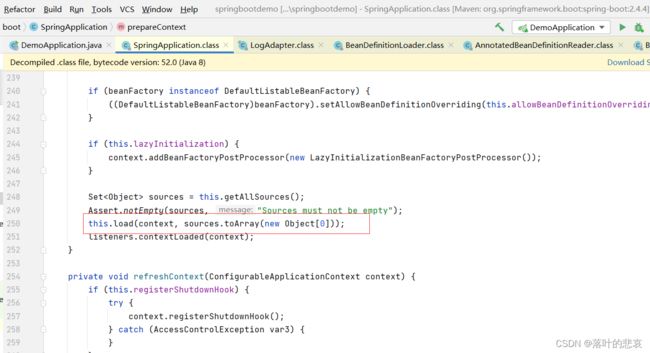
然后委托BeanDefinitionLoader 对主配置类进行加beandefinition,也就是加入beanfactory中的beanDefinitionMap,以便后面进行解析。
2.3 refresh 方法。
其实从这里开始,对于starter部分功能的实现大部分就是spring对外扩展实现的功能了,如果对spring源码很了解的看到这里就已经明白了starter是怎么完成工作了的。
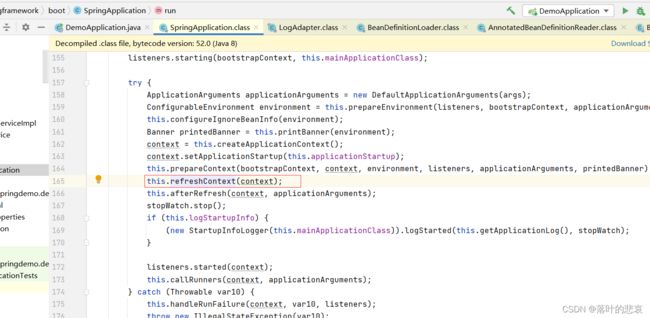
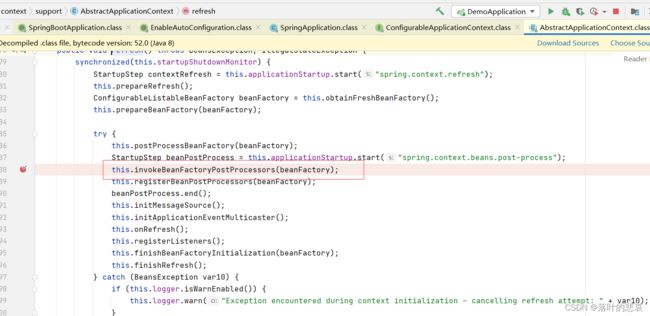
一直点进去,点入到最后这个方法,这个方法里面实现了对主配置类的解析,包括@SpringBootConfiguration @EnableAutoConfiguration
@ComponentScan 这些配置的解析,还有@Import({AutoConfigurationImportSelector.class})的解析,也就是把这个AutoConfigurationImportSelector 解析成了bean,在特定地方调用这个类,去完成spring.factories里面配置的解析,生成bean,最终完成自动配置原理。

进入到这里使用ConfigurationClassPostProcessor 这个类实现了BeanDefinitionRegistryPostProcessor接口对配置类进行解析。
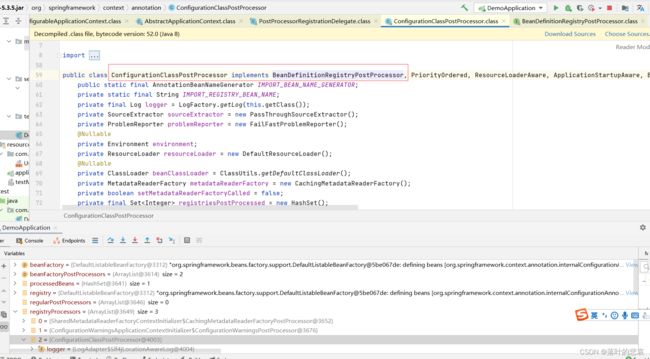

进入该方法
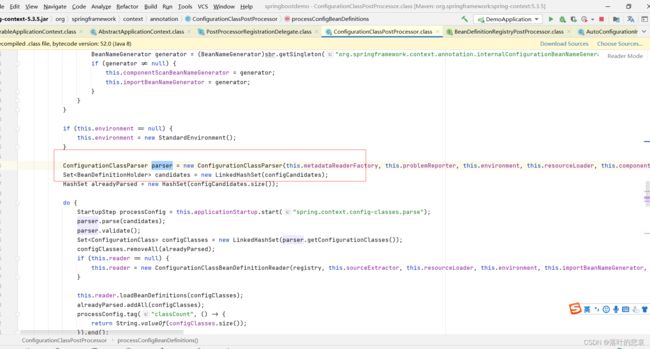
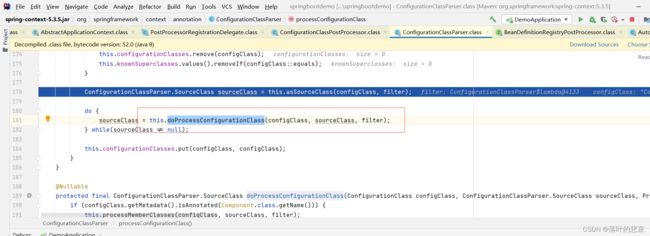
使用ConfigurationClassParser解析。继续深入解析配置类。
重点来了,就是在这里对@import注解进行了处理
AutoConfigurationImportSelector 把这个类解析出来了
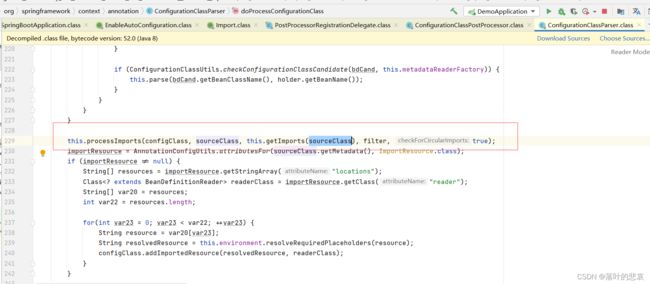
继续往下走,解析出来后把他加入到deferredImportSelectors中

然后退回上一步,就在下面去proces执行刚刚加入的importselector

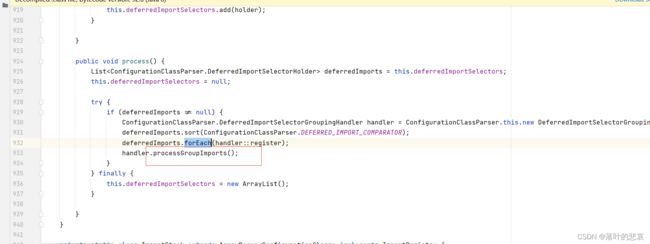
也就是从AutoConfigurationImportSelector ,getImports() 从spring.factories 的 EnableAutoConfiguration 映射配置的提取
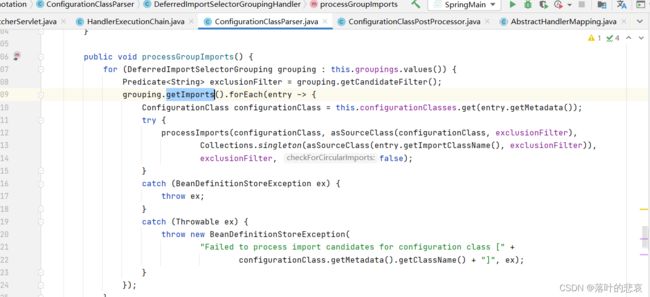
执行processimports

放入配置类中。
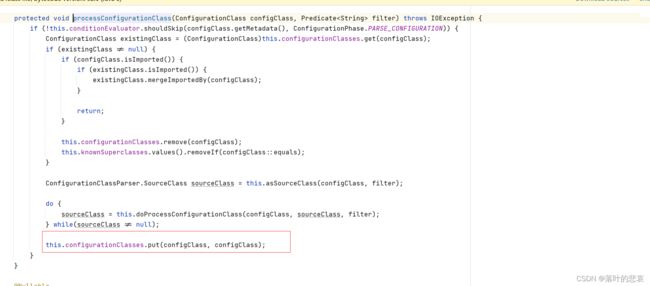
2.4 配置类实例化
接下来就是执行bean的初始化逻辑了,就是,

也就是这里的初始化bean逻辑,完成starter的配置
总结
过程大概是这样子,new SpringApplication 设置webcontext,然后到preparecontext完成对配置类的解析–>解析出@import—》AutoConfigurationImportSelector 解析出spring.factories里面配置的类–》最后交给spring去完成bean的初始化,以上仅供参考,不对的欢迎各位大佬们指出。

