【微信小程序】获取用户信息
文章目录
-
-
- 获取用户信息
-
- 组件open-data
- button组件中的open-type
- 接口getUserProfile
- 查看授权结果
-
获取用户信息
组件open-data
组件 open-data用于展示微信开放的数据。所谓“开放”的数据,就是不需要用户授权就可以显示的数据,如用户的头像、昵称、性别等。
- type,开放数据的类型,有如下合法值,
groupNameuserNickName,用户昵称userAvatarUrl,用户头像userGender,用户性别userCity,用户所在城市userProvince,用户所在省份userCountry,用户所在国家userLanguage,用户的语言
看个小例子。
<open-data type="userAvatarUrl">open-data>
<open-data type="userCountry">open-data>
<open-data type="userLanguage">open-data>
/**index.wxss**/
page{
  display: flex;
  flex-direction: column;
  justify-content: center;
  align-items: center;
}
button组件中的open-type
中的open-type用于提供微信开放能力。open-type有如下合法值:
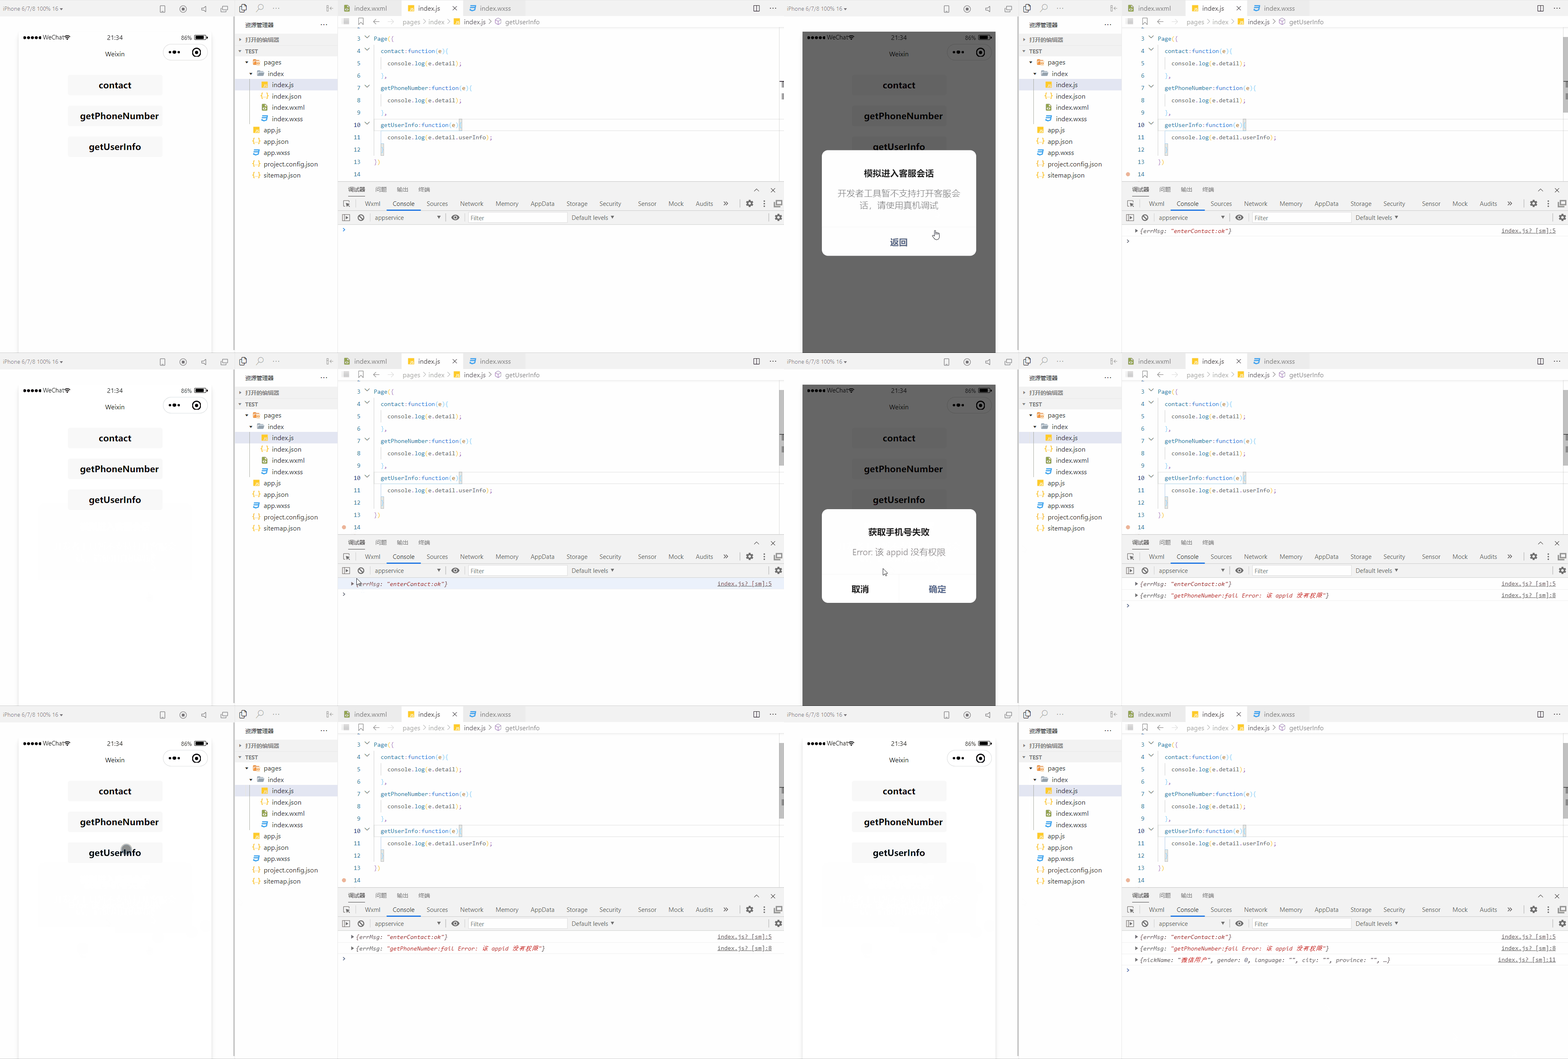
contact,打开客服会话,如果用户在会话中点击消息卡片后返回小程序,可以从bindcontact回调中获得具体信息。share,触发用户转发。getPhoneNumber,获取用户手机号,可以从bindgetphonenumber回调中获取用户信息。getUserInfo,获取用户信息,可以从bindgetuserinfo回调中获取用户信息。launchApp,打开APP。openSetting,打开授权设置页。feedback,打开“意见反馈”页面。
看个小例子。
<button open-type="contact" bindcontact="contact">contact button>
<button open-type="getPhoneNumber" bindgetphonenumber="getPhoneNumber">getPhoneNumberbutton>
<button open-type="getUserInfo" bindgetuserinfo="getUserInfo">getUserInfobutton>
/**index.wxss**/
button{
  margin: 20px 0;
}
// index.js

Page({
  contact:function(e){
    console.log(e.detail);
  },
  getPhoneNumber:function(e){
    console.log(e.detail);
  },
  getUserInfo:function(e){
    console.log(e.detail.userInfo);
  }
})

在小程序中,获取用户信息有两种方式,
第一种:使用组件open-data,它不需要用户授权,就可以显示用户的头像、昵称、性别等信息;
第二种:使用单击按钮,提示用户授权,用户授权同意后才可以获取用户信息。
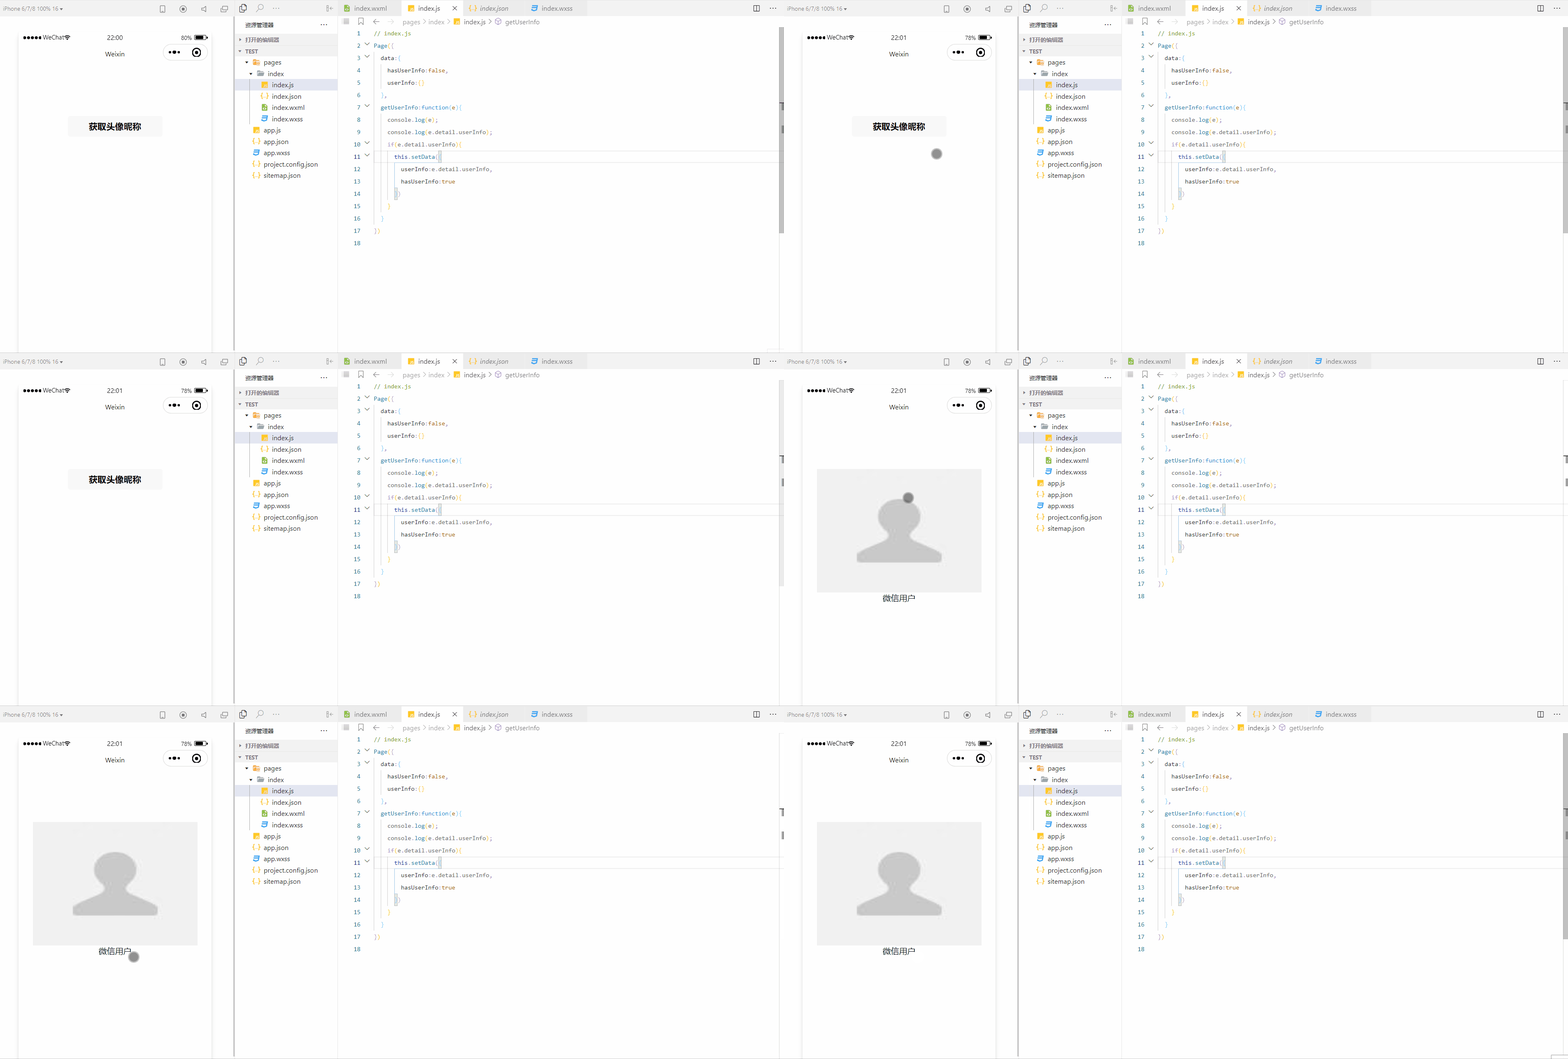
第一种方法很简单,我们继续看第二种方法。
<view class="container">
  <button wx:if="{{!hasUserInfo}}" open-type="getUserInfo" bindgetuserinfo="getUserInfo">获取头像昵称button>
  <view class="userinfo" wx:else>
    <image src="{{userInfo.avatarUrl}}">image>
    <text>{{userInfo.nickName}}text>
  view>
view>
/**index.wxss**/
.userinfo{
  display: flex;
  flex-direction: column;
  align-items: center;
  justify-content: center;
}
// index.js
Page({
  data:{
    hasUserInfo:false,
    userInfo:{}
  },
  getUserInfo:function(e){
    console.log(e);
    console.log(e.detail.userInfo);
    if(e.detail.userInfo){
      this.setData({
        userInfo:e.detail.userInfo,
        hasUserInfo:true
      })
    }
  }
})

可以看到, getUserInfo几乎没有给出用户信息。这是因为自2021年4月13日起,getUserInfo将不再弹出弹窗,并直接返回匿名的用户个人信息,详见微信官方公告。
当然了,微信提供getUserProfile()来替代getUserInfo()。
接口getUserProfile
接口getUserProfile用来替换getUserInfo,以获取用户信息。
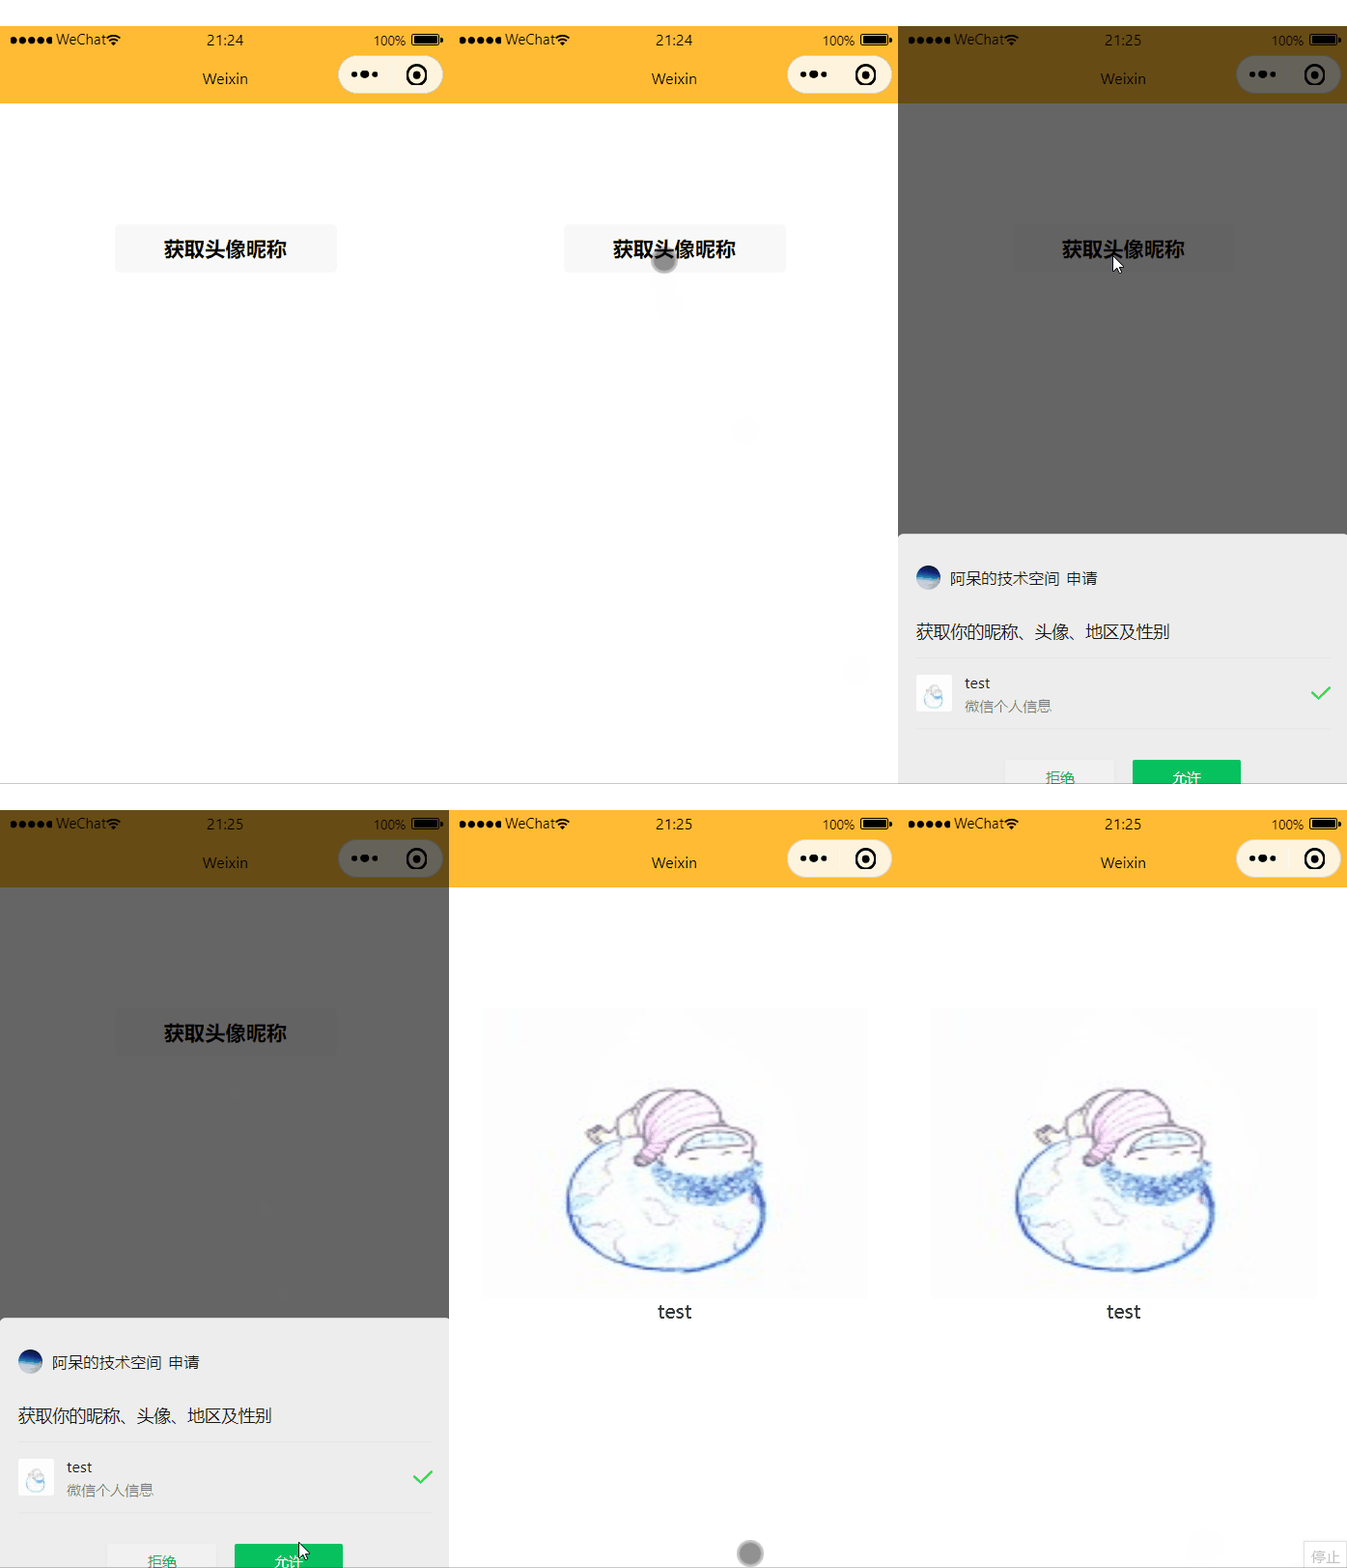
页面产生点击事件(比如,button上bindtap的回调中)后才可调用,每次请求都会弹出授权窗口,用户同意后返回userInfo,详见下面的例子。
<view class="container">
  <button wx:if="{{!hasUserInfo}}" bindtap="getUserProfile">获取头像昵称button>
  <view class="userinfo">
    <image src="{{userInfo.avatarUrl}}">image>
    <view>{{userInfo.nickName}}view>
  view>
view>
/**index.wxss**/
.userinfo{
  display: flex;
  flex-direction: column;
  align-items: center;
  justify-content: center;
}
// index.js
Page({
  data:{
    hasUserInfo:false,
    userInfo:{}
  },
  getUserProfile:function(){
    wx.getUserProfile({
      desc: '获取用户信息',
      success:(res) => {
        console.log(res.userInfo);
        this.setData({
          hasUserInfo:true,
          userInfo:res.userInfo
        })
      }
    })
  }
})
注意哈:getUserProfile()里的desc是必填项!!!

另外,getUserProfile()的success回调函数的参数res,它包含如下属性,
- errMsg,错误信息。
- userInfo,用户信息对象,不包含
openid等敏感信息。 - rawData,不包含敏感信息的原始数据字符串,用于计算签名。
- signature,使用sha1(
rawData+session_key)得到字符串,用于校验用户信息。 - encryptedData,包含敏感数据在内的完整用户信息的加密数据。
- iv,加密算法的初始向量。
如果小程序前台需要向小程序后台发送用户信息,可以通过wx.request()来实现。但是,这样的话,存在一个问题:后台无法辨识数据的真伪。如果一个伪装成小程序的客户端向后台发送用户信息,后台就会收到虚假的用户信息。为此,小程序提供了开放数据校验和解密机制,详见小程序官方文档。
查看授权结果
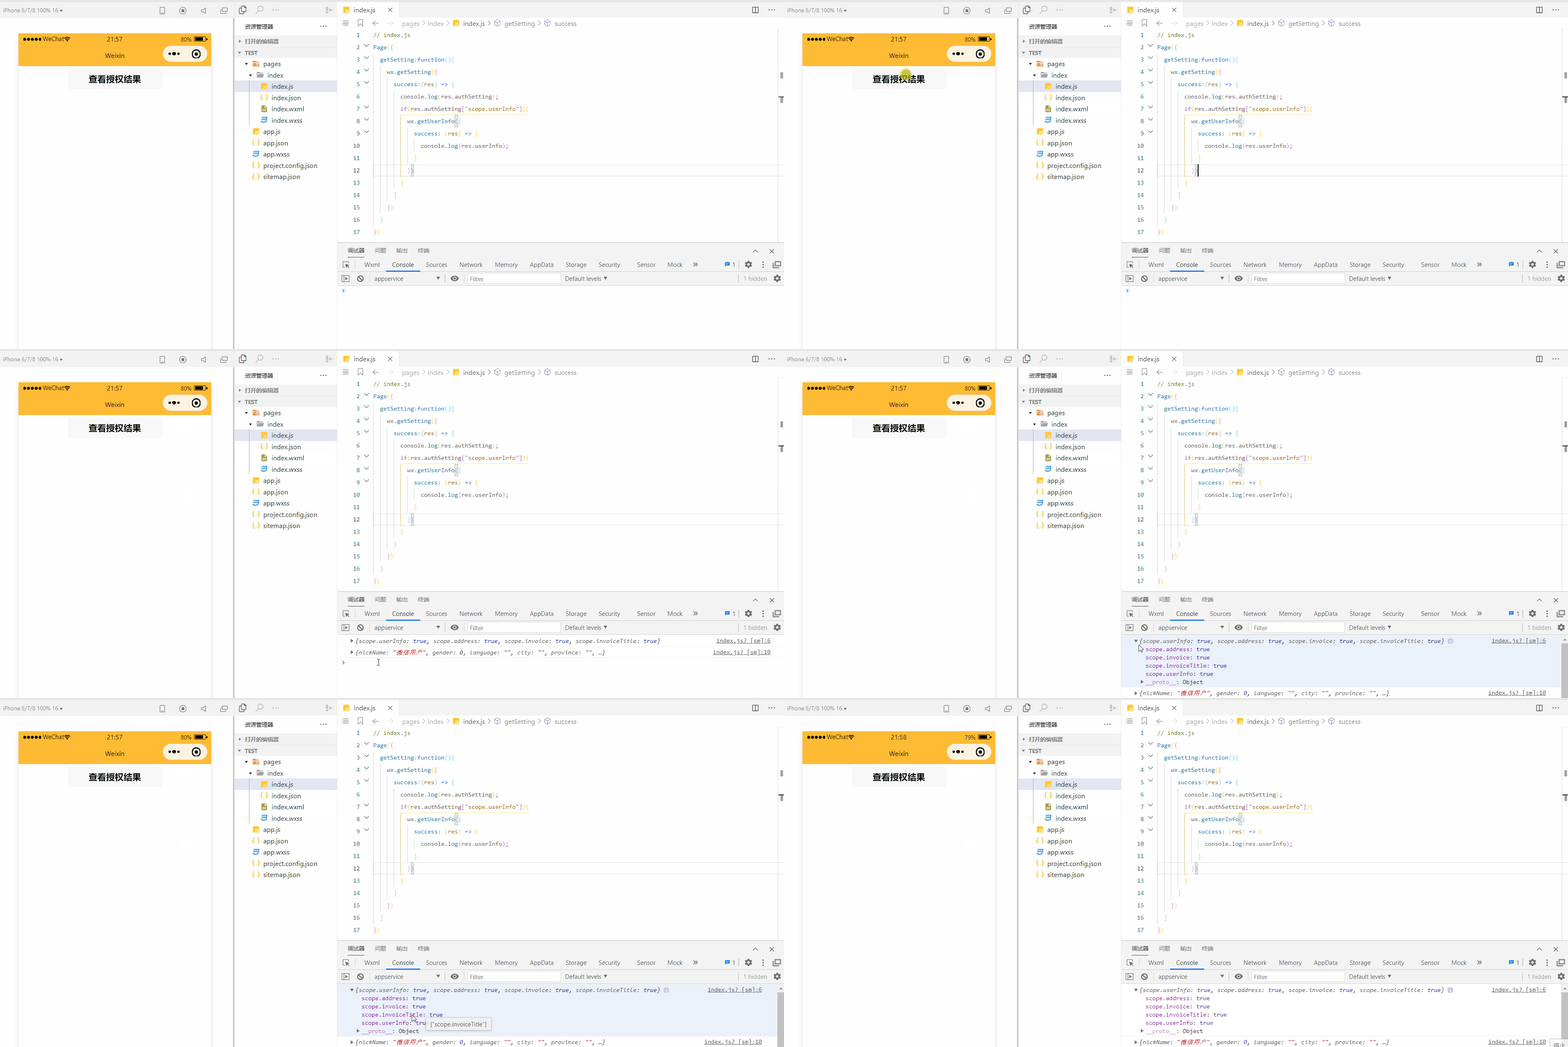
wx.getSetting,获取用户的当前设置。返回值中只会出现小程序已经向用户请求过的权限。看个小例子。
<button bindtap="getSetting">查看授权结果button>
// index.js
Page({
  getSetting:function(){
    wx.getSetting({
      success:(res) => {
        console.log(res.authSetting);
        if(res.authSetting["scope.userInfo"]){
          wx.getUserInfo({
            success: (res) => {
              console.log(res.userInfo);
            }
          })
        }
      }
    })
  }
})
scope.address,通讯地址scope.invoice,发票scope.invoiceTitle,发票抬头scope.userInfo,用户信息
关于授权和权限,更多可以访问这里。

