Docker、Jenkins 结合 SonarQube 和 Sonar scanner 进行代码质量扫描
SonarQube是一个用于管理代码质量的开放平台,可以快速的定位代码中潜在的或者明显的错误。目前支持java,C#,C/C++,Python,PL/SQL,Cobol,JavaScrip,Groovy等二十几种编程语言的代码质量管理与检 测。
官网地址:https://www.sonarqube.org/

如果要使用 sonarQube 需要注意两点:
- SonarQube7.9 以上版本已不再支持 mysql,不过可以使用 oracle 和 postgresql
- SonarQube 对 jdk 也是有要求的,要求 jdk11+,所以这里需要安装 jdk11 以上的
安装 Docker、Jenkins
安装地址:https://blog.csdn.net/wuhuayangs/article/details/125426751?spm=1001.2014.3001.5501
安装 Postgres
1、安装 Postgres
docker pull postgres
2、根据镜像创建容器
docker run --name postgres -d -p 54321:5432 -e POSTGRES_PASSWORD=123456 postgres
- run:创建并运行一个容器
- --name:指定创建的容器的名字
- -e POSTGRES_PASSWORD=password:设置环境变量,指定数据库的登录口令为 password
- -p 54321:5432:端口映射将容器的 5432 端口映射到外部机器的 54321 端口
- -d postgres:指定使用 postgres 作为镜像
3、进入容器
docker exec -it postgres psql -U postgres -d postgres
4、创建数据库
create database sonar;
5、设置 sonar 用户名和密码
create user sonar;
alter user sonar with password 'admin123';
6、给 sonar 授权
alter role sonar createdb;
alter role sonar superuser;
alter role sonar createrole;
7、更改 sonar 数据库拥有者
alter database sonar owner to sonar;
7、 查看数据库
\l
8、查看用户
\du
9、退出容器
exit
10、重启数据库
docker restart f320aced2343(容器id)
安装 SonarQube
1、创建目录并下载 sonar 压缩包
mkdir -p /data/sonar
https://www.sonarqube.org/downloads/
本文选择社区8.9.9版本:sonarqube-8.9.9.56886.zip
2、下载成功后,解压到目录:/data/sonar,并且设置权限
创建目录
mkdir -p /data/sonar
# 安装解压命令
yum install unzip
# 解压 zip 到 /data/sonar 目录下
unzip sonarqube-8.9.9.56886.zip
# 创建在/data/sonar目录下创建 sonarqube 文件夹,
mkdir sonarqube
# 移动
mv sonarqube-8.9.9.56886 sonarqube
# 创建 sonar 用户,必须 sonar 用于启动,否则报错
useradd sonar
# 修改 sonar 目录及文件权限
$ chown -R sonar. /data/sonar
3、修改 sonar 配置文件
使用 sonar 用户操作
su sonar
# 编辑 sonar 配置文件
/data/sonar/sonarqube/sonarqube-8.9.9.56886/conf/sonar.properties
配置如下:
sonar.jdbc.username=sonar
sonar.jdbc.password=admin123
sonar.jdbc.url=jdbc:postgresql://192.168.2.129:54321/sonar?CurrentSchema=public
下载 JDK11
下载地址:https://jdk.java.net/java-se-ri/11
# 解压
tar -zxvf openjdk-11+28_linux-x64_bin.tar.gz
# 拿到 jdk11 的路径,配置到 sonar 中
 /data/jdk11/jdk-11/bin
# 修改 sonarqube 的 wrapper.conf 中的 java 配置
vi /data/sonar/sonarqube/conf/wrapper.conf
把 wrapper.java.command=java 改成 wrapper.java.command=/data/jdk11/jdk-11/bin/java
# 修改 环境变量,添加 SONAR_JAVA_HOME
vim /etc/profile
export SONAR_JAVA_HOME=/data/jdk11/jdk-11
source /etc/profile
启动 sonar
# 使用 sonar 用户启动
su sonar
# 进入到 sonar 启动脚本下
cd /data/sonar/sonarqube/sonarqube-8.9.9.56886/bin/linux-x86-64
# 查看状态
./sonar.sh status
# 启动状态
./sonar.sh start
# 停止状态
./sonar.sh stop
第一个错误:
	at java.base/java.lang.Thread.run(Thread.java:834)

ERROR: [2] bootstrap checks failed. You must address the points described in the following [2] lines before starting Elasticsearch.
bootstrap check failure [1] of [2]: max file descriptors [4096] for elasticsearch process is too low, increase to at least [65535]
bootstrap check failure [2] of [2]: max virtual memory areas vm.max_map_count [65530] is too low, increase to at least [262144]
ERROR: Elasticsearch did not exit normally - check the logs at /data/sonar/sonarqube/sonarqube-8.9.9.56886/logs/sonarqube.log
2022.06.27 13:31:08 WARN  app[][o.s.a.p.AbstractManagedProcess] Process exited with exit value [es]: 78
2022.06.27 13:31:08 INFO  app[][o.s.a.SchedulerImpl] Process[es] is stopped
2022.06.27 13:31:08 INFO  app[][o.s.a.SchedulerImpl] SonarQube is stopped
编辑 vi /etc/security/limits.conf 文件,加入以下内容:
* soft nofile 65536
* hard nofile 65536
编辑 vi /etc/sysctl.conf 文件,加入以下内容:
vm.max_map_count=655360
执行如下命令,并退出当前用户重新登录
sysctl -p
第二个错误:
Caused by: java.lang.IllegalStateException: Can not connect to database. Please check connectivity and settings (see the properties prefixed by 'sonar.jdbc.').
这是因为数据库连接不上或者 database 找不到,检查一下配置 sonar.properties 中的配置
浏览器访问 http://192.168.2.129:9000/,发现访问不到,这是因为防火墙需要开放 9000 端口,阿里云服务器则在安全组配置就行。
firewall-cmd --zone=public --add-port=9000/tcp --permanent
firewall-cmd --reload
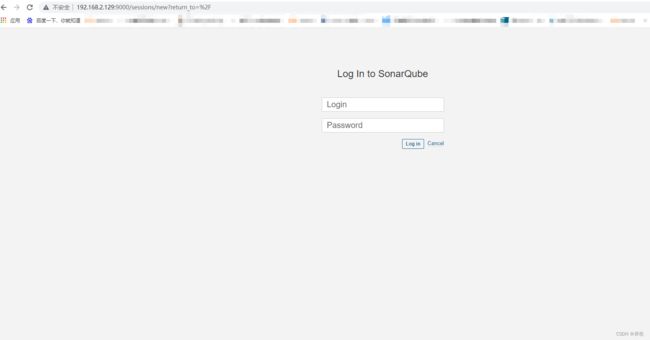
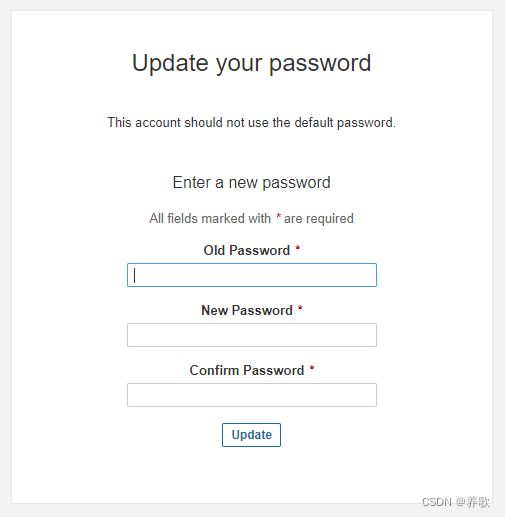
登录默认账户:admin/admin
这里密码我改成 admin123456,还有就是 token 要记下来后面会使用到哦

SonarQube 安装后默认是英文,如果不习惯看英文,可以进行汉化,官方提供了汉化插件

点击 Install 按钮下载安装就好,这里前提是先点击 “I understand the risk” 按钮才能出来 Install 按钮,这里点击太快了没有截图。
安装后会提示重启服务,点击重启服务
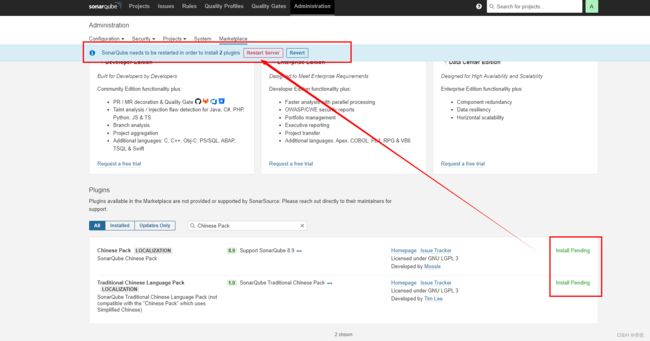
重启完重新登录就变成中文了

jenkins 集成 sonar
1、安装 SonarQube Scanner 插件
在 “系统管理” => “系统设置” 中找到 SonarQube servers

4、进入“系统管理”=>“全局工具配置”中找到“SonarQube Scanner”,目录为安装SonarQube Scanner的目录。

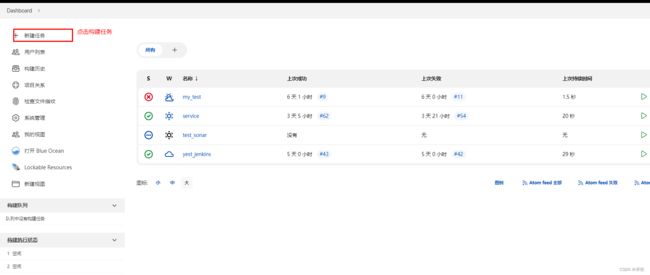
创建构建任务

2、我这里使用以前配置好的项目,关于配置这块大家可以看我们这一篇文章:Docker、Jenkins、Git 自动化部署 SpringBoot 项目(从零到搭建完成)
# must be unique in a given SonarQube instance
sonar.projectKey=web_demo_freestyle
# this is the name and version displayed in the SonarQube UI. Was mandatory prior to SonarQube 6.1.
sonar.projectName=web_demo_freestyle
sonar.projectVersion=1.0

# Path is relative to the sonar-project.properties file. Replace "\" by "/" on Windows.
# This property is optional if sonar.modules is set.
sonar.sources=.
sonar.exclusions=**/test/**,**/target/**
sonar.java.source=1.8
sonar.java.target=1.8

# Encoding of the source code. Default is default system encoding
sonar.sourceEncoding=UTF-8
4、点击立即构建,控制台查看日志

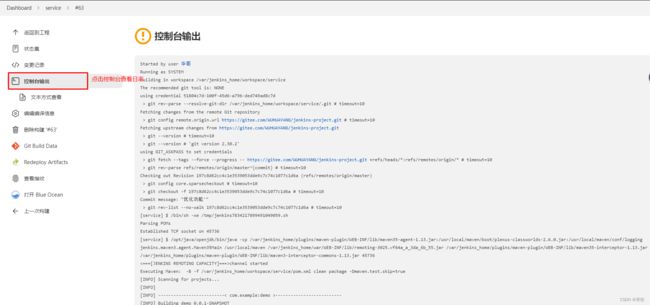
5、如果构建成功,会在 sonarQube 中看到如下页面


再次构建后查看 sonar 报告结果,可以看到错误被检测出来了


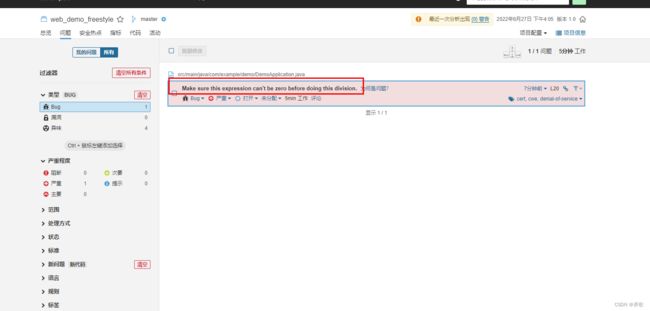

到此为止,我们把 SonarQube 给集成到了 jenkins,还有更多的功能需要大家去慢慢挖掘
