Vite 脚手架 -- 实现后台
基于上文已经搭建完了脚手架,
基于上文学习,开始写后台
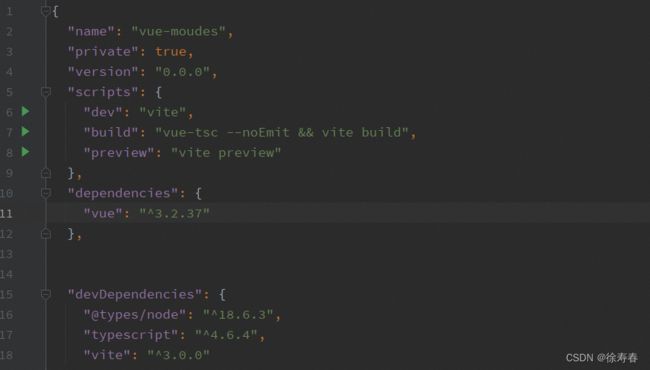
前言,导入依赖包如果遇到导入不进去,alt 加 enter 自动npm install 会自动导入最新的版本,除了必要工具放到dev依赖其他的项目依赖包全部放到 依赖里面
vite.config.ts
配置 @ 等于/src 本地测试路由 admin 重写, 端口 10086 自动打开浏览器,因为是冷部署
   base: '/admin/',

    // 测试端口 10086
    server:{
        port: 10086, // 设置服务启动端口号
        open: true, // 设置服务启动时是否自动打开浏览器
    },


    // 解决原路径
    resolve: {
        alias: {
            '@': fileURLToPath(new URL('./src', import.meta.url))
        }
    }
第一步
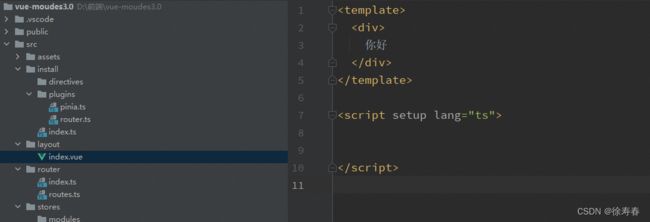
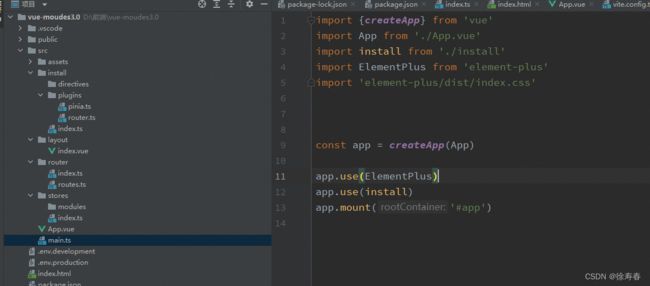
创建install 插件放在这里暴露方法,由app 一次性进行方法注册 预留两个包,一个指令包 directives,一个插件包 plugins
import type {App} from 'vue'

const modules = import.meta.glob('./**/*', {eager: true})

// 安装方法,执行某一类相同操作
function install(app: App<Element>) {
    Object.keys(modules).forEach((key) => {
        const name = key.replace(/(.*\/)*([^.]+).*/gi, '$2')
        const type = key.replace(/^\.\/([\w-]+).*/gi, '$1')
        const module: any = modules[key]
        if (module.default) {
            switch (type) {
                // 用于注册全局指令
                case 'directives':
                    app.directive(name, module.default)
                    break
                // 使用插件
                case 'plugins':
                    if (typeof module.default === 'function') {

                        module.default(app)
                    }
                    break
            }
        }
    })
}

export default install
创建包
第二步 配置router
创建一个src下面的views 用于后期组件写在这里方便路由扫描
创建一个router文件用于公共组件包,异常403等返回抛出。其他的路由跟用户绑定权限
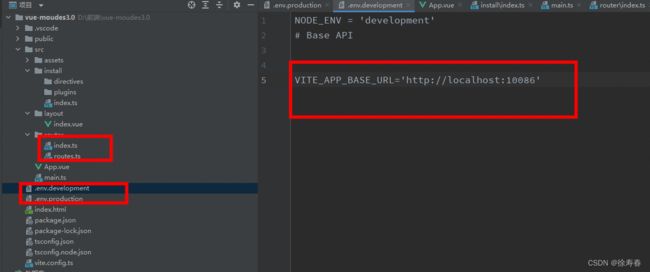
创建两个环境文件,用来 import.meta.env.BASE_URL 统一管理路由
import {createRouter, createWebHistory, RouterView, type RouteRecordRaw} from 'vue-router'
import {constantRoutes} from "@/router/routes";


// 匹配views里面所有的.vue文件,动态引入
const modules = import.meta.glob('/src/views/**/*.vue')


const router = createRouter({
    history: createWebHistory(import.meta.env.BASE_URL),
    routes: constantRoutes
})

export default router
/**
   routes.ts
 * 路由常量配置
 *
 */
import type { RouteRecordRaw } from 'vue-router'
import Layout from '@/layout/index.vue'

export const INDEX_ROUTE_NAME = Symbol()
export const indexRoute: RouteRecordRaw = {
    path: '/',
    component: Layout,
    name: INDEX_ROUTE_NAME
}


/**
 * 暴露公共路由
 */
export const constantRoutes: Array<RouteRecordRaw> = [
    indexRoute
]
第三步创建仓库pinia,方便后期缓存使用交互。
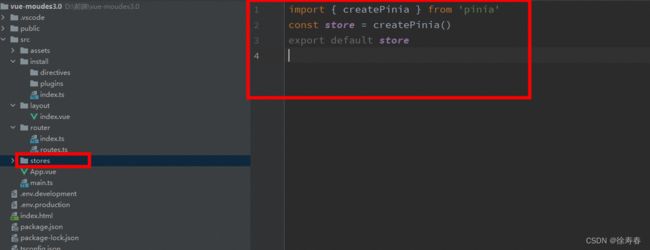
创建 stores 仓库 定义index
import { createPinia } from 'pinia'
const store = createPinia()
export default store
由于后面可能涉及到用户信息仓库,用户权限管理员等路由配置等所以 在stores 里面先建立一个modules包
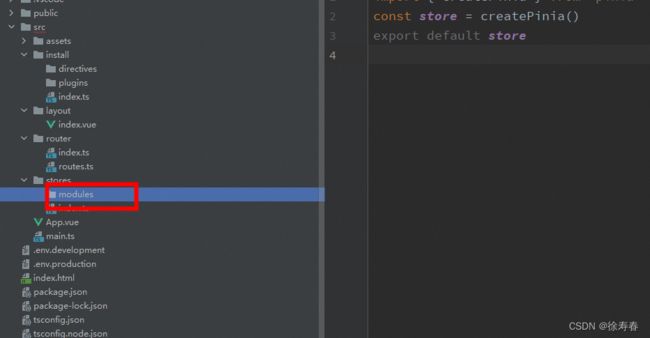
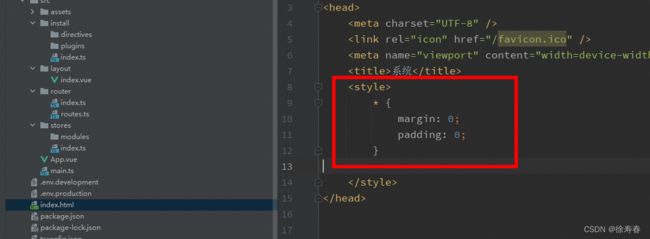
目前项目已经有了 路由,和本地仓库 对index.html 进行全局配置
DOCTYPE html>
<html lang="en">
<head>
    <meta charset="UTF-8" />
    <link rel="icon" href="/favicon.ico" />
    <meta name="viewport" content="width=device-width, initial-scale=1.0" />
    <title>系统title>
    <style>
        * {
            margin: 0;
            padding: 0;
        }

    style>
head>


<body>
<div id="app">

div>
<script type="module" src="/src/main.ts">script>
body>
html>
第四步,将插件放到 install里面的插件包里面进行抛出。后续自动注册就不在赘述这种重复操作
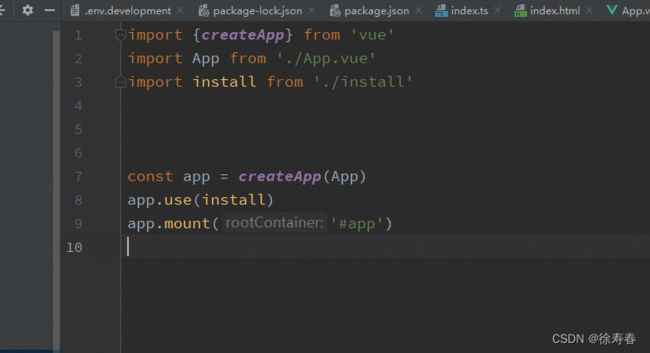
挂载的APP 进行路由自动切换
确保 html 没有 margin padding 边框
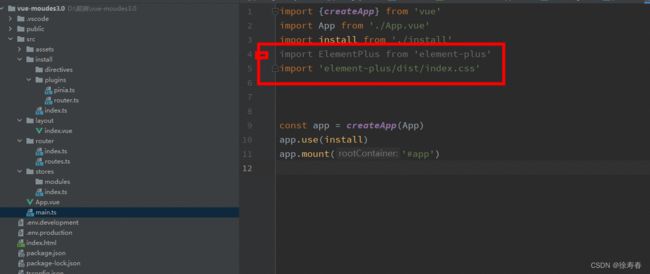
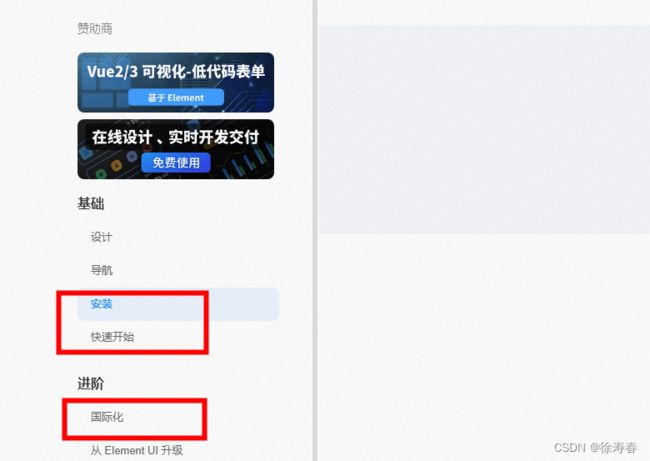
第五步, 使用element-pluse 进行首页编辑
按照文档 使用布局或者自定义
<template>
  <div>
    <div>
      sideba 头
    div>

    <div>

      <div>
        navbar 侧边
      div>

      <div>
        main 主要展示取域
      div>

      <div>
        配置
      div>

    div>
  div>
template>

<script setup lang="ts">


script>
由于main 页面需要 滚动条,
所以需要再加一个 引用
el-scrollbar使用
安装 css tailwindcss 组件
官网连接:tailwindCss 官网
使用插件安装,安装文档配置
// postcss.config.js
module.exports = {
  plugins: {
    tailwindcss: {},
    autoprefixer: {},
  }
}
按要求创建postcss 运行 npx tailwindcss init
会自动 Created Tailwind CSS config file: tailwind.config.js 关于自定义配置 参考文档 taiwindCssConfigDetail
依赖于Error: Loading PostCSS Plugin failed: Cannot find module ‘autoprefixer’
autoprefixer 可以实现css3代码自动补全。也可以轻松跟Sass,LESS及Stylus集成,在CSS编译前或编译后运行。
Autoprefixer 同样会清理过期的前缀
下载
npm install -D postcss-loader autoprefixer postcss
创建头 侧边栏 main
