win10平台下将PyTorch模型转成ncnn模型
目录
-
- 1 总体流程
- 2 环境配置
-
- 2.1 软件安装
- 2.2 protobuf编译
- 2.3 ncnn编译
- 2.3 VS2019配置
- 3 模型转换
-
- 3.1 pytorch模型转onnx模型
- 3.2 简化onnx模型
- 3.3 onnx模型转ncnn模型
1 总体流程
按照官方模型转换示例:use-ncnn-with-pytorch-or-onnx,首先将pytorch模型转为onnx模型,接着使用onnx-simplifier工具简化onnx模型,最后将onnx模型转为ncnn模型
2 环境配置
2.1 软件安装
- Visual Studio 2019
- CMake3.21.3
用户变量中添加环境变量
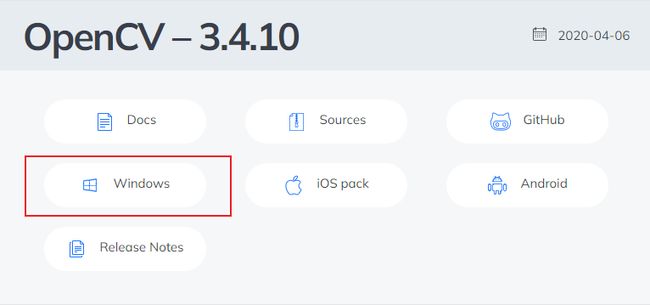
- OpenCV3.4.10
用户变量中配置下环境变量
2.2 protobuf编译
protobuf3.4.0下载后解压到指定文件夹:D:\ncnnby
以管理员身份打开VS2019的本地工具命令提示符x64 Native Tools Command Prompt for VS 2019,构建protobuf
依次输入以下指令
cd
mkdir build-vs2019
cd build-vs2019
cmake -G"NMake Makefiles" -DCMAKE_BUILD_TYPE=Release -DCMAKE_INSTALL_PREFIX=%cd%/install -Dprotobuf_BUILD_TESTS=OFF -Dprotobuf_MSVC_STATIC_RUNTIME=OFF ../cmake
nmake
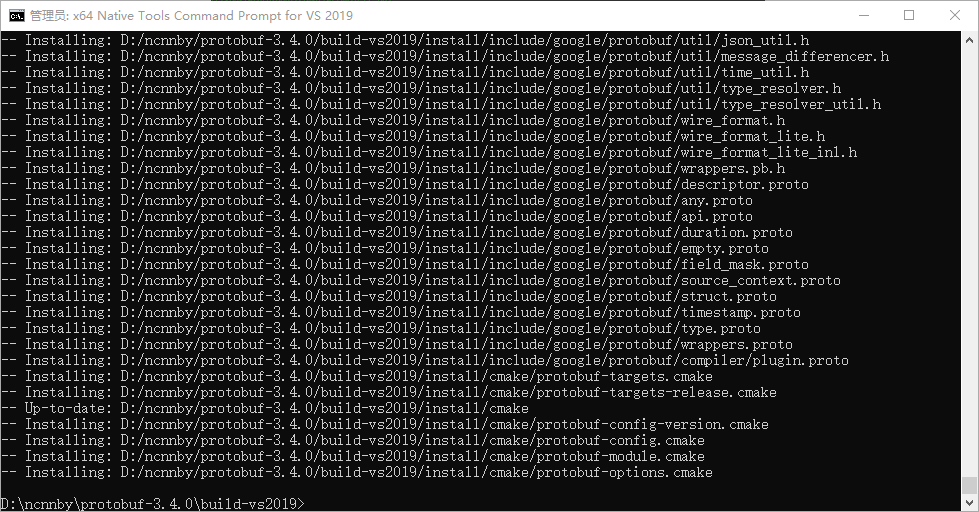
nmake install
开始编译
nmake
nmake install
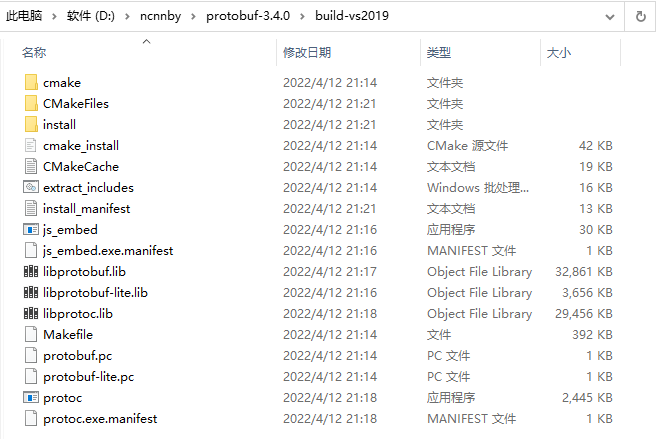
得到所需文件
2.3 ncnn编译
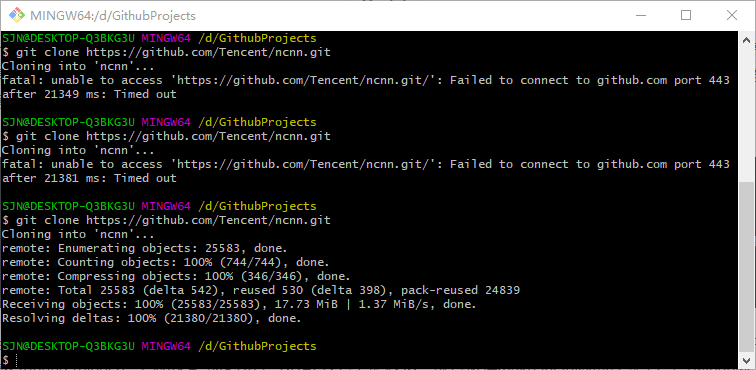
跳过下载Vulkan SDK,不使用GPU推理;使用Git Bash下载ncnn
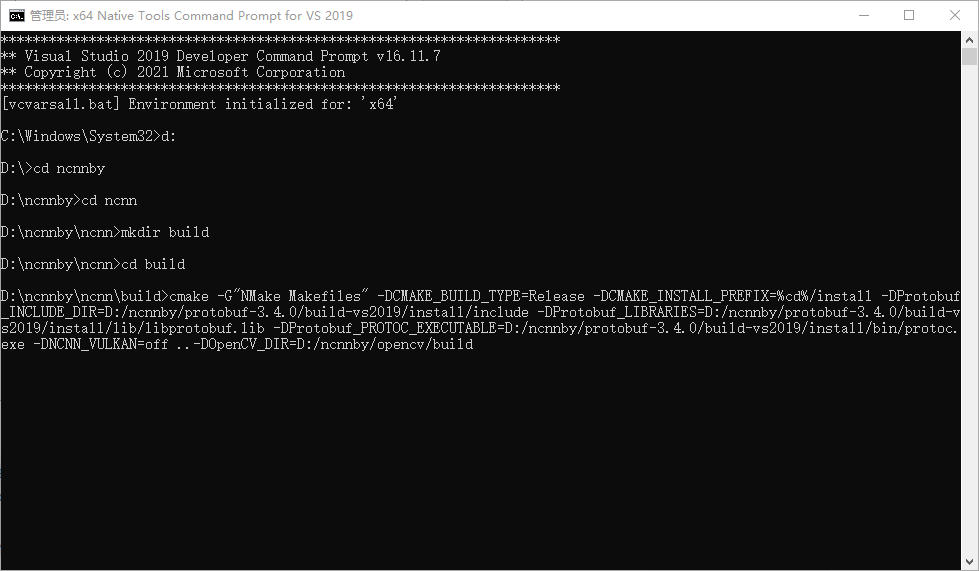
以管理员身份打开VS2019的本地工具命令提示符x64 Native Tools Command Prompt for VS 2019,构建ncnn
依次输入以下指令
cd
mkdir build
cd build
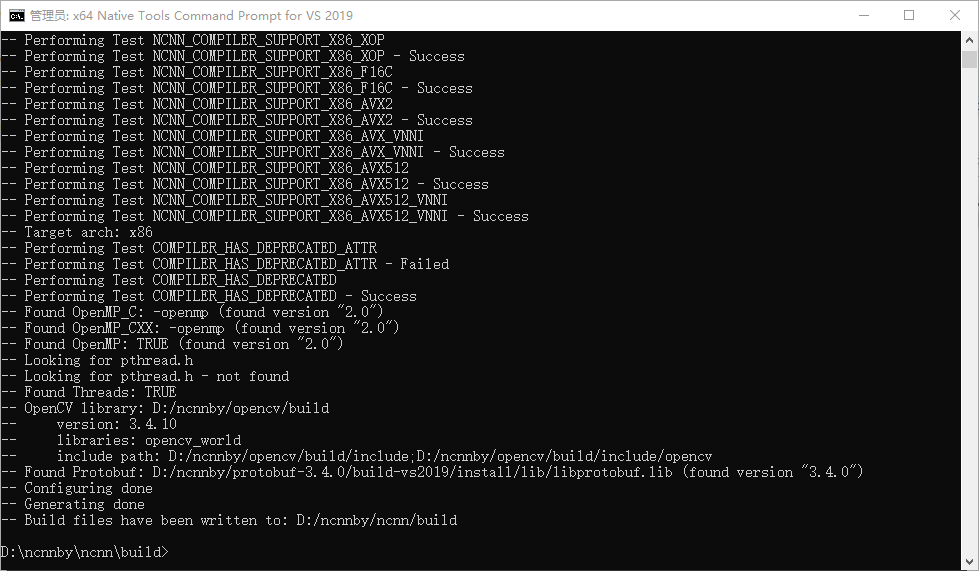
cmake -G"NMake Makefiles" -DCMAKE_BUILD_TYPE=Release -DCMAKE_INSTALL_PREFIX=%cd%/install -DProtobuf_INCLUDE_DIR=D:/ncnnby/protobuf-3.4.0/build-vs2019/install/include -DProtobuf_LIBRARIES=D:/ncnnby/protobuf-3.4.0/build-vs2019/install/lib/libprotobuf.lib -DProtobuf_PROTOC_EXECUTABLE=D:/ncnnby/protobuf-3.4.0/build-vs2019/install/bin/protoc.exe -DNCNN_VULKAN=off -DOpenCV_DIR=D:/ncnnby/opencv/build ..
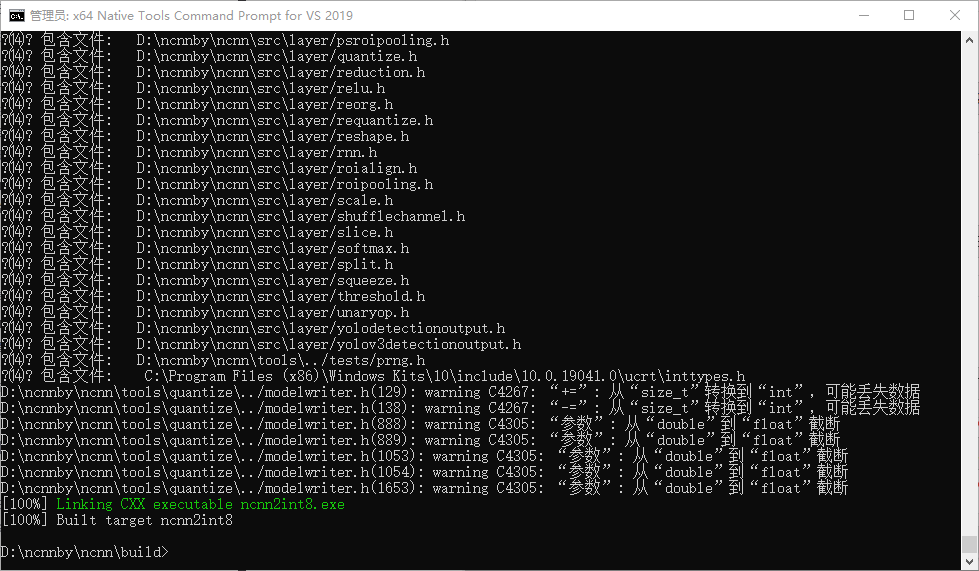
nmake
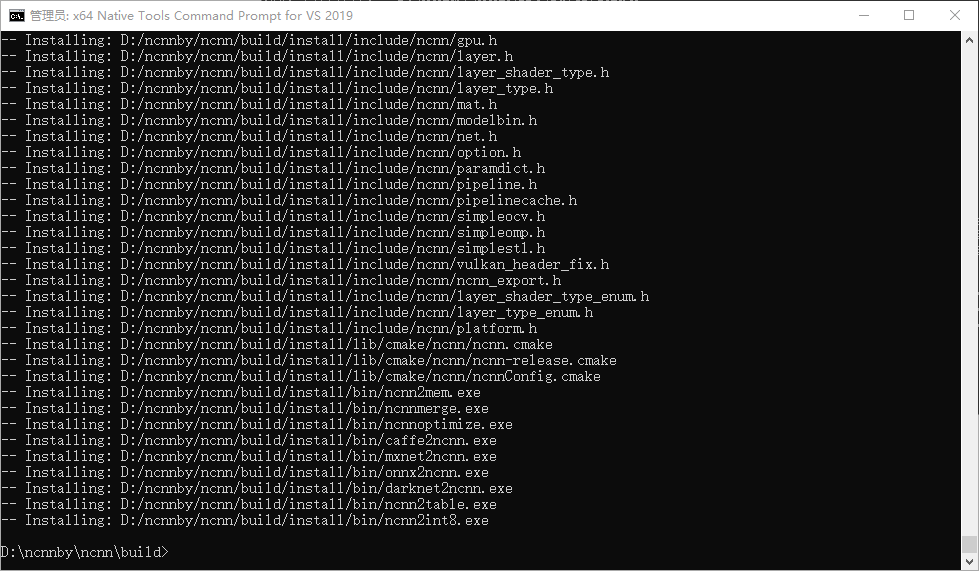
nmake install
注意:把cmake命令下DProtobuf开头命令的路径改成自己protobuf所在路径
nmake
nmake install
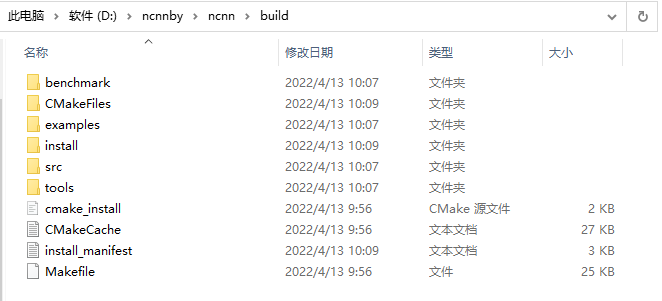
得到所需文件
至此,软件都已编译好
2.3 VS2019配置
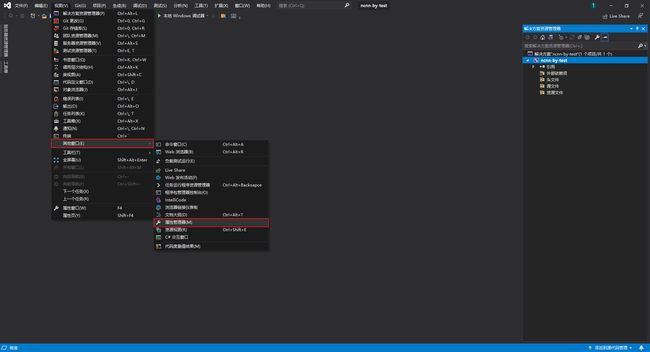
新建VS2019工程,视图 → \to →其他窗口 → \to →属性管理器
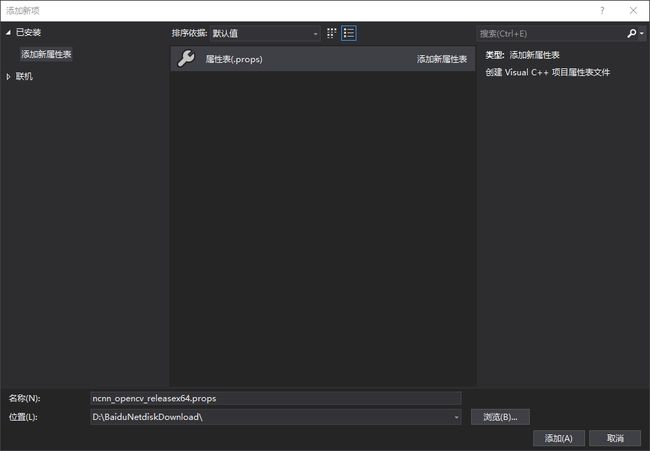
右击Releaase x64,选择添加新项目属性表
命名属性表,并保存
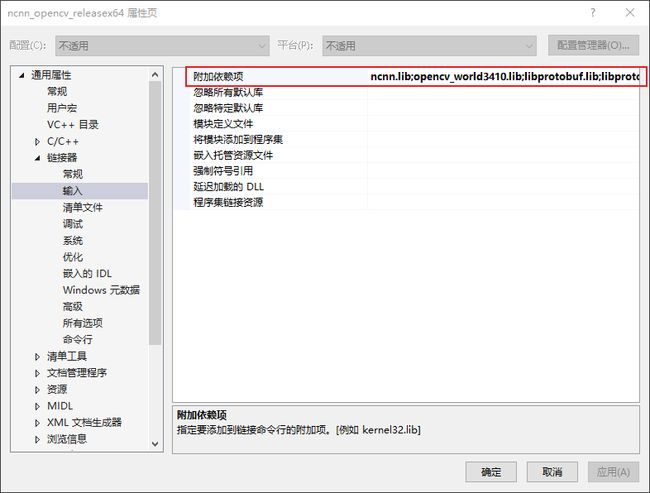
双击打开属性页开始编辑,出现如下页面
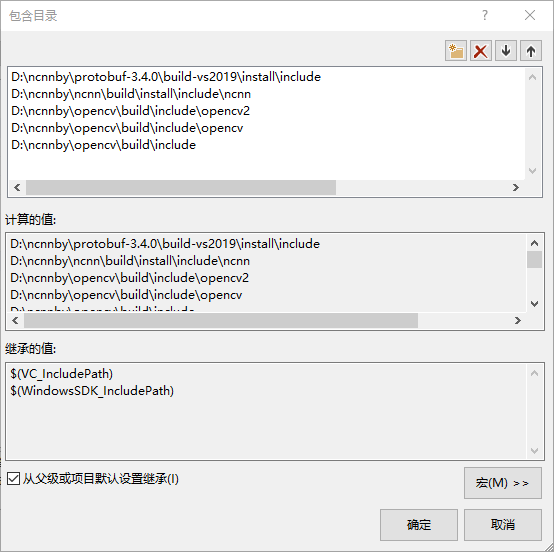
选中VC++目录,在包含目录中添加
/build/include
/build/include/opencv
/build/include/opencv2
/build/install/include/ncnn
/build-vs2019/install/include
添加库目录
/build-vs2019/x64/vc15/lib
/build/install/lib
/build/install/lib
添加附加依赖项
ncnn.lib
opencv_world3410.lib
libprotobuf.lib
libprotobuf-lite.lib
libprotoc.lib
经测试,环境搭建没问题(注:测试时要把属性页添加好,VS工程调试选择release x64)
3 模型转换
3.1 pytorch模型转onnx模型
在训练pytorch模型项目中添加转onnx模型的代码
import torch
from mtcnn.core.detect import create_mtcnn_net

if __name__ == '__main__':
    pnet, rnet, onet = create_mtcnn_net(p_model_path="./original_model/pnet_epoch_7.pt",
                                        r_model_path="./original_model/rnet_epoch_6.pt",
                                        o_model_path="./original_model/onet_epoch_10.pt",
                                        use_cuda=False)          # 加载自己的pt文件
    out_onnx_pnet = './modelconvert/pnet_epoch_7.onnx'           # 保存生成的onnx文件路径
    out_onnx_rnet = './modelconvert/rnet_epoch_6.onnx'
    out_onnx_onet = './modelconvert/onet_epoch_10.onnx'

    x = torch.randn(1, 3, 640, 480)
    y = torch.randn(1, 3, 24, 24)
    z = torch.randn(1, 3, 48, 48)
    # define input and output nodes, can be customized
    input_names = ["input"]
    output_names = ["output"]
    # convert pytorch to onnx
    torch_out_pnet = torch.onnx.export(pnet, x, out_onnx_pnet, input_names=input_names, output_names=output_names)
    torch_out_rnet = torch.onnx.export(rnet, y, out_onnx_rnet, input_names=input_names, output_names=output_names)
    torch_out_onet = torch.onnx.export(onet, z, out_onnx_onet, input_names=input_names, output_names=output_names)
得到onnx模型
3.2 简化onnx模型
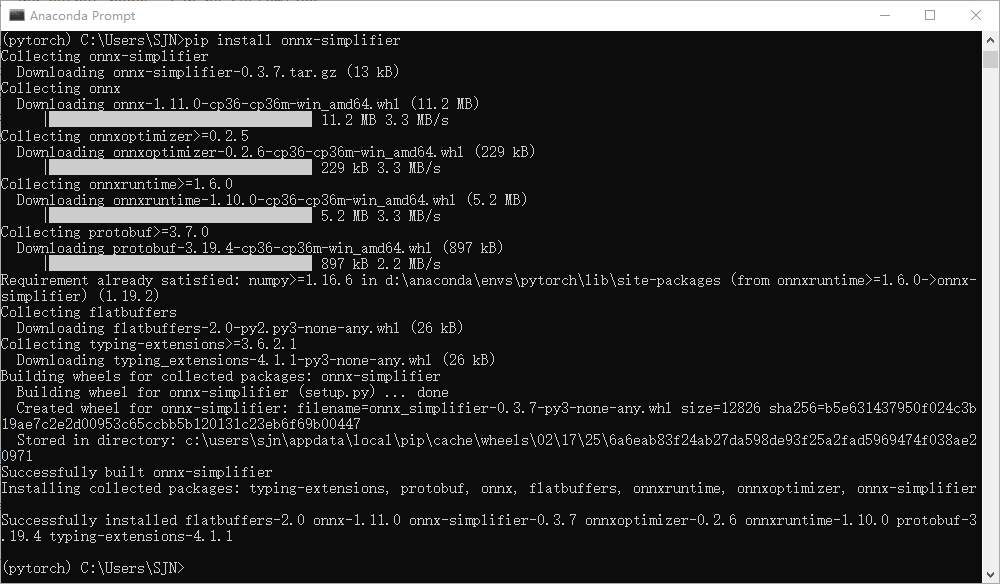
首先安装简化工具,在Anaconda虚拟环境中输入如下指令
pip install onnx-simplifier
可见,还额外装了几个包,如:onnx,onnxruntime等
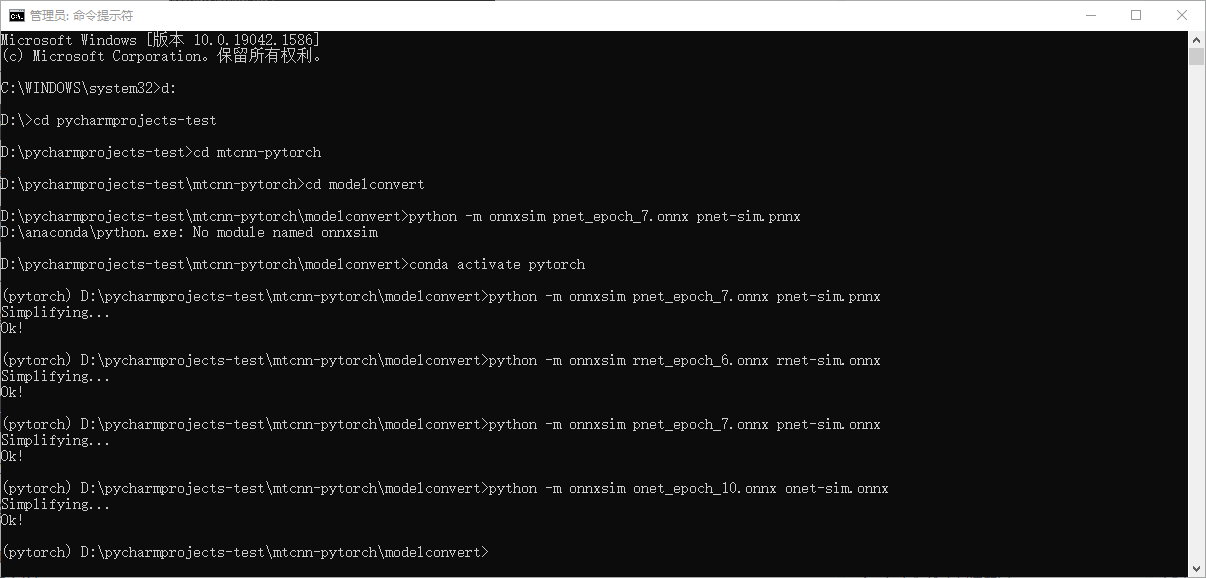
接着简化onnx模型,以管理员身份打开命令提示符,cd到模型所在文件,输入指令
python3 -m onnxsim resnet18.onnx resnet18-sim.onnx
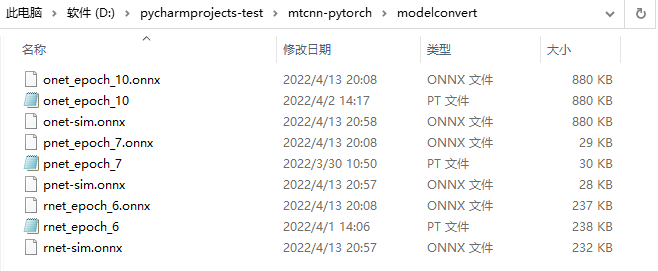
得到简化模型
3.3 onnx模型转ncnn模型
将简化后文件移动到D:\ncnnby\ncnn\tools\onnx文件夹下
打开Anaconda Prompt,cd到指定目录,输入指令
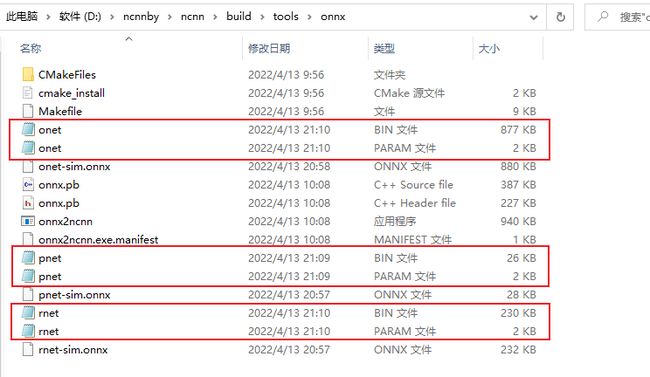
onnx2ncnn resnet18-sim.onnx resnet18.param resnet18.bin
得到ncnn模型文件
参考文献
(6条消息) Windows系统下把PyTorch模型转为ncnn模型流程_秦失其鹿的博客的博客-CSDN博客
(6条消息) 将pytorch训练的模型转为ncnn模型_樊城的博客-CSDN博客_ncnn pytorch
(7条消息) (一)ncnn | Windows10 + VS2019环境配置_zhangts20的博客-CSDN博客_ncnn vs2019


